Contact us
We're here to help - speak to an expert today on 01268 567016. Open today until 6pm.
SKU: XPSPREMIUM6MM

ProWarm Insulation Board - XP-Pro

Regular price £7.29 Inc VAT
Order in
00 00 00
for Next Day Delivery
How many boards do I need?

Add your area dimensions and we'll calculate how many boards you need

How many boards do I need?

Add your area dimensions and we'll calculate how many boards you need

How many boards do I need?

Add your area dimensions and we'll calculate how many boards you need

Buy now, Pay with Klarna

Buy now, Pay with PayPal

Description

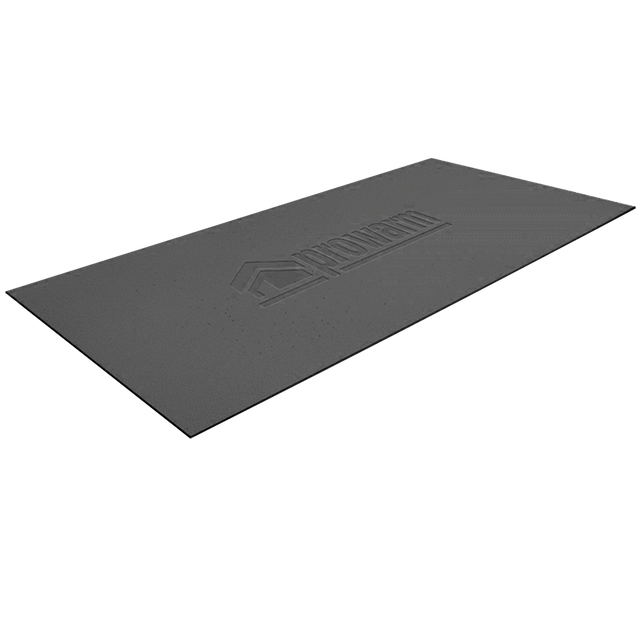
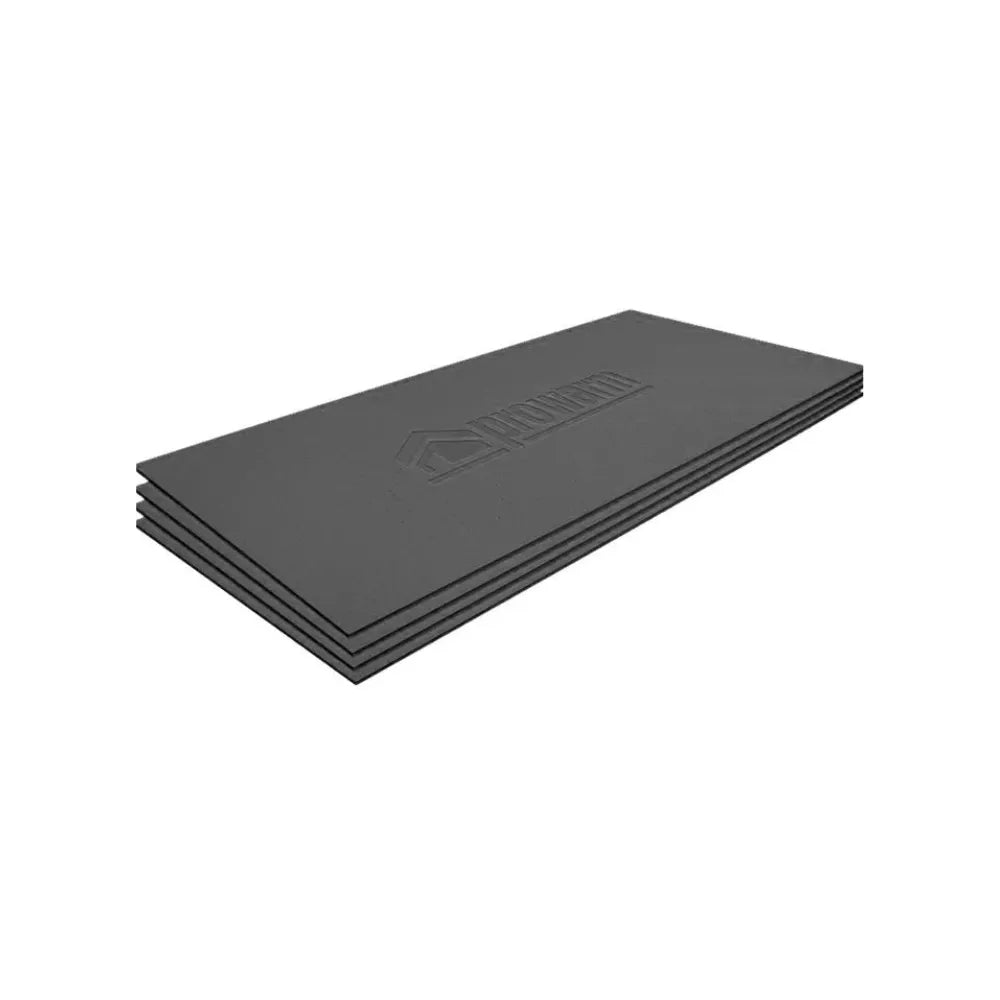
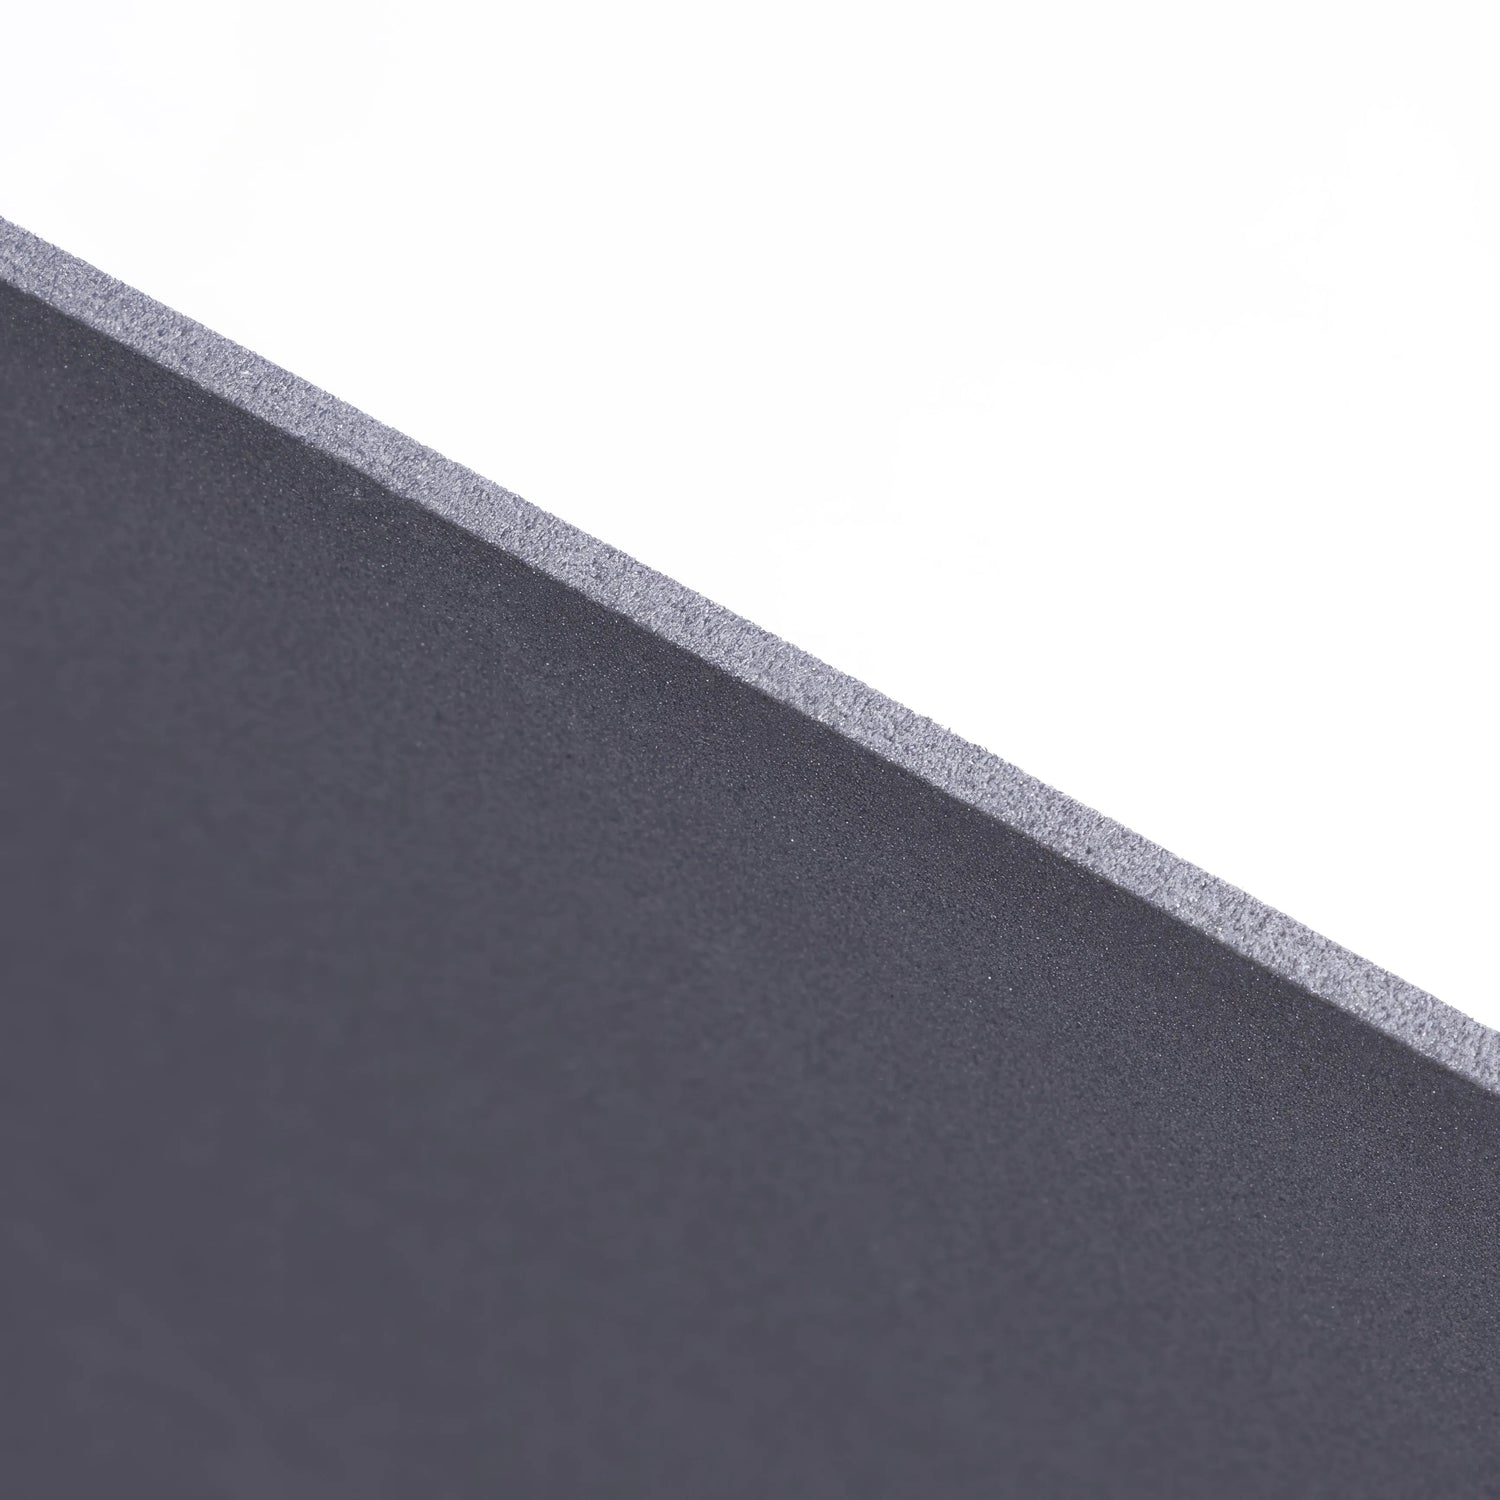
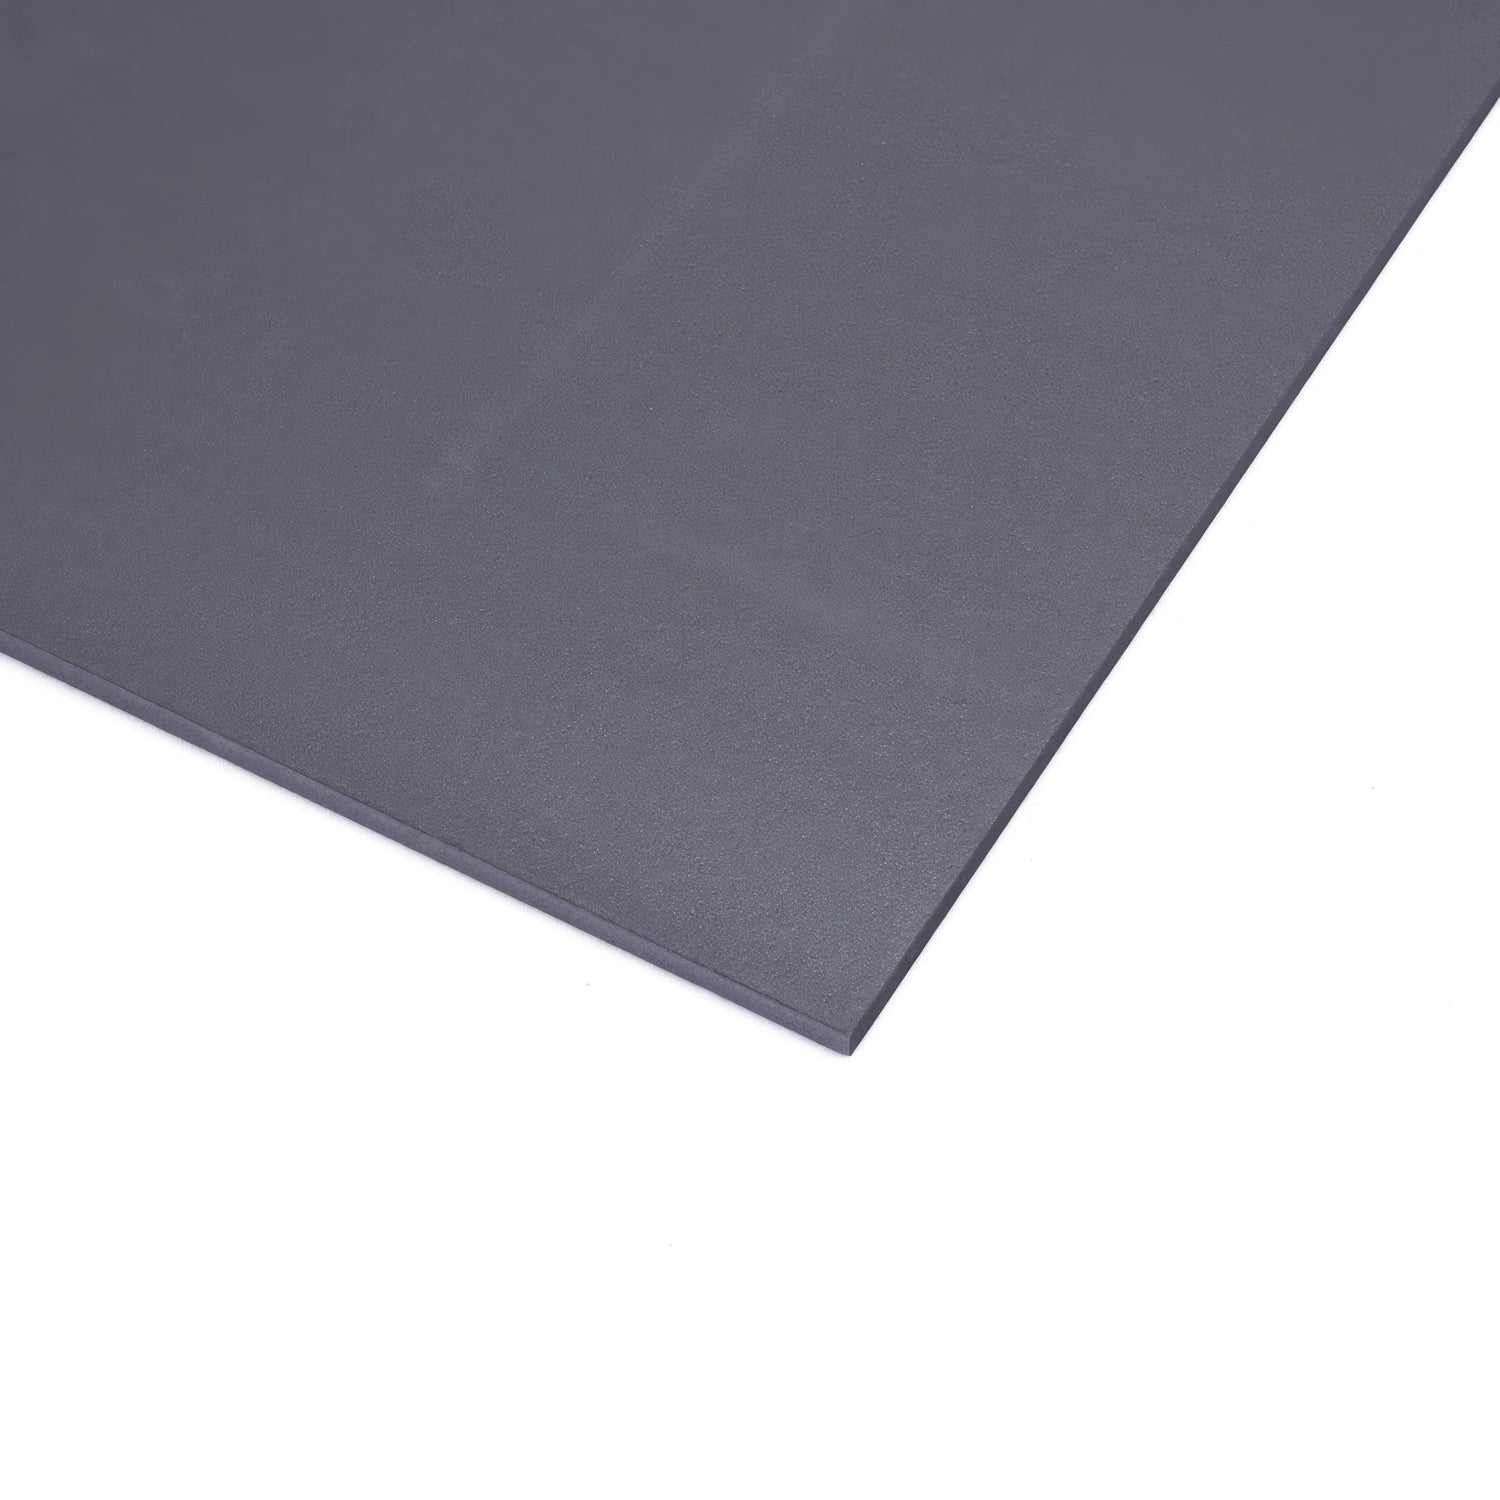
ProWarm Insulation Board - XP-Pro are specially designed to provide excellent insulation and support for our electric underfloor heating systems on concrete or screeded floors. With dimensions of 1200mm x 600mm per board, each board covers an area of 0.72m², ensuring efficient coverage for your installation.

Key Features:

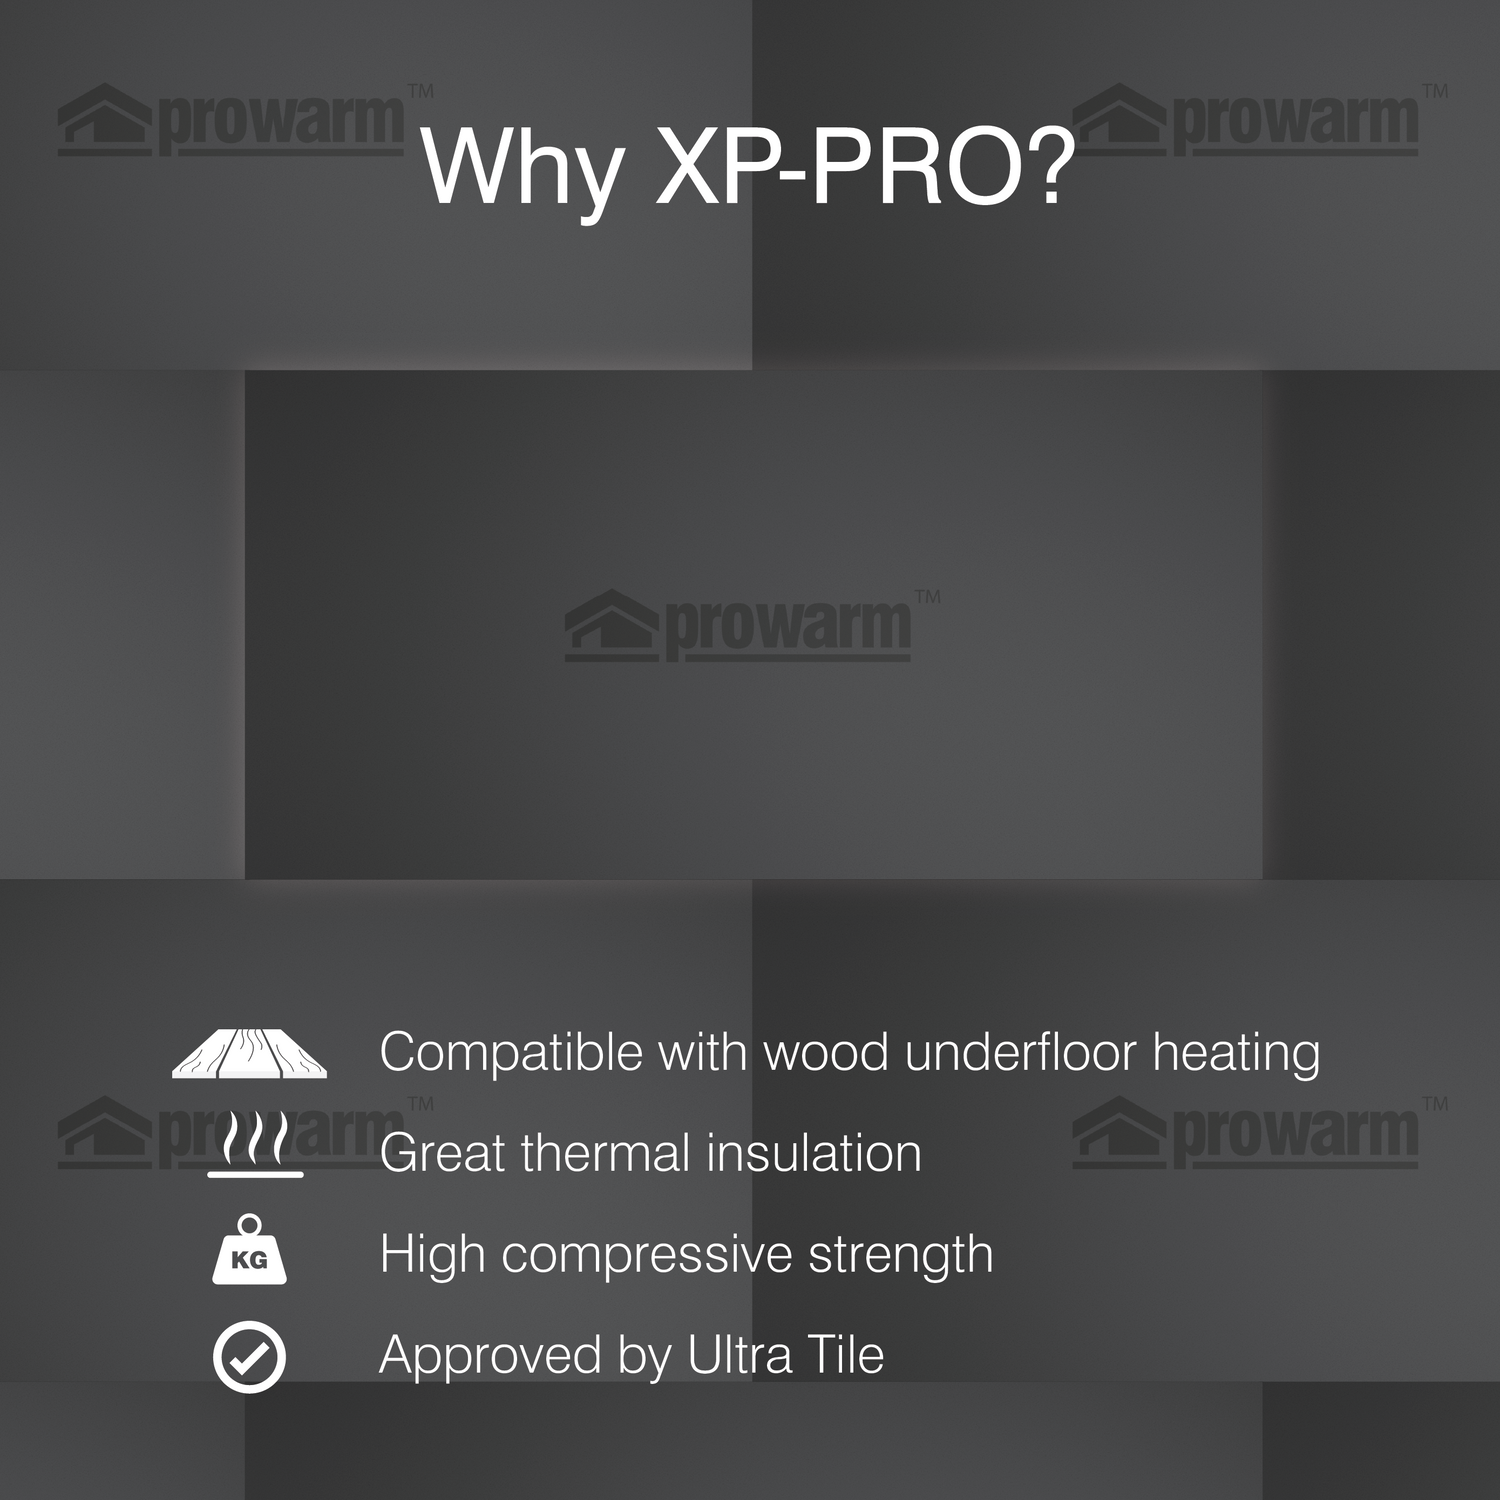
  • High-Quality Insulation: XP-PRO Insulation Boards offer superior thermal insulation properties, making them an ideal choice for improving the energy efficiency of your underfloor heating system.
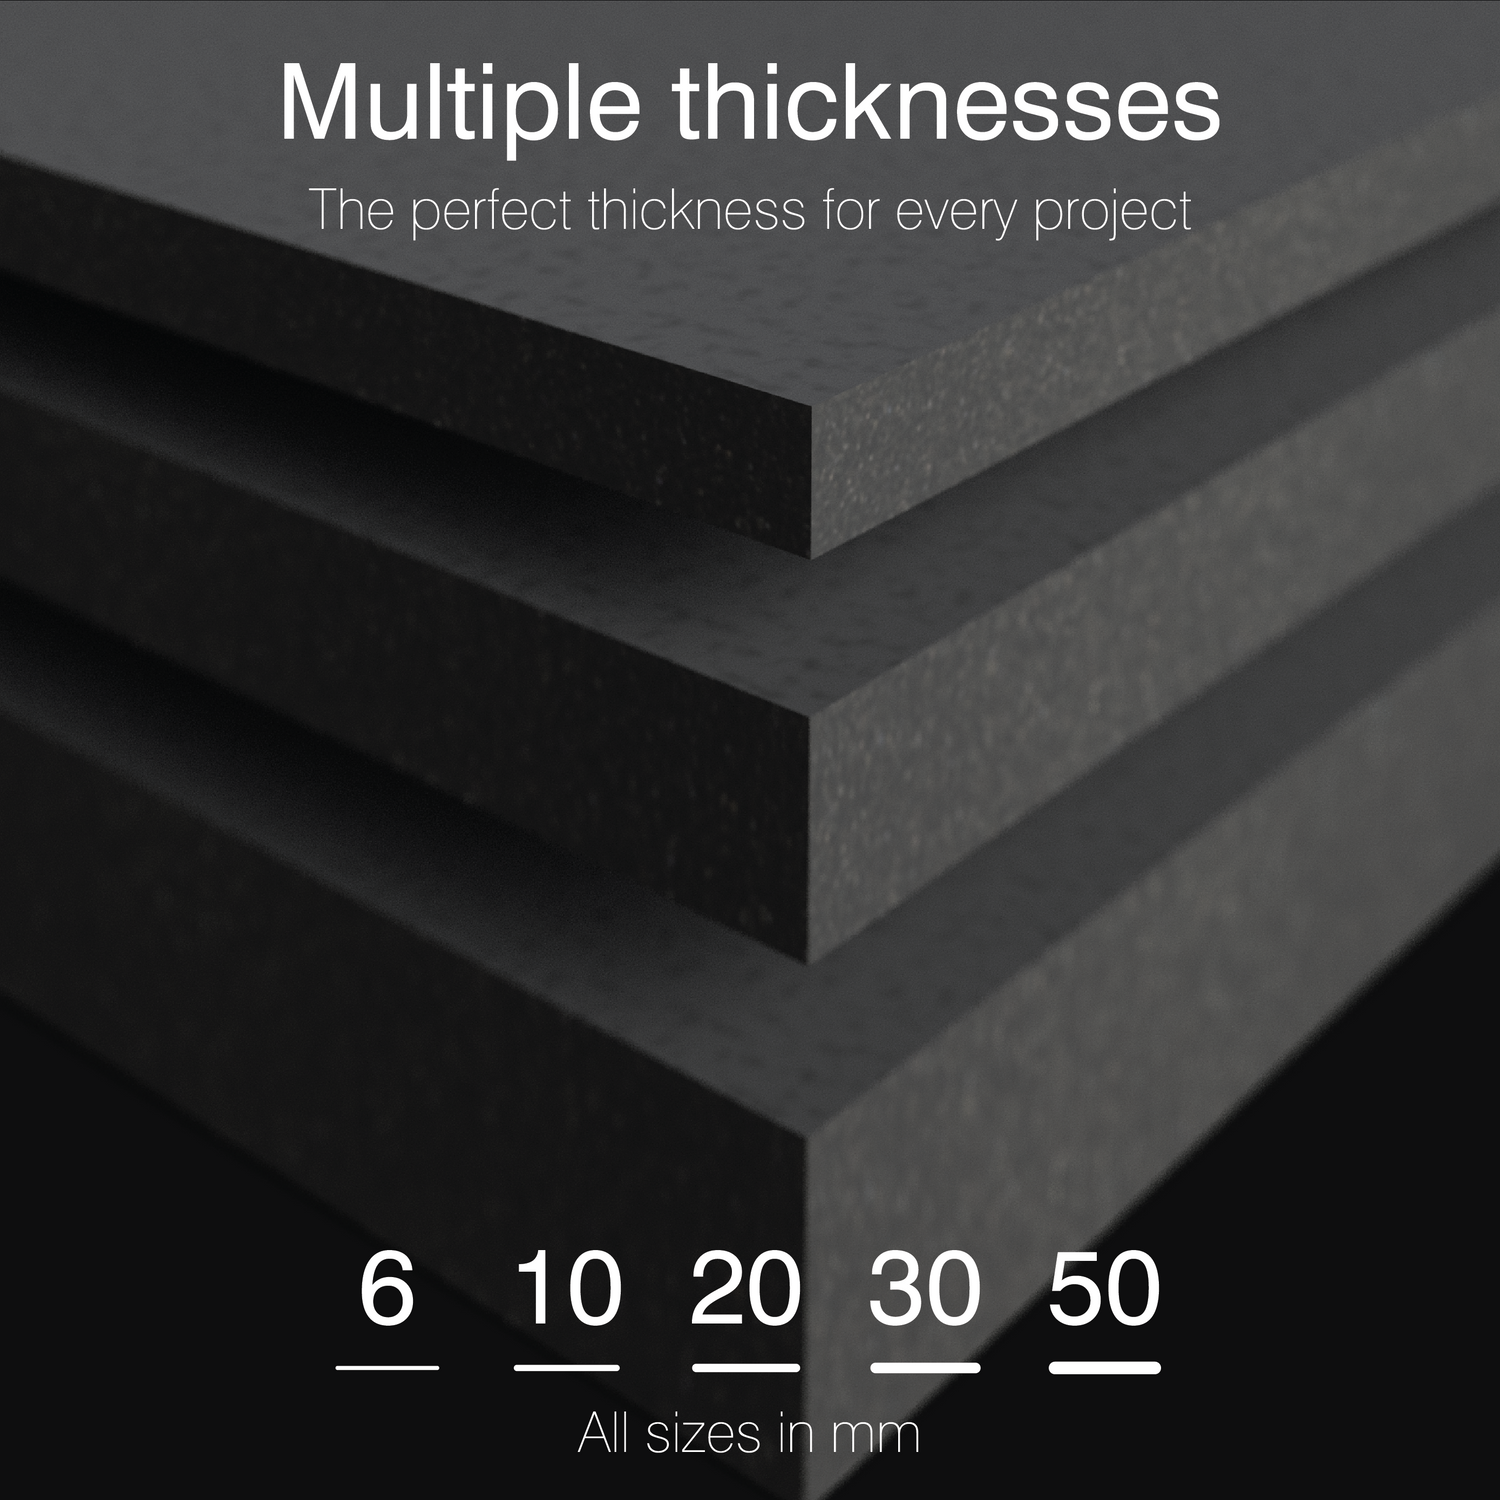
  • Multiple Thickness Options: Available in 6mm, 10mm, 20mm, 30mm, and 50mm thicknesses, these boards provide flexibility to meet various installation requirements and insulation needs.
  • Compatibility with Underwood Heating Systems: XP-Pro boards can be used as top-quality insulation for underwood heating systems. Simply lay the boards in a staggered brick bond pattern and place the heating mat over the top for a seamless installation.
  • High Compressive Strength: With a compressive strength of 30 tonnes/m², these boards offer excellent stability and durability, ensuring long-lasting performance.
  • Lightweight and Cost-Effective: The lightweight nature of XP-PRO boards simplifies handling and installation while keeping the overall project cost low.
  • Approved by UltraTile: These insulation boards are fully approved by UltraTile, a trusted name in the industry, guaranteeing their reliability and quality.

Installation

The installation method for ProWarm XP-PRO boards depends on the type of heating system being installed:

  • Foil Underfloor Heating: Lay the boards in a staggered brick bond pattern, and then place the foil heating mat directly over the boards for optimal performance.
  • Underfloor Heating Mats: When using XP-PRO boards with underfloor heating mat systems, the boards must be securely fixed to the subfloor using a suitable flexible tile adhesive. This ensures stability and proper heat distribution for your underfloor heating system.

Experience the benefits of superior insulation and efficient underfloor heating with ProWarm XP-Pro Insulation Boards. With their high-performance features and easy installation process, these boards are the perfect choice for achieving a comfortable and energy-efficient living space.

Specifications

  • Coverage per board: 0.72m²
  • Dimensions: 1200mm x 600mm
  • Available thicknesses: 6mm, 10mm, 20mm, 30mm, 50mm
  • Compressive strength: 30 tonnes/m²
  • Installation method: Lay in staggered brick bond pattern (foil underfloor heating heating system), Fix to subfloor with flexible tile adhesive (underfloor heating mat system)

Reviews

Specifications

Specifications

High-Quality Construction


  • ProWarm Electric Underfloor Heating Sticky Mat: Utilizes the same premium cable as the ProWarm Loose Cable kit. The mat incorporates a sticky fibreglass mesh to ensure optimal heat output by maintaining proper cable spacing. Installation is straightforward—simply roll out the mat to cover the desired heating area.

  • Heating Cable: Series-type with twin conductors and a 4m cold lead at one end.

  • Cable Composition: The resistance heating wire is encased in a fluoropolymer insulation layer, wrapped in protective metal shielding, and enclosed in a final plastic outer sheath. The twin conductor cable has a final diameter of 2mm.

  • Junction Design: Unique design for hot and cold lead junctions ensures they are 100% foolproof.

Standards and Approvals


  • Standards: Meets all test requirements of IEC 60335.

  • Certifications: CE certified by SGS.

Performance and Benefits


  • Cost-Effective: Provides heat precisely where needed, optimizing heat utilization and minimizing losses.

  • Flexibility: Can be installed in any area or floor layout.

  • Comfort: Close and uniform spacing of heating cables, combined with thermostat controls, allows for precise temperature settings, enhancing comfort.

  • DIY-Friendly: Designed for easy installation with clear instruction manuals and professional technical support.

  • Versatility: Available in various heat loads and sizes to suit various flooring types.

Mat Dimensions


  • Width: 0.5m

  • Length: Dependent on the selected square meter coverage

  • Cable thickness: 2mm

Kit Contents

Kit Includes:

  • Underfloor Heating Sticky Mat (Two individual mats if kit size over 12m2)
  • Floor Primer - a high-performance universal priming/sealing agent suitable for plaster, timber, brick, and block work.
  • Roller - a high-quality roller for applying floor primer to the subfloor
  • Adhesive tape - works to assist in holding a mat or cable in position during installation
  • 2m Floor Sensor Probe Conduit - provides a protective pathway for the sensor probe, connecting to your thermostat
  • Digital thermostat (if selected) - adjust the heat settings and enjoy warm floors through a simple touch of a button

Installation

Installation

Please Note: This is a brief guide. Always refer to the full installation manual for comprehensive instructions.

1. Plan Your Layout:

  • Divide the floor into a series of rectangles. Use these measurements to calculate the number and sizes of mats needed, excluding permanent or static fixtures from your calculations.

2. Prepare the Subfloor:

  • For screed over concrete floors, lay insulation boards to minimize heat loss and ensure quicker warm-up times.

3. Lay the Heating Mat:

  • Start with the first run of the mat. Cut the mat (leaving the cable intact) at the end of each run, turn it 90° or 180°, and continue laying.
  • Once the area is covered, adjust the mat so that the loops are evenly spaced.
  • Secure the mat to the subfloor using the special tape provided.

4. Electrical Connections:

  • Install an RCD fused spur to power the thermostatic controller/programmer and the mat system.
  • Lay the temperature probe from the timer-thermostat onto the floor, position it equidistant between two cable loops, and secure it to the surface.
  • Position the unheated power supply cable from the end of the mat system near the thermostat.
  • Make all necessary connections to the power supply. Run the heaters for no more than 10 minutes to ensure they are heating up properly.

5. Finish the Flooring:

  • Option 1: Apply a thin, self-levelling screed over the mat and allow it to dry completely before laying tiles.
  • Option 2: Directly trowel flexible tile adhesive over the mat and lay the floor tiles.
  • After grouting, let the tile adhesive cure fully before switching on the system.

Manuals

Payment & Security

Payment methods

  • American Express
  • Apple Pay
  • Diners Club
  • Discover
  • Google Pay
  • Klarna
  • Maestro
  • Mastercard
  • PayPal
  • Shop Pay
  • Union Pay
  • Visa

Your payment information is processed securely. We do not store credit card details nor have access to your credit card information.