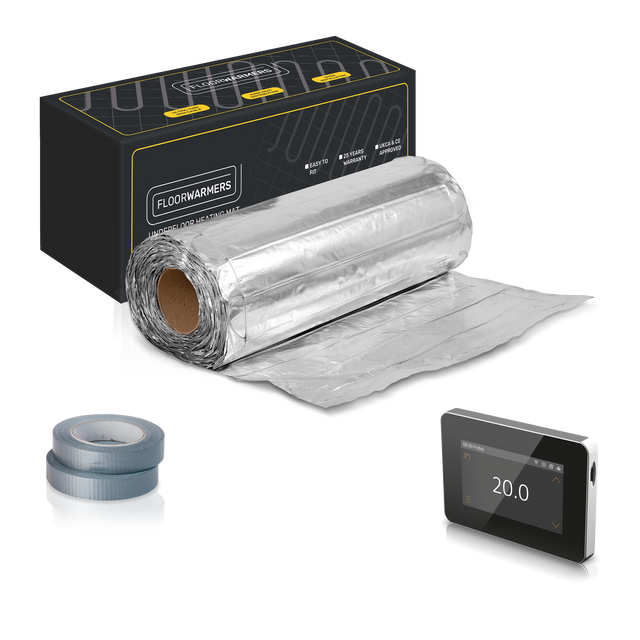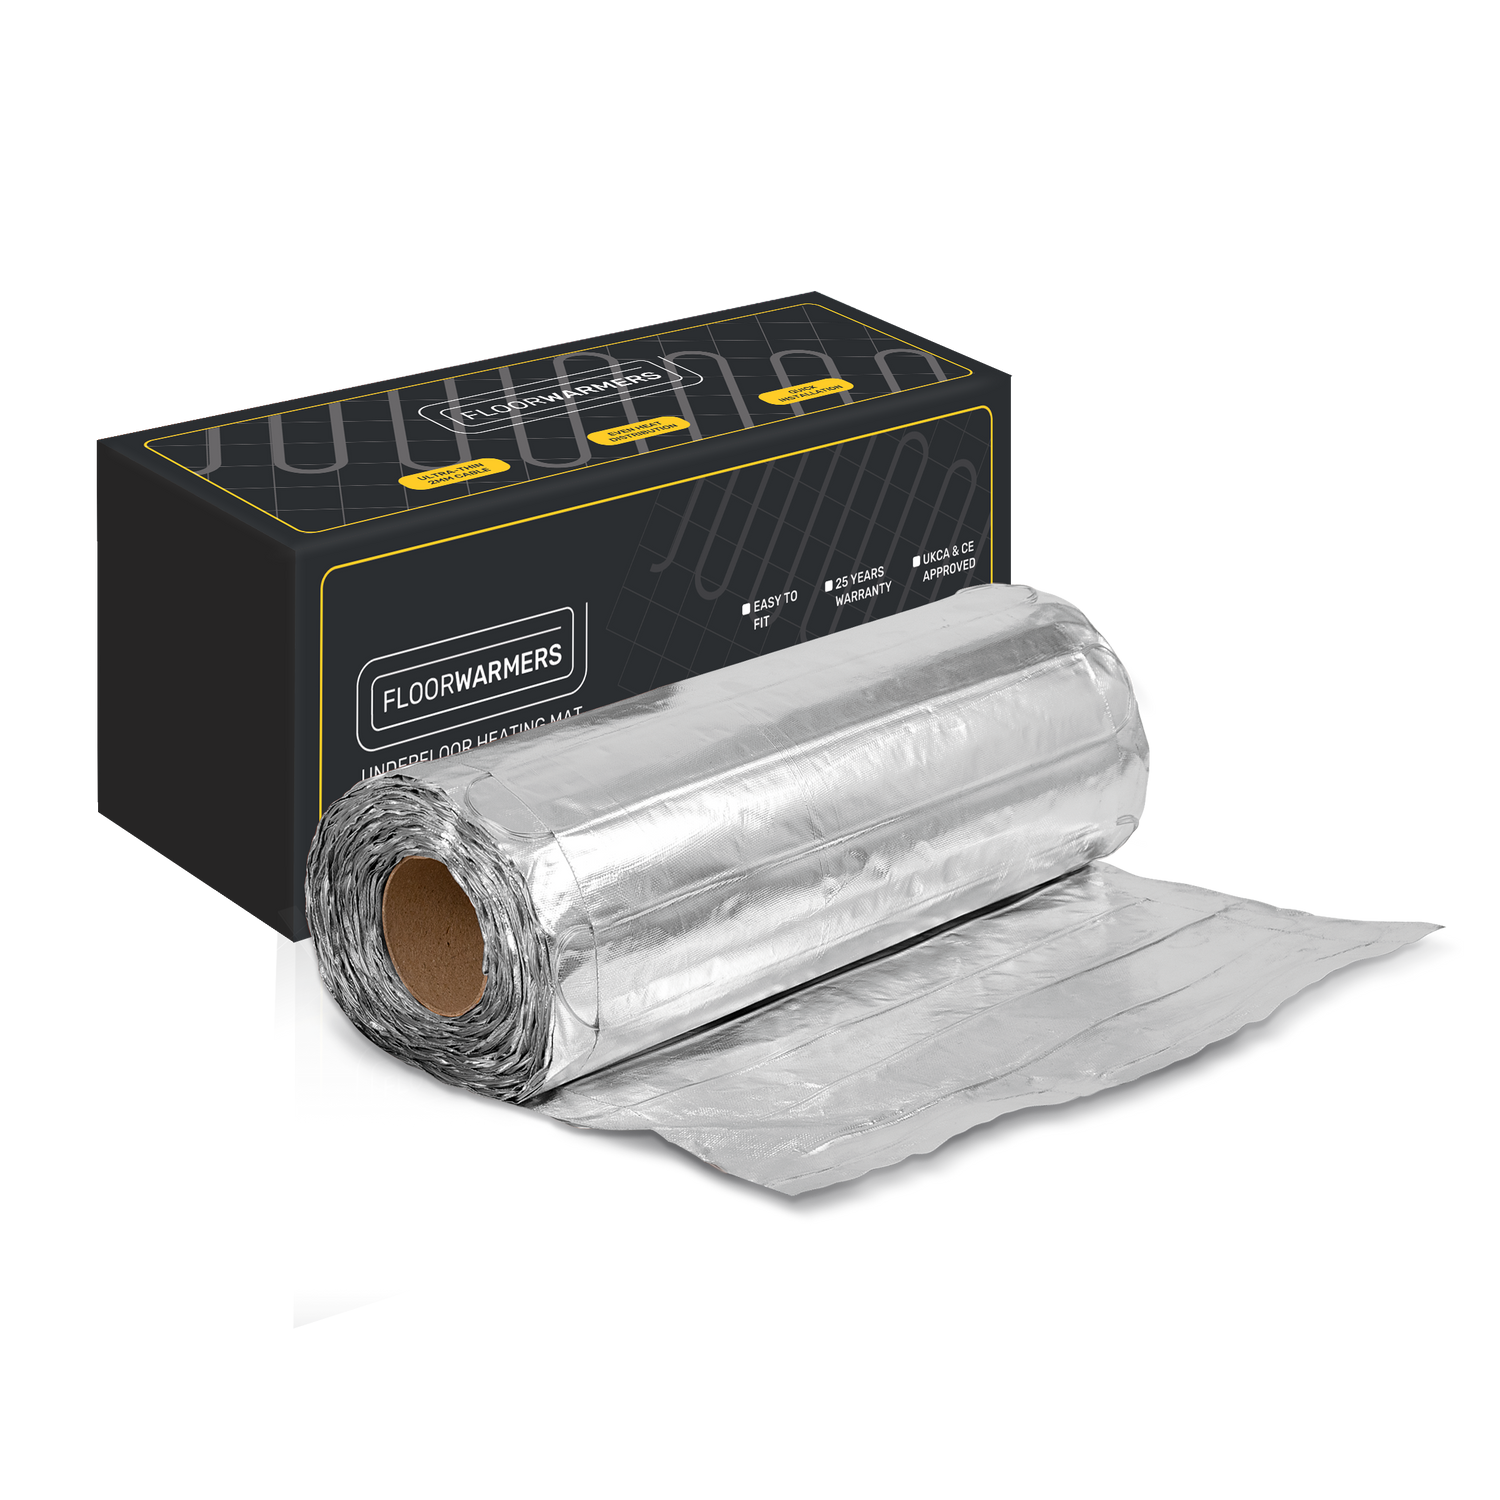


Floorwarmers Foil Underfloor Heating (Wood, Vinyl & Carpet)
Description
Description
The Foil Underfloor Heating Mat (Wood, Vinyl & Carpet), Floorwarmers provides reliable and efficient solutions for all engineered wood and laminate floor coverings*. This kit is highly popular among trade professionals due to its exceptional reliability and ease of installation, making it a top choice for underfloor heating projects.
With a 25-year lifetime guarantee, you can trust that the Floorwarmers Wood Underfloor Heating Kit will provide long-lasting warmth and comfort. We offer a great selection of thermostats, allowing you to customize your heating experience according to your preferences. This electric underfloor heating system offers an affordable solution without compromising on quality.
The Floorwarmers Wood Underfloor Heating Kit boasts a heat output of 140w/m2, making it suitable as a primary source of heat in adequately insulated rooms. Experience consistent and cosy warmth throughout your space, creating an inviting atmosphere for you and your loved ones.
It's important to note that the Floorwarmers electric underfloor heating mats can be cut to shape to fit your specific floor layout. However, they cannot be cut to a smaller size. To avoid any inconvenience, we recommend ordering a mat that covers approximately 90% of your free floor space (after deducting any fixed units or furniture that sits flat to the floor). Please Note, for larger areas exceeding 12m2, the kit will be composed of two heating mats to ensure comprehensive coverage.
Upgrade your home with the Floorwarmers Wood Underfloor Heating Kit and experience unparalleled warmth, comfort, and reliability. Our kits are designed to provide excellent value for money without compromising on quality. Create a cosy and inviting atmosphere while enjoying the long-lasting benefits of underfloor heating.
Kindly be aware that it is essential to use this underfloor heating mat in combination with an XPS insulation board to safeguard the heating element from potential damage. For the best outcomes, we advise employing a 10mm thick insulation board, as it enhances heat retention and guarantees peak efficiency.
Specifications
Cable type: Twin wire cable 140w/m2, Cable thickness: 3mm, Mat width: 500mm, Warranty: 25 year manufacturer warranty, Tested: 100% earth screened, Cold tail length: 2m UKCA and CE APPROVED
Installation
Please Note: The following is intended as a guide only. Always refer to the full installation manual for instructions.
1. Divide the floor into a series of rectangles (excluding any fixed units or furniture that sits flat to the floor). Calculate the area of each rectangle and add these together for the total free floor space to be heated. We recommend covering 90% of this area with electric underfloor heating mat.
2. Lay XPS insulation boards down onto the subfloor and tape all joints.
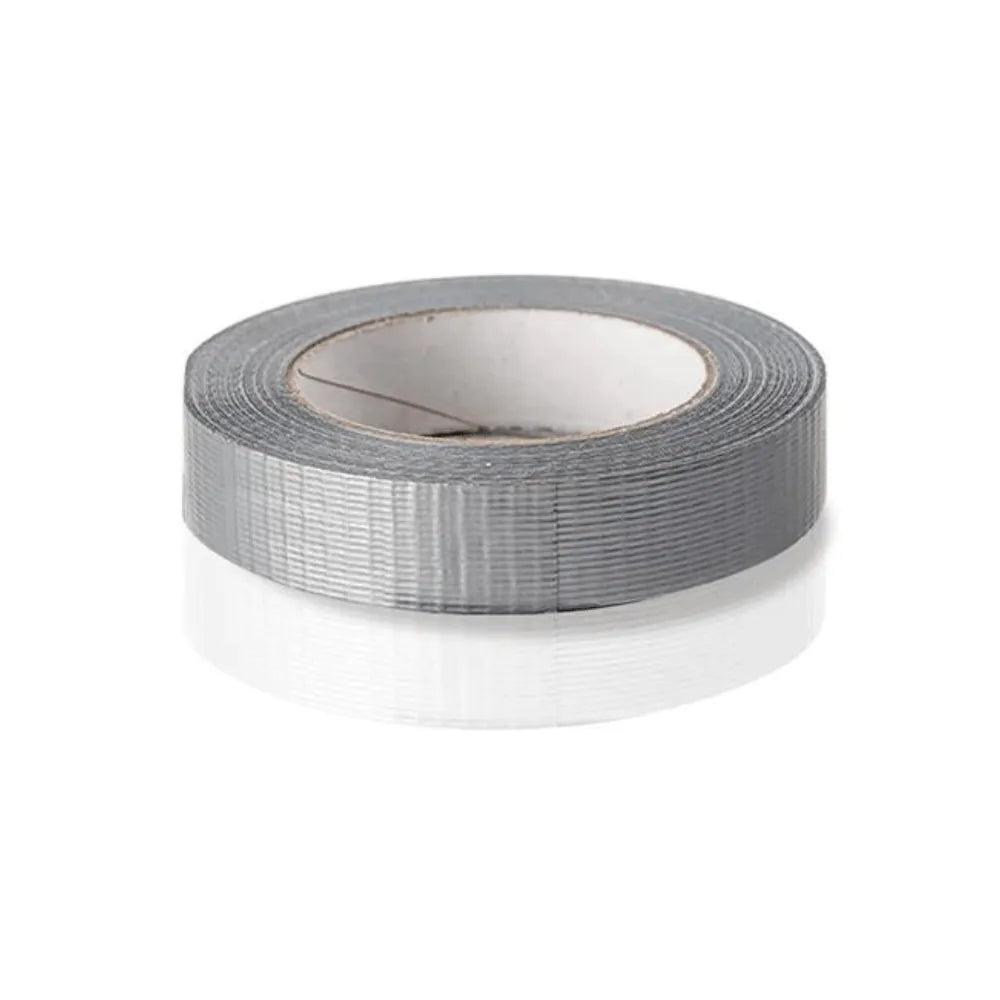
3. Starting as close to the thermostat as possible, lay the first run of matting. At the end of the run, cut the mat leaving the cable intact, turn the mat through 90° or 180° and continue laying. When the area is covered, adjust the mat until the loops are equal distance apart. Now attach the mat to the subfloor using the special tape supplied.
4. You will need to install an RCD fused spur which powers the thermostatic controller/programmer and the mat system. Lay the temperature probe from the timer-thermostat onto the floor, equidistant between two of the cable loops, and attach it to the floor surface. Now take the unheated power supply cable from the end of the mat system, which should be positioned near the thermostat. Once all the connections have been made to the power supply, run the heater(s) to ensure they are heating up (no more than 10 minutes).
*Alternative brands of heating mats may be supplied during stock shortages
Reviews
Reviews
Payment & Security
Payment methods
Your payment information is processed securely. We do not store credit card details nor have access to your credit card information.
Not sure where to start? Let us help!
Answer a few questions and we’ll get you on your way