Skip to content
UK's #1 Underfloor Heating Company - Over 300,000+ Systems Sold!

Up to 30% Off Autumn Sale!

Days
Hrs
Mins
Secs

How To Install Underfloor Heating

If you’re considering having underfloor heating installed in your home then you might be interested to know exactly what is involved in the process. In this article, we take a close, detailed look at how to install underfloor heating from start to finish. You’ll discover some tips about underfloor heating maintenance and find out how much it costs to install underfloor heating. We also examine whether it might be possible for you to install underfloor heating yourself, to save money, or better to employ a professional underfloor heating expert to carry out the work.

Tools And Materials Needed for Installing Underfloor Heating

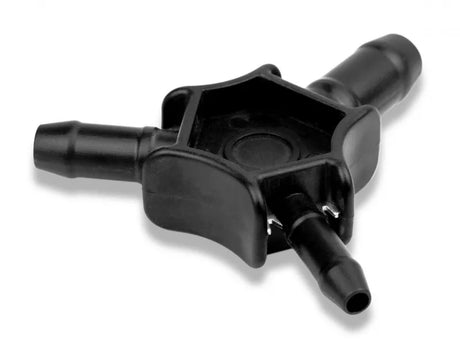
Before undertaking an underfloor heating project, it’s important you have the right tools for the job. You will need a tape measure, a quality pipe cutter and sufficient pipe fixing clips if you intend to fix directly to insulation boards using a pipe staple gun. Alternatively, you can use egg crate panels for securing the pipework. You will also need a pipe re-rounding tool to ensure the cut end of the pipe is perfectly spherical.

For an electric underfloor heating installation, a pair of scissors and a sharp knife will be required for cutting the matting and a pair of wire cutters and wire strippers are needed for cutting the electrical wire at the end only. Joint tape is needed for holding the sheets of matting together. A screwdriver and a multimeter could also be required.

The materials required for the job will depend on which type of installation you decide to choose. Materials might include, insulation boards and screws and washers for securing insulation boards to timber subfloors. Also, pre-grooved pipe boards, water pipe, pipe fixings or egg crate panels, levelling compound or screed and floor sensors.

A wet underfloor heating system will also require a manifold, which is necessary for connecting the pipework, a thermostat, plus a heating pump. An electric underfloor heating system will require the correct number of heating mats or loose heating cable, joint tape and some conduit.

Pre-installation Preparation

The underfloor heating installation process begins with a survey of your property. When considering how to install underfloor heating, you should also think about the number of rooms and measuring the size of the rooms, in which you will want underfloor heating installed. This will help determine the extent of the job and have a bearing on the overall costs of the installation. You may find our measuring tool useful.

If it is a relatively new property and currently vacant then the installation process can be much easier than installing into an older property that is currently occupied. That’s because you will need to consider the upheaval and inconvenience of having your rooms cleared of furniture, and floor coverings taken up. In some cases, the existing subfloor may have to be lifted.

However, both wet and electric underfloor heating can be laid on top of existing floor surfaces such as timber, concrete, stone or tiles. It should be noted that electric underfloor heating is much quicker and easier to install than a hot water-based system but it will cost more to run. A wet underfloor heating system will involve many more components and ideally will require some prior plumbing experience. You will need to consider which system might be best for your property.

Also, remember that installing your underfloor heating on top of an existing subfloor will raise the floor level. It’s always best to consult an underfloor heating expert before planning your installation, especially if it is a wet heating system. A pre-approved underfloor heating installer will be able to advise you.

Step-by-Step Underfloor Heating Installation Process

Step 1. For both wet and electric underfloor heating systems, ensure the entire underfloor heating area is thoroughly clean by sweeping or vacuuming beforehand. Check for jagged edges on concrete, stone and tiled floors and wood splinters on timber flooring. If the floor is excessively uneven or jagged then it’s best to lay a screed or levelling compound over the top. This applies to both timber subfloors and concrete subflooring.

Step 2. Next, lay down a damp-proof membrane over the subfloor and fit edge insulation against the base of all the perimeter walls. A layer of floor insulation will ensure the absolute minimum of downward heat loss. Insulation sheets can be pre-grooved or plain. Tape the joins and edges.

Step 3. The manifold will now need to be installed for a wet underfloor heating system. This needs to be connected to a wall that is strong enough to support its weight. All the pipework will be connected to the flow side of the manifold. This component is responsible for distributing large volumes of hot water from the heat source to the underfloor heating circuit.  

Step 4. The next step is to connect and lay the pipework, or electric cables if installing an electric underfloor heating system. For a wet underfloor heating system laid on a timber floating floor, it’s easier to lay a series of pre-grooved chipboard panels first. For laying pipework on a denser subfloor such as concrete, use pre-grooved underfloor heating insulation panels. If you’re not using pre-grooved boards then ensure the pipe is coiled from the centre outwards with a minimum 200mm spacing between each coil. For an electric underfloor heating system, looped cables are available as pre-spaced underfloor heating mat kits. You should note that heating wires should never cross over when being laid and should not be cut and reconnected. Electric underfloor heating kits come with full instructions. Ensure the electrical connections to the mains supply are carried out by a certified electrician.

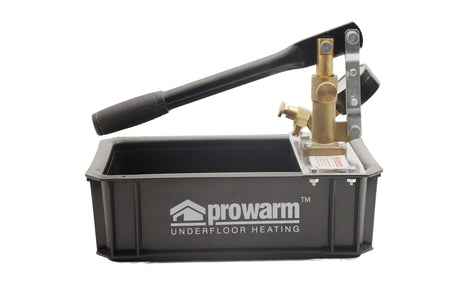
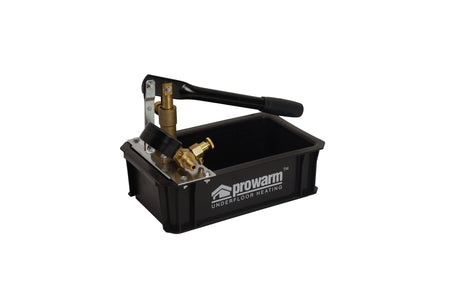
Step 5. The next step is to pressure test the system. Check for leaks at the connection with the manifold and around the pipework itself.

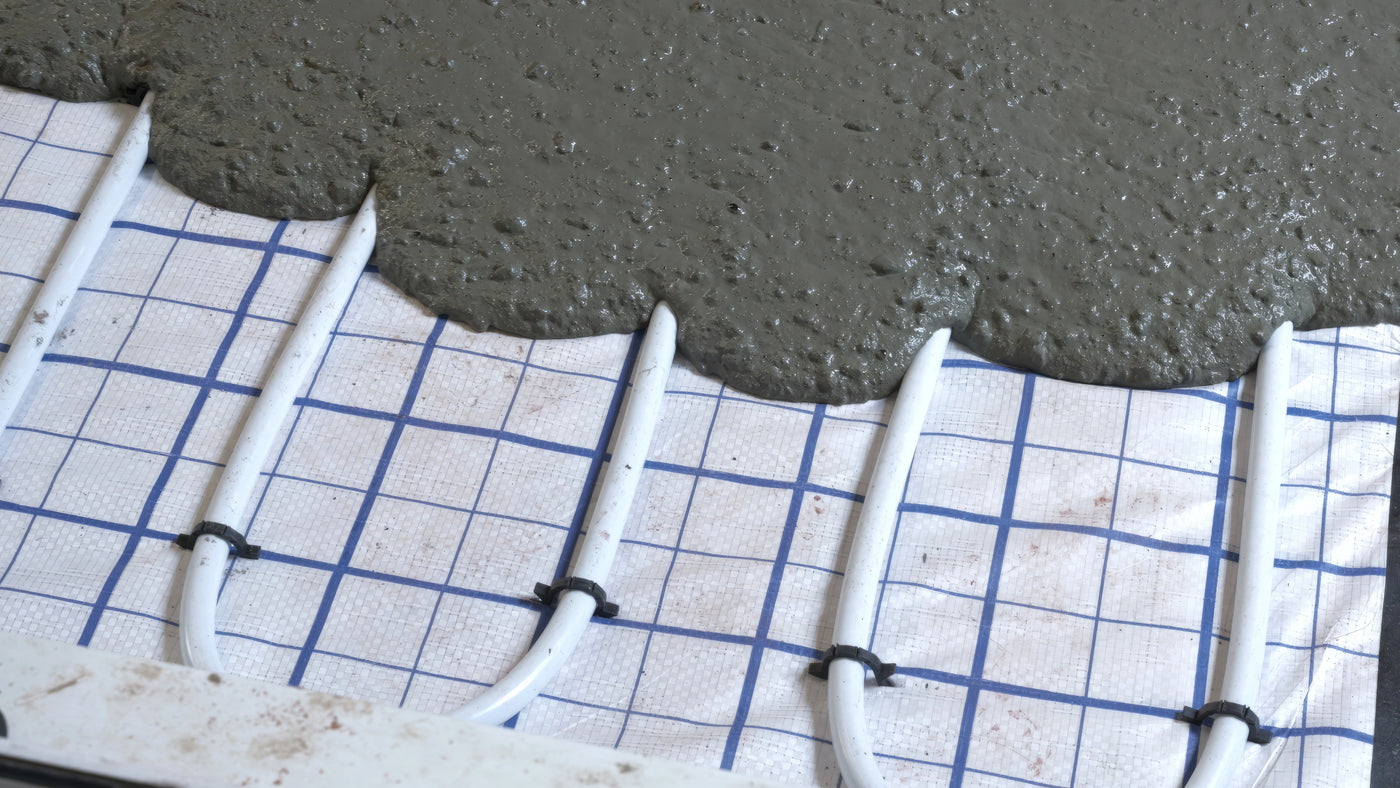
Step 6. If you have chosen to lay the pipework onto a standard insulation board, the whole floor area will now need to be covered in a screed or a levelling compound prior to laying the final floor covering. For example, tiles, carpet, laminate or vinyl. Most floor coverings have a heat limit of 27°C°.

Step 7. Finally, connect the manifold to the boiler pump and then connect the thermostat. The whole process from start to finish can take on average 2-3 days. Test the system again before laying the desired floor covering.

Thermostats

Post-Installation

A newly installed underfloor heating system is best left switched off for a period of 7 days. This is to allow ample time for any screed, adhesive and grouting to settle and harden. The temperature of both wet and electric underfloor heating systems should be increased gradually to allow expansion and contraction of the pipes and the new floor surfacing, such as tiles. An increase of 3°- 5° daily is recommended, until the desired temperature is reached. In all cases, the temperature should never be allowed to exceed 50°C.

The next thing you will need to do is calibrate the system and set up the thermostats. Do this by first setting the temperature to 18°C and then increasing the temperature by 1° each day until you reach a comfortable level. Water-based systems may need to have the flow rate adjusted at the manifold to ensure there is an even heat distribution over the floor surface.

For wet underfloor heating systems, regularly check for leaks and also check the boiler pressure from time to time. Bleed air from the system if necessary and check the thermostat settings. For peace of mind have your system checked over annually by a professional. Electric underfloor heating systems require very little maintenance.

FAQs

How easy is it to install underfloor heating?

Installing underfloor heating is not beyond the capabilities of the DIY enthusiast and electric is much quicker and easier to install than a wet system. Once installed, it is highly recommended you have the system connected and tested by a qualified plumber, or an electrician if you decide to go for an electric system.

How much does it cost to install underfloor heating?

Installation costs very much depend on the type of system you choose and whether you intend to install the system yourself. Also, the type of property, age of property and whether it’s a new build or a renovation will have some bearing on the actual cost. According to Checkatrade and as a general guide, you can expect to pay around £50-£75 per m² for an electric underfloor heating system installation for a new build property. A retrofit is likely to cost more at around £60-£85 per m²

A wet underfloor installation will cost more due to the number of components and the length of time required to fit them. For a new build, you can expect to pay around £120-£135 per m² and for a retrofit the costs will rise to around £135-£185 per m². Overall running costs are generally less for a wet installation. More information about underfloor heating is freely available. Check out our guide on retrofitting underfloor heating.

Need help? Talk to our product experts!

Our highly experienced technical team are happy to assist you throughout your journey. Message the team on live chat or call 01268 567016

Compare products

{"one"=>"Select 2 or 3 items to compare", "other"=>"{{ count }} of 3 items selected"}

Select first item to compare

Select second item to compare

Select third item to compare

Compare