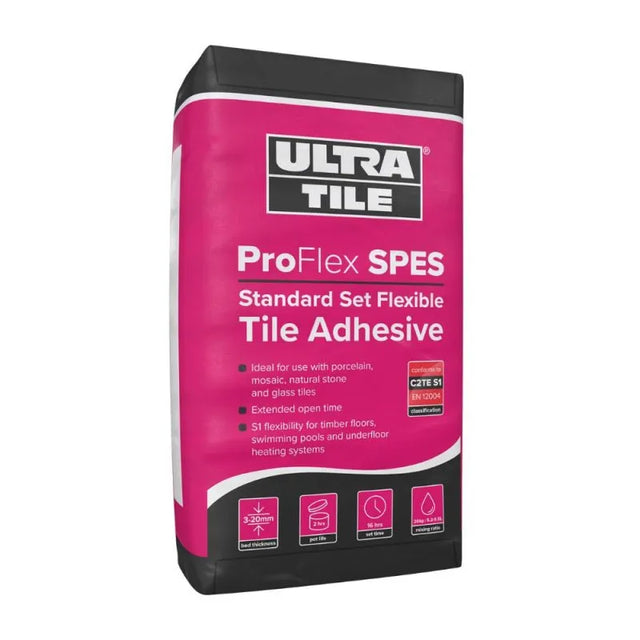
UltraTile ProFlex SPES Standard Set Flexible Tile Adhesive 20kg
Add your area dimensions and we'll calculate how many bags you need
Add your area dimensions and we'll calculate how many bags you need

Buy now, Pay with Klarna

Buy now, Pay with PayPal
UltraTile ProFlex SPES Standard Set Flexible Tile Adhesive 20kg
Description
Description
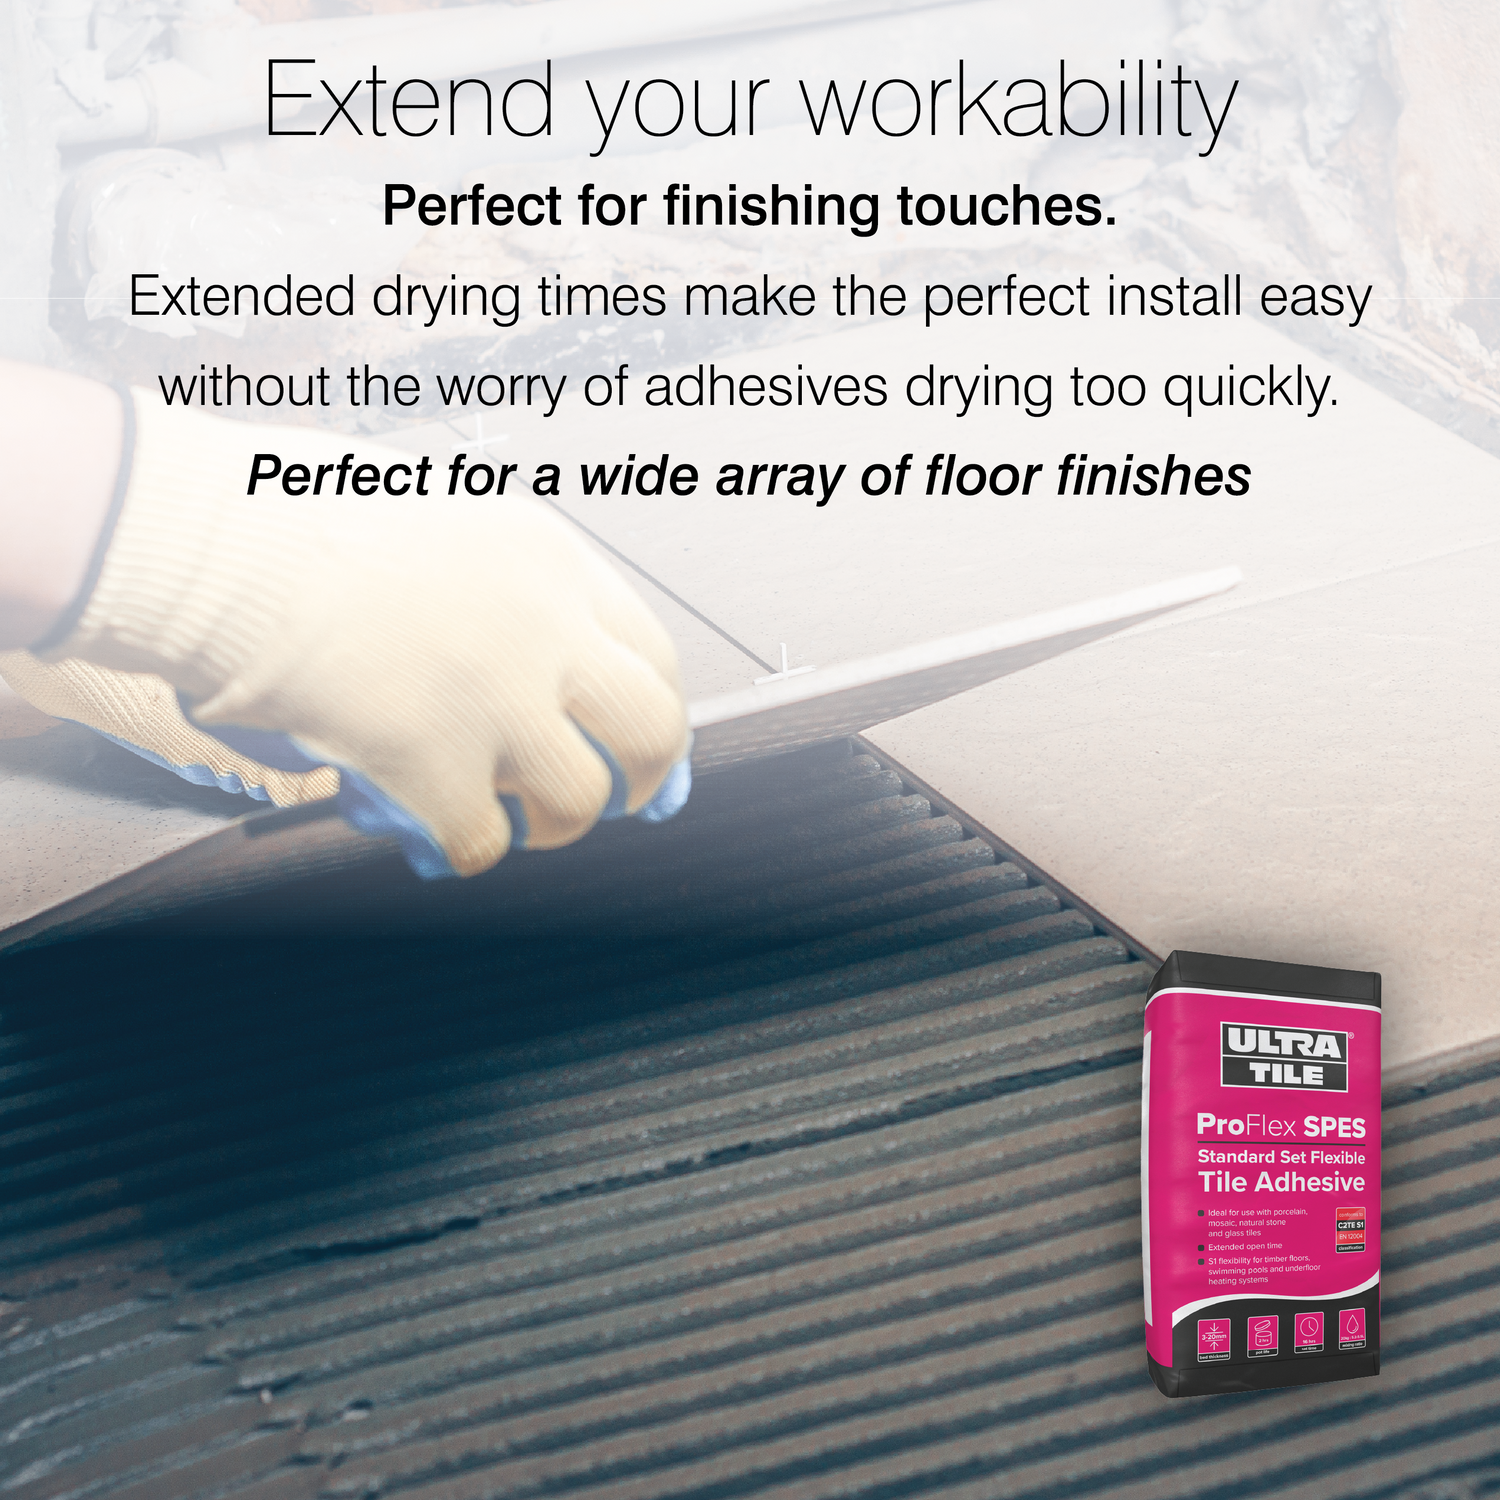
UltraTile ProFlex SPES Standard Set Flexible Tile Adhesive 20kg is a single part, standard set, flexible adhesive for wall and floor tiles. It is specially formulated for extended workability, allowing for projects to have that last minute touch without worry the adhesive will set too soon.
Specially formulated for enhanced adhesion and flexibility, the adhesive is ideal for areas where slight movement or vibration may occur. Classified as S1 in accordance with EN12004 it has the high level of deformation for greater tolerance to movement.
The adhesive unique qualities make it ideal for fixing tiles to a whole array of surfaces and substrates:
- Concrete
- Sand/cement screed
- Plywood overlay (15mm min)
- Tile backer boards
- Cement faced fibre boards
- Anhydrite/calcium sulphate/gypsum based screeds
- Tile on Tile* (Existing ceramic, porcelain and natural stone tiles (overlay) known as "Tile on Tile")
- Firm and stable plaster
- Plasterboard
- Sand/cement render
- Concrete brick/block
- Hard vinyl tiles
- Flooring grade asphalt
UltraTile Proflex Tile Adhesive is perfect for interior or exterior projects, wet or dry conditions and an array of different tiles:
- Ceramic
- Porcelain
- Glass
- Mosaics
- Marble
- Travertine
- Granite
- Limestone
- Terracotta
- Quarry
- Slate
- Quartz
- Brick slips
Specifications
| Unit Size | 20kg bags |
|---|---|
| Standard Conformity | EN 12004 Class C2TE S1 |
| Bed Thickness | 3mm-20mm |
| Coverage | 3mm bed thickness you will require 4.5kg of material per m2 |
| Pot Life | 2 hours depending upon temperature and substrate |
| Set Time | 16 hours dependent upon temperature and substrate |
| Storage | This product must be stored in unopened bags, clear of the ground in dry conditions. Avoid frost. Ideal storage temperatures are between 5˚C and 25˚C. |
| Shelf Life | 12 months in the above conditions.Please note: the use of this product after the end of the declared storage period may increase the risk of an allergic reaction. High temperatures and high humidity will lead to reduced shelf life. |
All tiling should follow the correct British/European standard, and incorporate movement joints as specified therein.
As with all raw materials, colour variation may occur. Please note this does not affect the consistency or characteristics of the enclosed product.
Reviews
Reviews
Payment & Security
Payment methods
Your payment information is processed securely. We do not store credit card details nor have access to your credit card information.
Not sure where to start? Let us help!
Answer a few questions and we’ll get you on your way