Description
Description
The ProWarm ProTouch-V2 Touchscreen Thermostat is a versatile and user-friendly solution for controlling your electric floor heating system or water heating system. With its advanced features and intuitive interface, this thermostat ensures optimal comfort while minimizing energy consumption.
Key Features:
- Dual Functionality: The ProTouch V2 thermostat is compatible with both electric floor heating systems and water heating systems, providing flexibility and convenience for various heating applications in your home.
- Energy Efficiency: This thermostat is designed to keep your home at a comfortable temperature while minimizing energy use. It offers advanced programming options and smart functions to optimize heating schedules and reduce energy consumption.
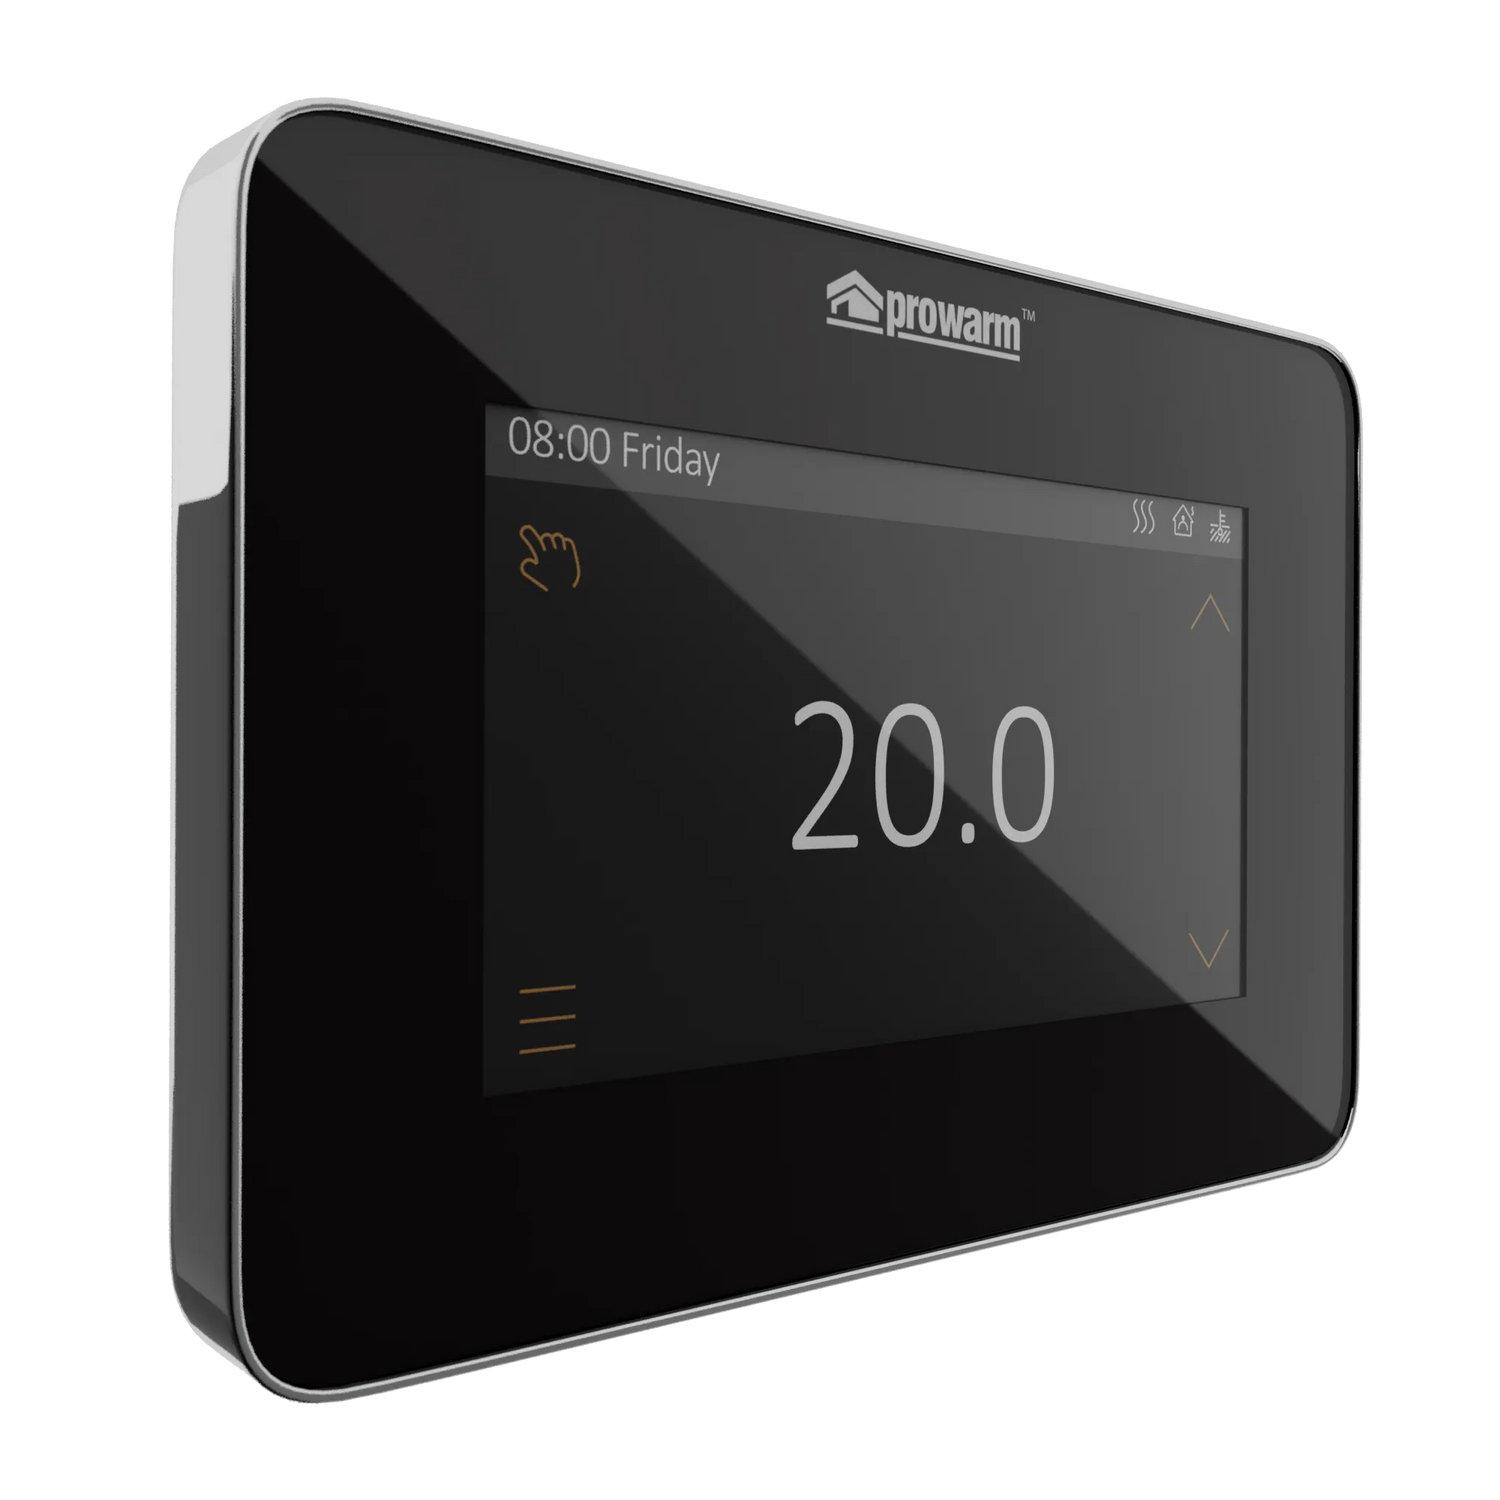
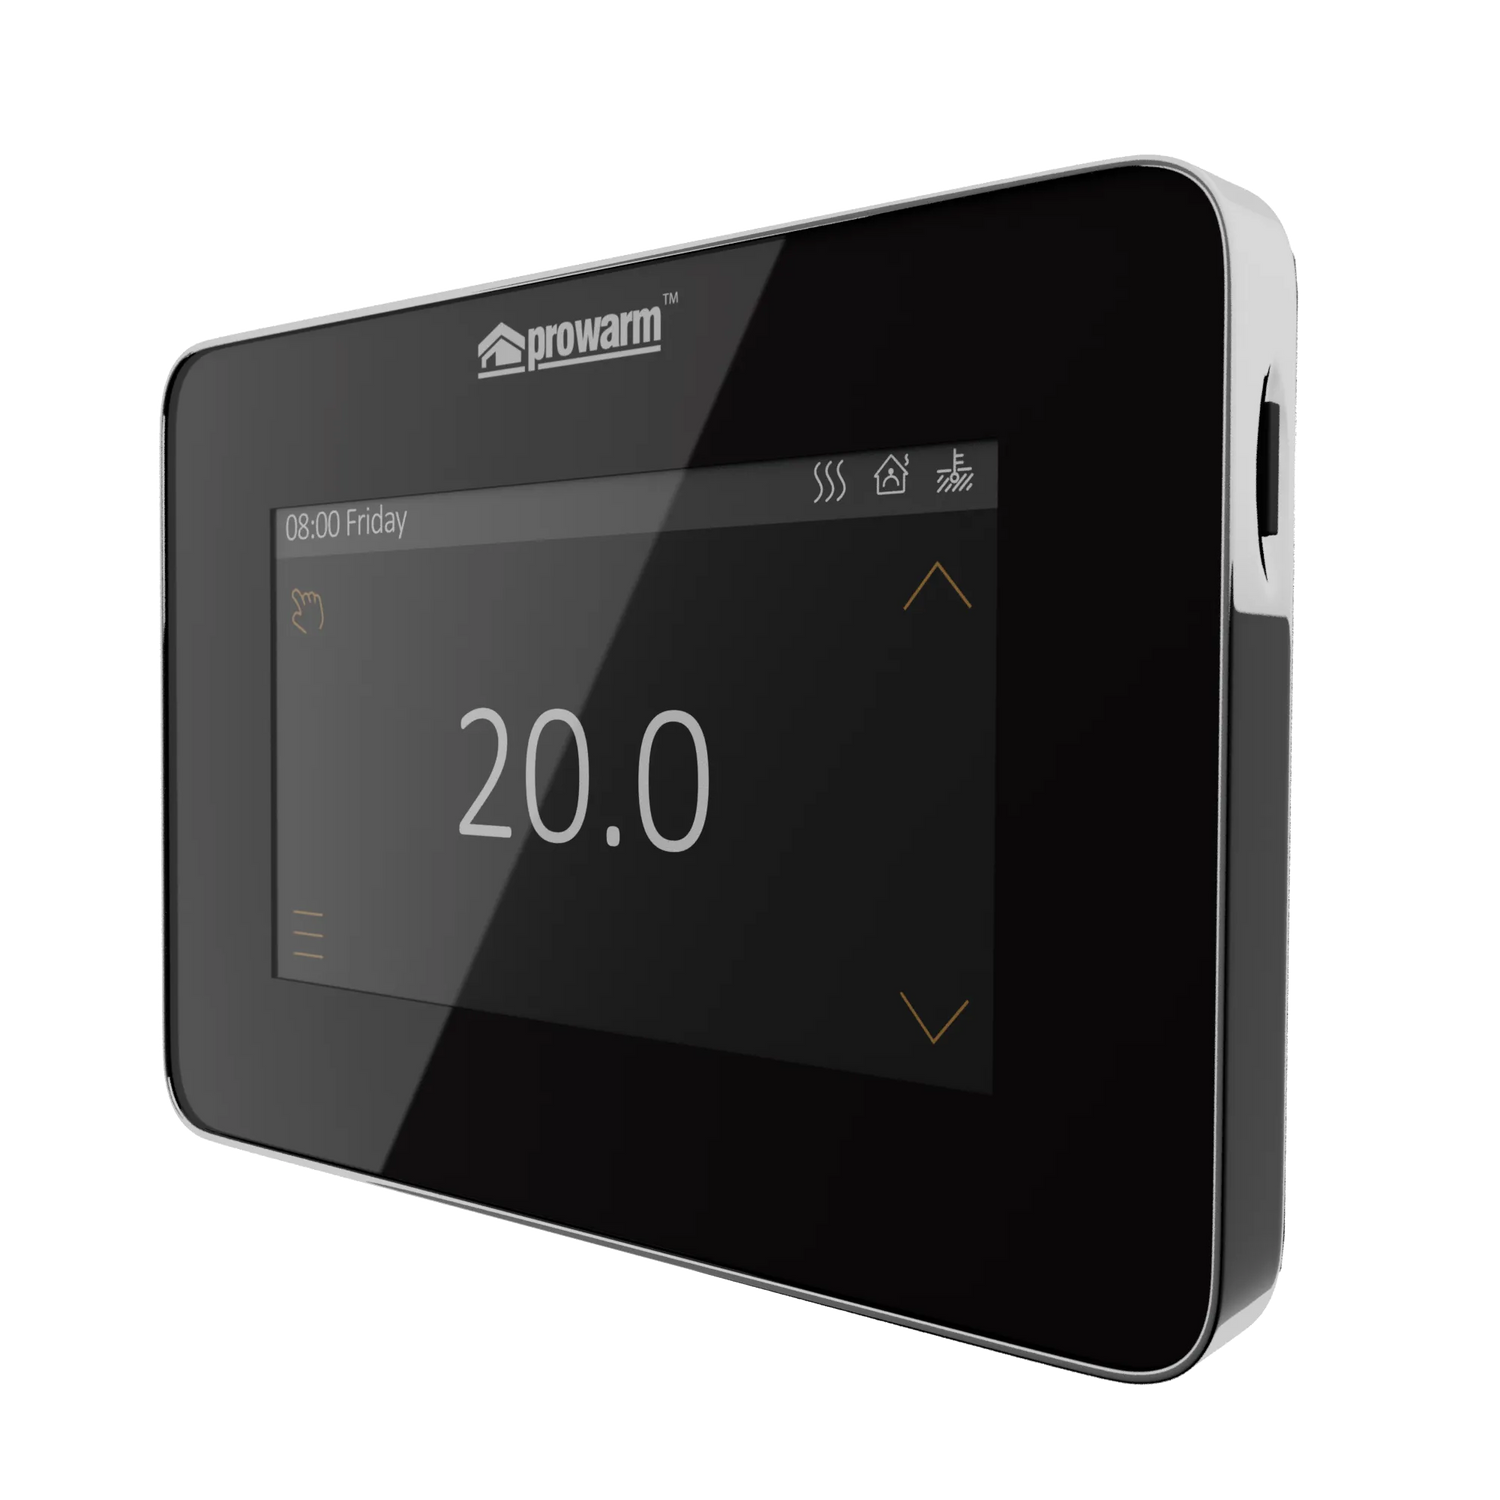
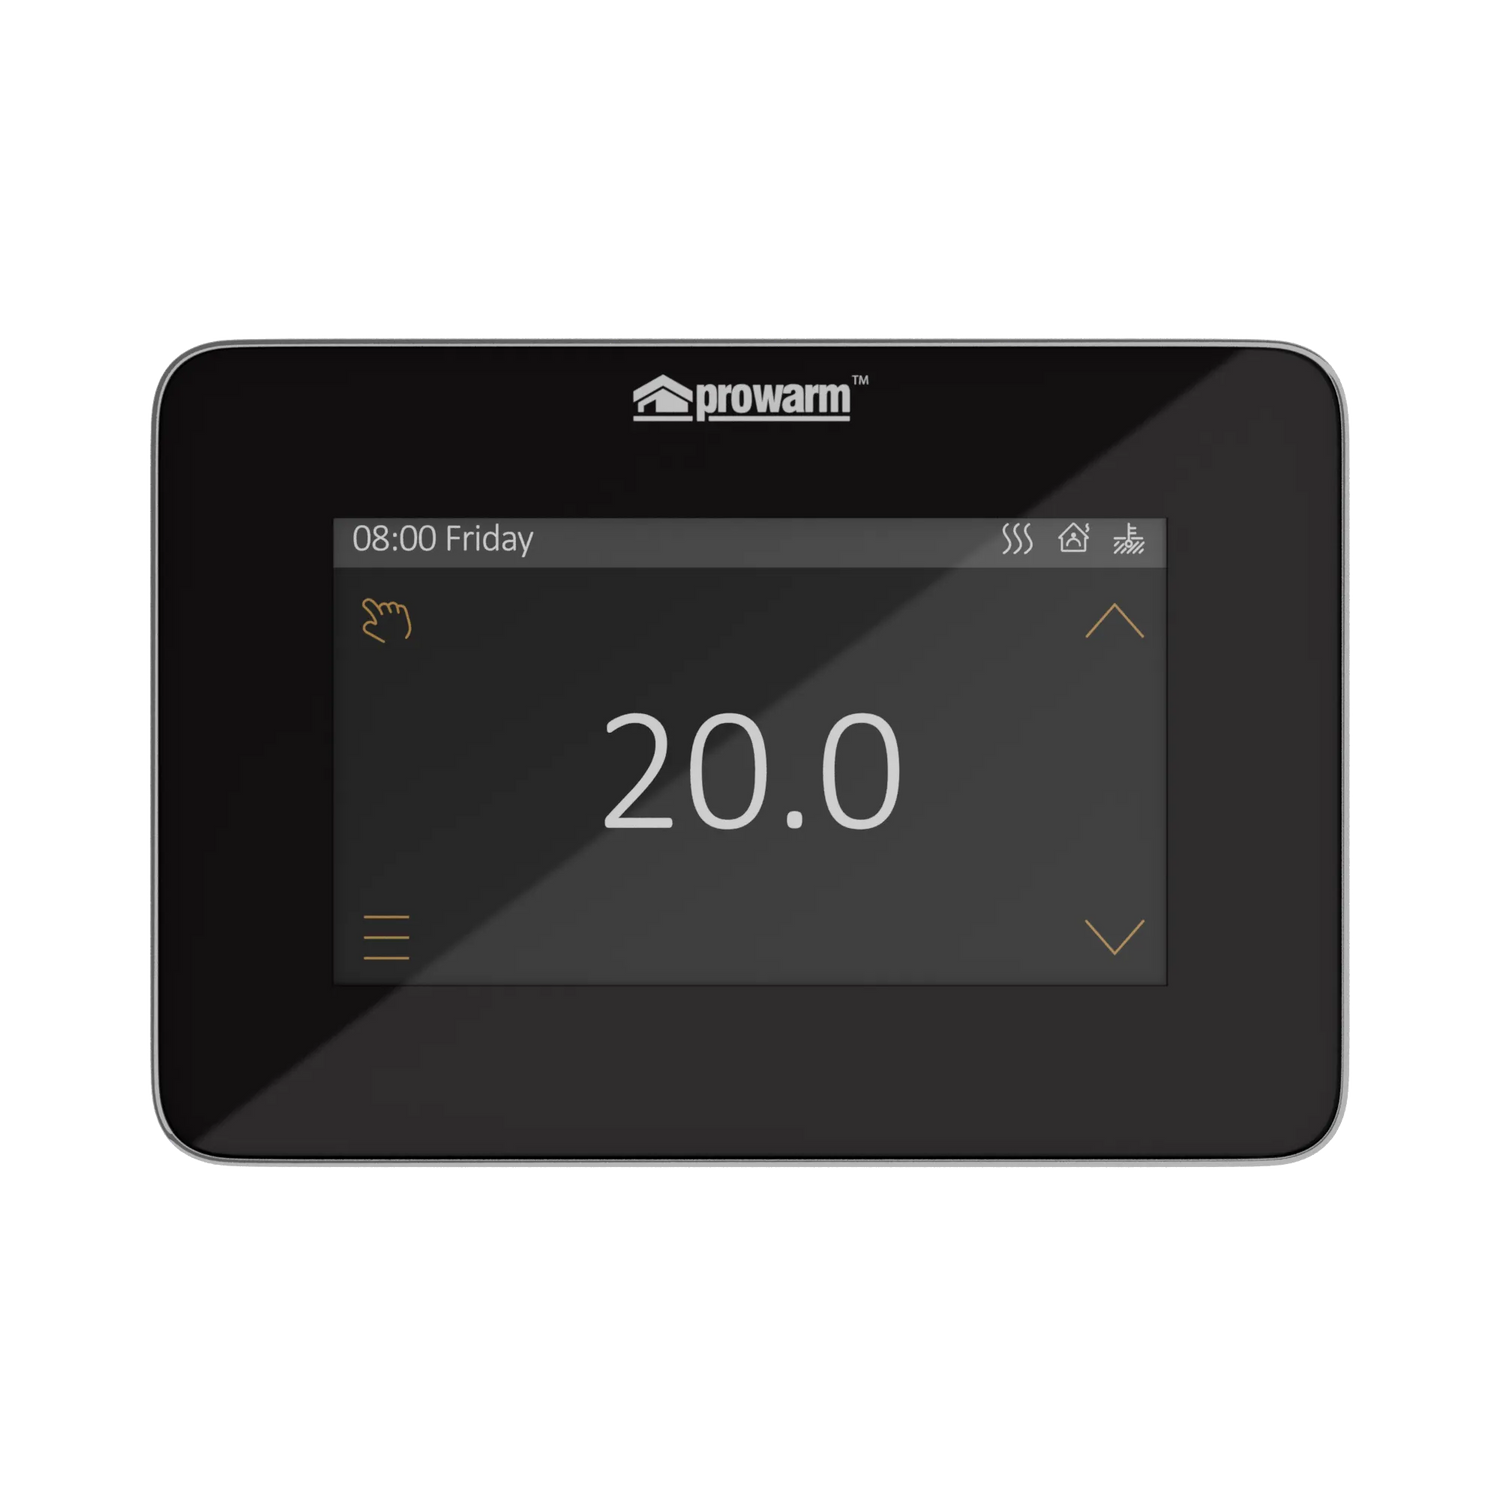
- Sleek and Stylish Design: Available in both white and black designs, the ProTouch V2 thermostat adds a touch of elegance to your interior decor. Its sensitive touchscreen interface ensures effortless operation and enhances the overall user experience.
- Intuitive Touchscreen Display: The thermostat features a modern white backlight touchscreen display that provides clear and easy-to-read information. It offers various control options, including holiday mode, manual override, and up to four set points per day, allowing you to customize your heating preferences.
- Lifetime Warranty: As a testament to its quality and durability, the ProTouch V2 thermostat comes with a lifetime warranty, providing peace of mind and ensuring long-term satisfaction with your purchase.
- High Switching Capacity: With the ability to switch up to 16 amps, this thermostat can handle the power requirements of your heating system efficiently and effectively.
- Advanced Modes: The ProTouch V2 thermostat offers a range of advanced modes to suit different scenarios. It includes auto mode, hold mode, holiday mode, frost mode, and open window detection, ensuring optimal comfort and energy savings in various conditions.
- Adaptive/Learning Function: The thermostat is equipped with an adaptive or learning function that analyses your heating patterns and adjusts the settings accordingly, maximizing comfort and minimizing energy waste.
Experience the convenience, style, and energy efficiency of the ProWarm ProTouch V2 Touchscreen Thermostat. With its dual functionality, intuitive touchscreen display, advanced modes, and lifetime warranty, this thermostat provides precise control and optimal comfort for your electric or water heating system.
Specifications
| Supply Voltage | 220-240Vac 50/60Hz |
|---|---|
| Max Load | 16 Amps |
| Standby Power | <2W |
| IP Rating | IP20 |
| Max Wire Diameter | <2.5mm2 |
| Dimensions | 136mm Wide x 94mm Height x 15mm Depth/td> |
| Probe Rating | 10Kohm |
Must be fitted into a 35mm deep single gang electrical back box
Reviews
Reviews
Specifications
Specifications
Specifications
High-Quality Construction
ProWarm Electric Underfloor Heating Sticky Mat: Utilizes the same premium cable as the ProWarm Loose Cable kit. The mat incorporates a sticky fibreglass mesh to ensure optimal heat output by maintaining proper cable spacing. Installation is straightforward—simply roll out the mat to cover the desired heating area.
Heating Cable: Series-type with twin conductors and a 4m cold lead at one end.
Cable Composition: The resistance heating wire is encased in a fluoropolymer insulation layer, wrapped in protective metal shielding, and enclosed in a final plastic outer sheath. The twin conductor cable has a final diameter of 2mm.
Junction Design: Unique design for hot and cold lead junctions ensures they are 100% foolproof.
Standards and Approvals
Standards: Meets all test requirements of IEC 60335.
Certifications: CE certified by SGS.
Performance and Benefits
Cost-Effective: Provides heat precisely where needed, optimizing heat utilization and minimizing losses.
Flexibility: Can be installed in any area or floor layout.
Comfort: Close and uniform spacing of heating cables, combined with thermostat controls, allows for precise temperature settings, enhancing comfort.
DIY-Friendly: Designed for easy installation with clear instruction manuals and professional technical support.
Versatility: Available in various heat loads and sizes to suit various flooring types.
Mat Dimensions
Width: 0.5m
Length: Dependent on the selected square meter coverage
Cable thickness: 2mm
Kit Contents
Kit Contents
Kit Includes:
- Underfloor Heating Sticky Mat (Two individual mats if kit size over 12m2)
- Floor Primer - a high-performance universal priming/sealing agent suitable for plaster, timber, brick, and block work.
- Roller - a high-quality roller for applying floor primer to the subfloor
- Adhesive tape - works to assist in holding a mat or cable in position during installation
- 2m Floor Sensor Probe Conduit - provides a protective pathway for the sensor probe, connecting to your thermostat
- Digital thermostat (if selected) - adjust the heat settings and enjoy warm floors through a simple touch of a button
Installation
Installation
Installation
Please Note: This is a brief guide. Always refer to the full installation manual for comprehensive instructions.
1. Plan Your Layout:
- Divide the floor into a series of rectangles. Use these measurements to calculate the number and sizes of mats needed, excluding permanent or static fixtures from your calculations.
2. Prepare the Subfloor:
- For screed over concrete floors, lay insulation boards to minimize heat loss and ensure quicker warm-up times.
3. Lay the Heating Mat:
- Start with the first run of the mat. Cut the mat (leaving the cable intact) at the end of each run, turn it 90° or 180°, and continue laying.
- Once the area is covered, adjust the mat so that the loops are evenly spaced.
- Secure the mat to the subfloor using the special tape provided.
4. Electrical Connections:
- Install an RCD fused spur to power the thermostatic controller/programmer and the mat system.
- Lay the temperature probe from the timer-thermostat onto the floor, position it equidistant between two cable loops, and secure it to the surface.
- Position the unheated power supply cable from the end of the mat system near the thermostat.
- Make all necessary connections to the power supply. Run the heaters for no more than 10 minutes to ensure they are heating up properly.
5. Finish the Flooring:
- Option 1: Apply a thin, self-levelling screed over the mat and allow it to dry completely before laying tiles.
- Option 2: Directly trowel flexible tile adhesive over the mat and lay the floor tiles.
- After grouting, let the tile adhesive cure fully before switching on the system.
Manuals
Manuals
Payment & Security
Payment methods
Your payment information is processed securely. We do not store credit card details nor have access to your credit card information.
Not sure where to start? Let us help!
Answer a few questions and we’ll get you on your way


