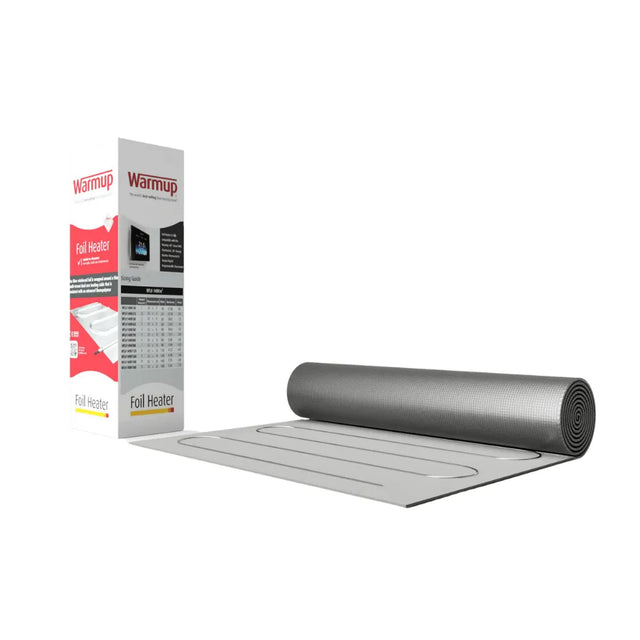


Warmup Foil Underfloor Heating (Wood, Vinyl & Carpet)
Description
Description
The Warmup Foil Underfloor Heating Mat safely heats under most wooden and floating floors. This underfloor heating foil can also be used to safely heat under carpet, vinyl and other resilient floors when combined with Warmup insulated underlay and Warmup dual overlay.
Simple to install, the foil heaters design promotes even warmth from beneath your flooring, eradicating problems with hot and cold spots. It can be conveniently installed under the floor finish in both dry and wet areas without the need for additional earth grids.
The Warmup underfloor heating foil is using thermal and reflective reinforced aluminium foil that helps in conserving heating energy. Improved savings can also be achieved by using the foil heater in conjunction with Warmup Insulation Board as it dramatically reduces heat up times of your underfloor heating system.
Please ensure all safety guidelines are adhered to during and after installation of this product.
Features and benefits
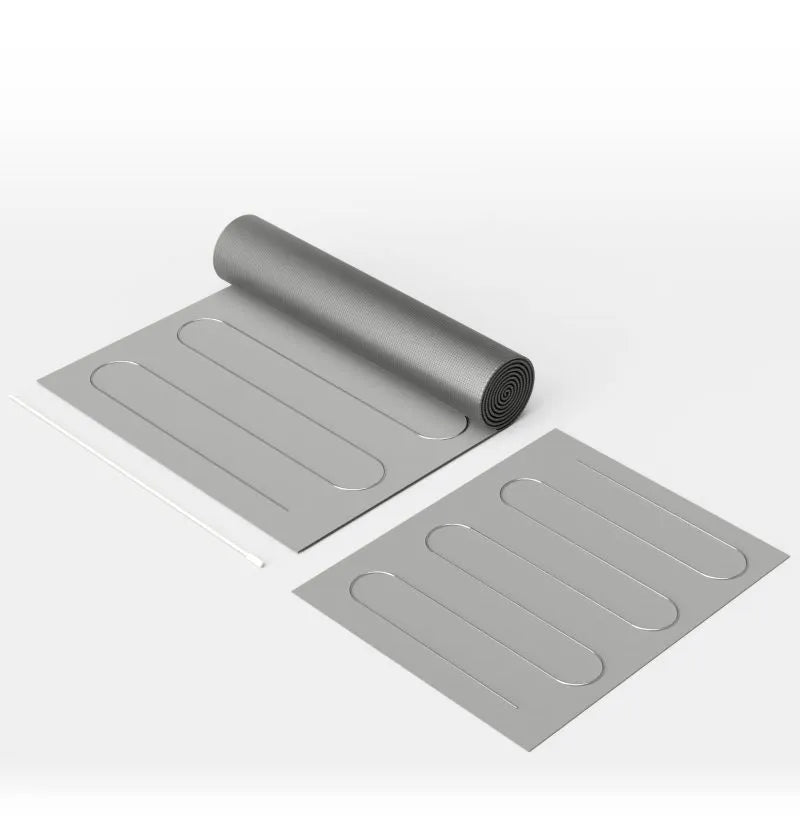
- Underfloor Heating Sticky Mat (Two individual mats if kit size over 12m2)
- Installed directly under floor finish; no self-levelling required
- Fully earthed flat aluminium foil won't raise floor levels
- Wire based system can be adapted to fit around objects
- Great for heating under floating floors such as laminate and hardwood.
- Approvals: CE mark and ASTA BEAB
- 15-Year Warranty
- The underfloor heating foil comes with Warmups unique Safety Net Installation Guarantee
Specifications
| Construction | ECTFE wire encased in aluminium foil |
|---|---|
| Operating voltage | 220-240V, 50Hz |
| Output rating | 140W/m2 |
| Mat Width | 0.5m |
| Cold Lead Length: | 3m |
| Heating Cable Spacing | 50mm |
Installation
For full instructions, and how to combine Warmup dual overlay and insulated underlay for installing under resilient floors such as carpet, vinyl and linoleum please refer to the installation manuals.
- Before installing, draw an installation plan showing the placement of the mats, floor sensor, and junction box or boxes. The Warmup Foil heating system should cover at least 80-90% of the floor area of your room to be used as a primary heat source.
- Clean all debris from the floor base and place the insulation pads or boards as per the manufacturer's instructions. And then clean all debris from the surface of the insulating material.
- Roll out the Foil Heating panels on top of the insulating material. Ensure that each heating panel is completely flat. Make sure that the cold leads are on the side of the panel that is closest to the location of the electrical junction box.
- Stretch the Foil heating panels and secure them to the floor with the aluminium tape. Where required, additional duct tape can be used. Tape the sensor down with masking or box tape, positioning it in-between element wires of the foil system. Run the sensor cable off the heater and back to the thermostat in the same channel as the power supply cables.
- Measure the resistance of the foil heating system and record the value. Verify that the values you measure are in line with the resistance values that are printed on the installation manual.
- Switch off the Foil heater and disconnect the thermostat from the supply when fitting the flooring.
Please note, the following size kits will be made up of 2 mats:
11m2, 13m2, 14m2, 15m2, 16m2, 17m2, 18m2, 19m2, 20m2, 21m2, 22m2, 23m2, 24m2
Reviews
Reviews
Payment & Security
Payment methods
Your payment information is processed securely. We do not store credit card details nor have access to your credit card information.
Not sure where to start? Let us help!
Answer a few questions and we’ll get you on your way