

ProWarm ProTouch-V2 WiFi Touchscreen Thermostat
Description
Description
The ProWarm ProTouch-V2 WiFi Touchscreen Thermostat is a versatile and easy to use solution for managing your electric or water heating system. With a selection of cutting-edge features to maximize your heating comfort, this smart thermostat is designed to give the utmost in simplicity and an improved user experience.
Key Features:
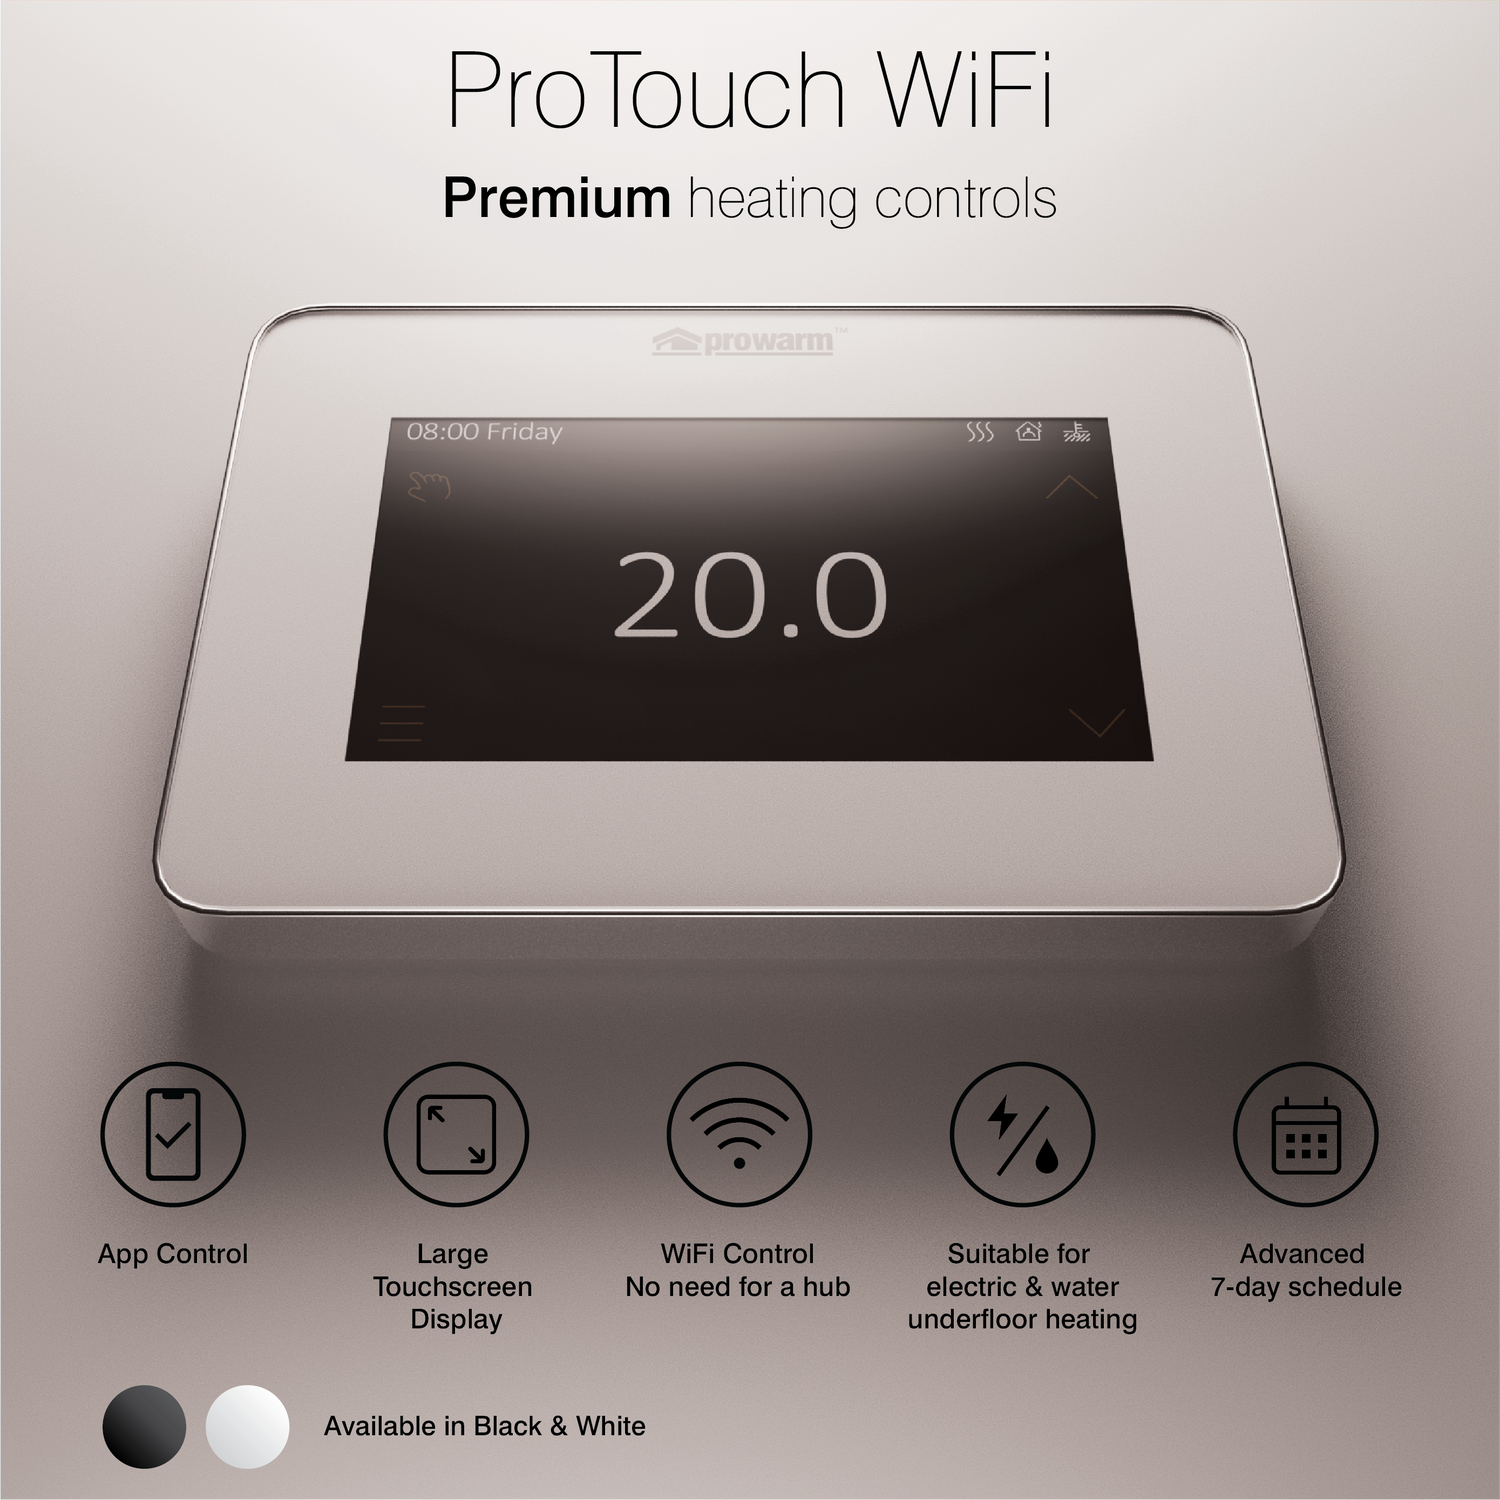
- Wireless Control: The ProWarm ProTouch-2 WiFi Touchscreen Thermostat utilizes WiFi connectivity, allowing you to control your underfloor heating system without the need for a control center. Simply pair the thermostat to your home WiFi network using the user-friendly application available on both Android and iOS platforms.
- Easy-to-Use App: The dedicated app provides intuitive control over your heating system, granting you the ability to adjust temperature settings, create schedules, and monitor energy usage from your smartphone or tablet. The app is compatible with both Android and iOS devices, ensuring seamless compatibility.
- Enhanced Programmability: The ProWarm ProTouch-2 WiFi Touchscreen Thermostat features a 7-day programmer, enabling you to set different temperature profiles for each day of the week. This allows for precise customization and optimization of your heating schedule to suit your lifestyle.
- Optimal Start Function: With the optimal start feature, the thermostat intelligently calculates the required heating start time to ensure that your desired temperature is reached at the scheduled time. This promotes energy efficiency and maximizes comfort.
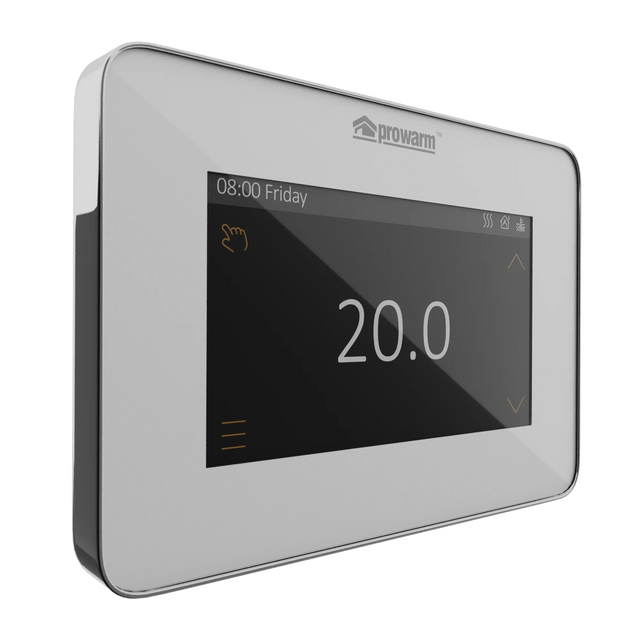
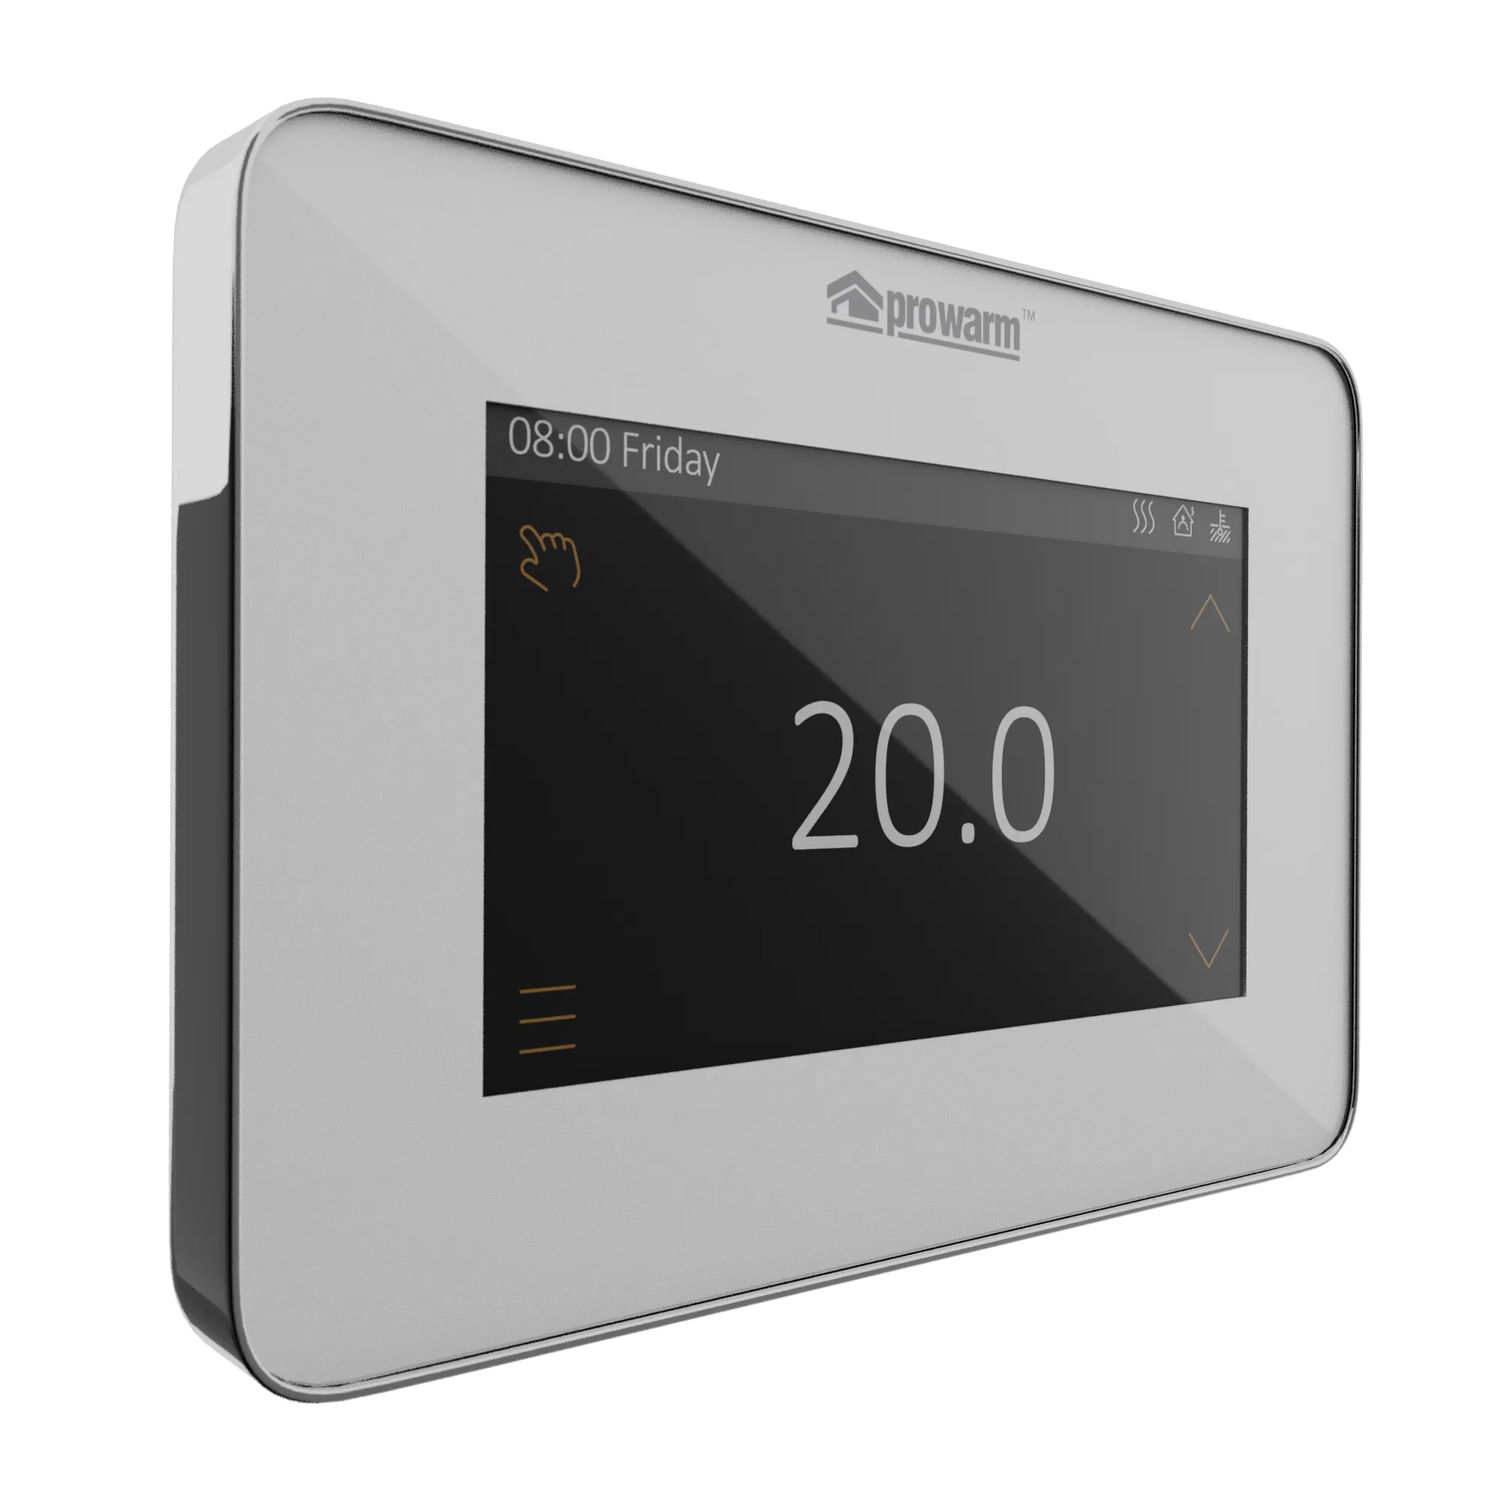
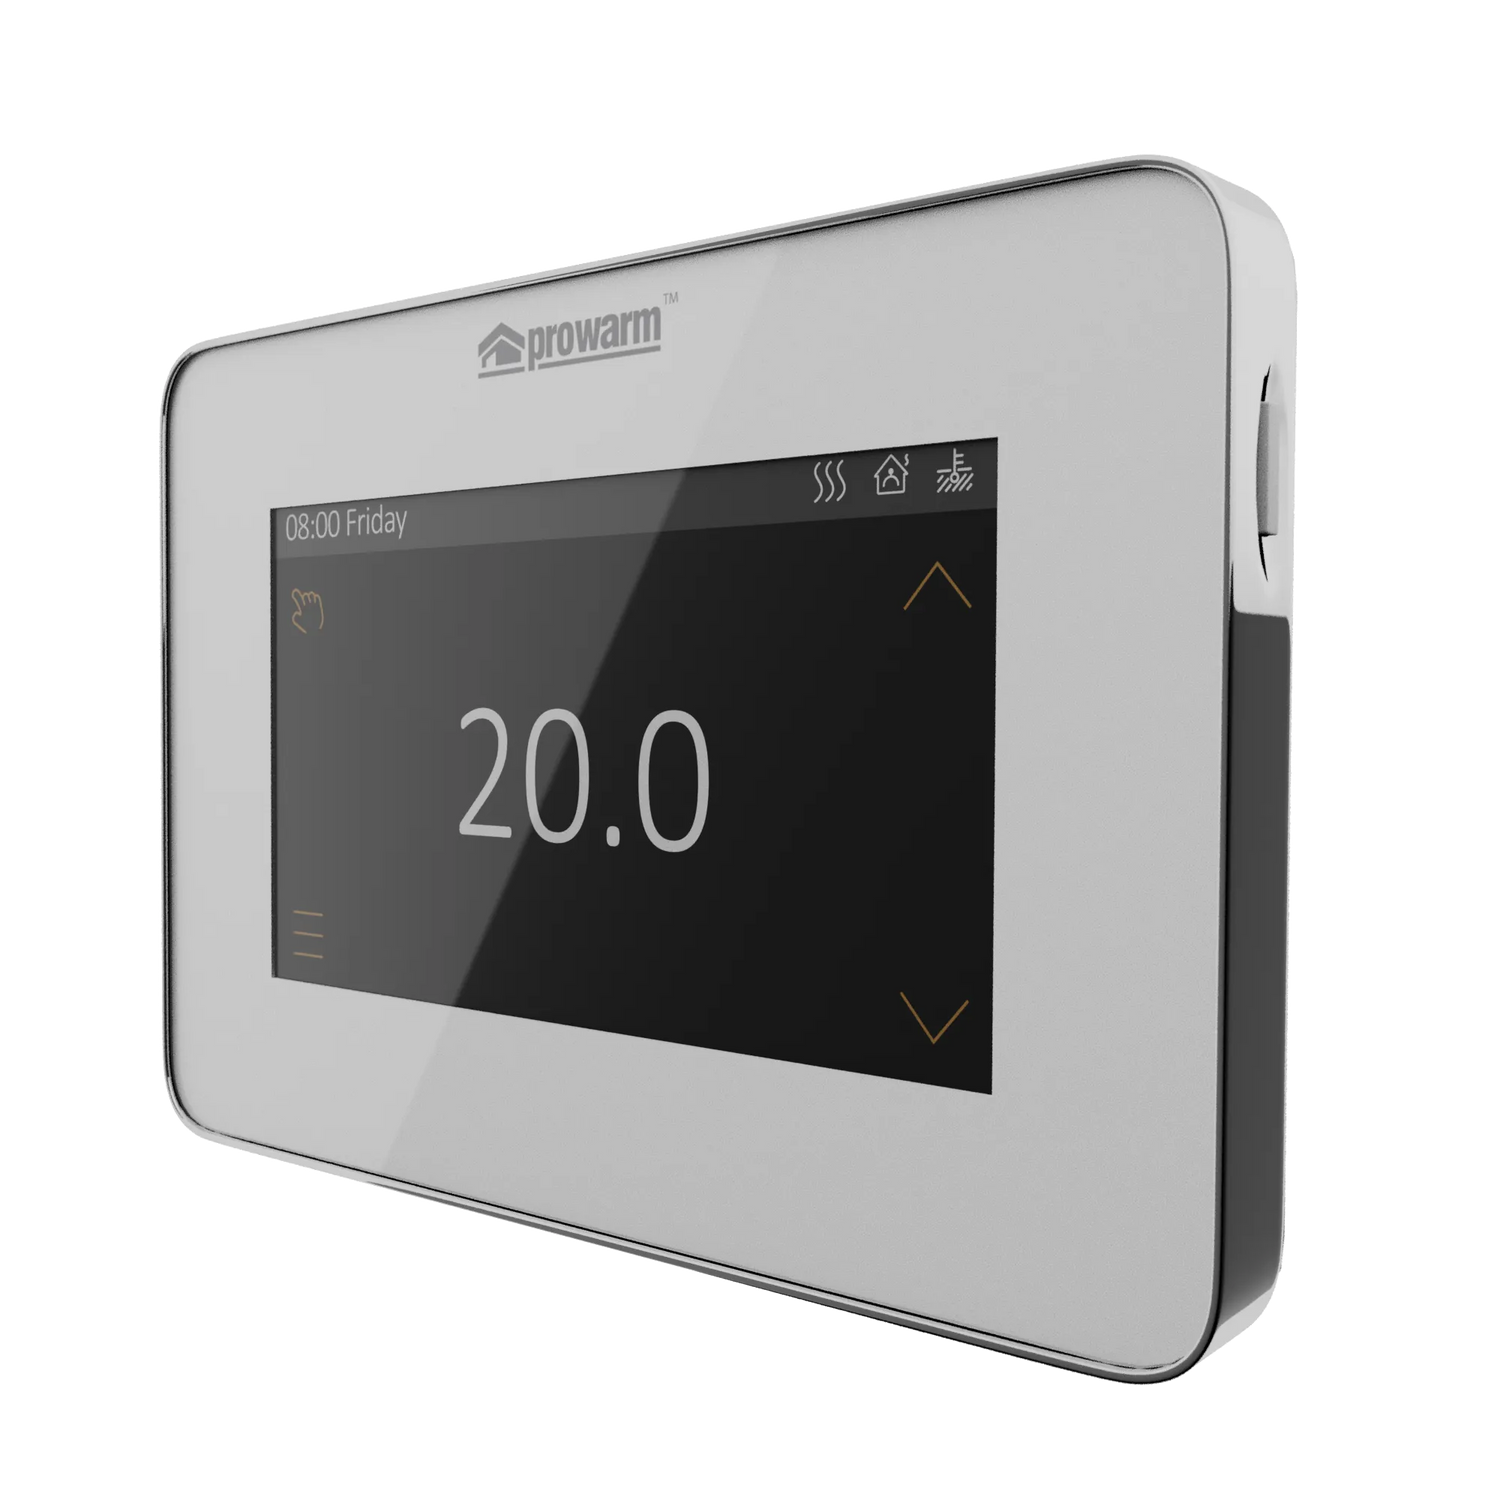
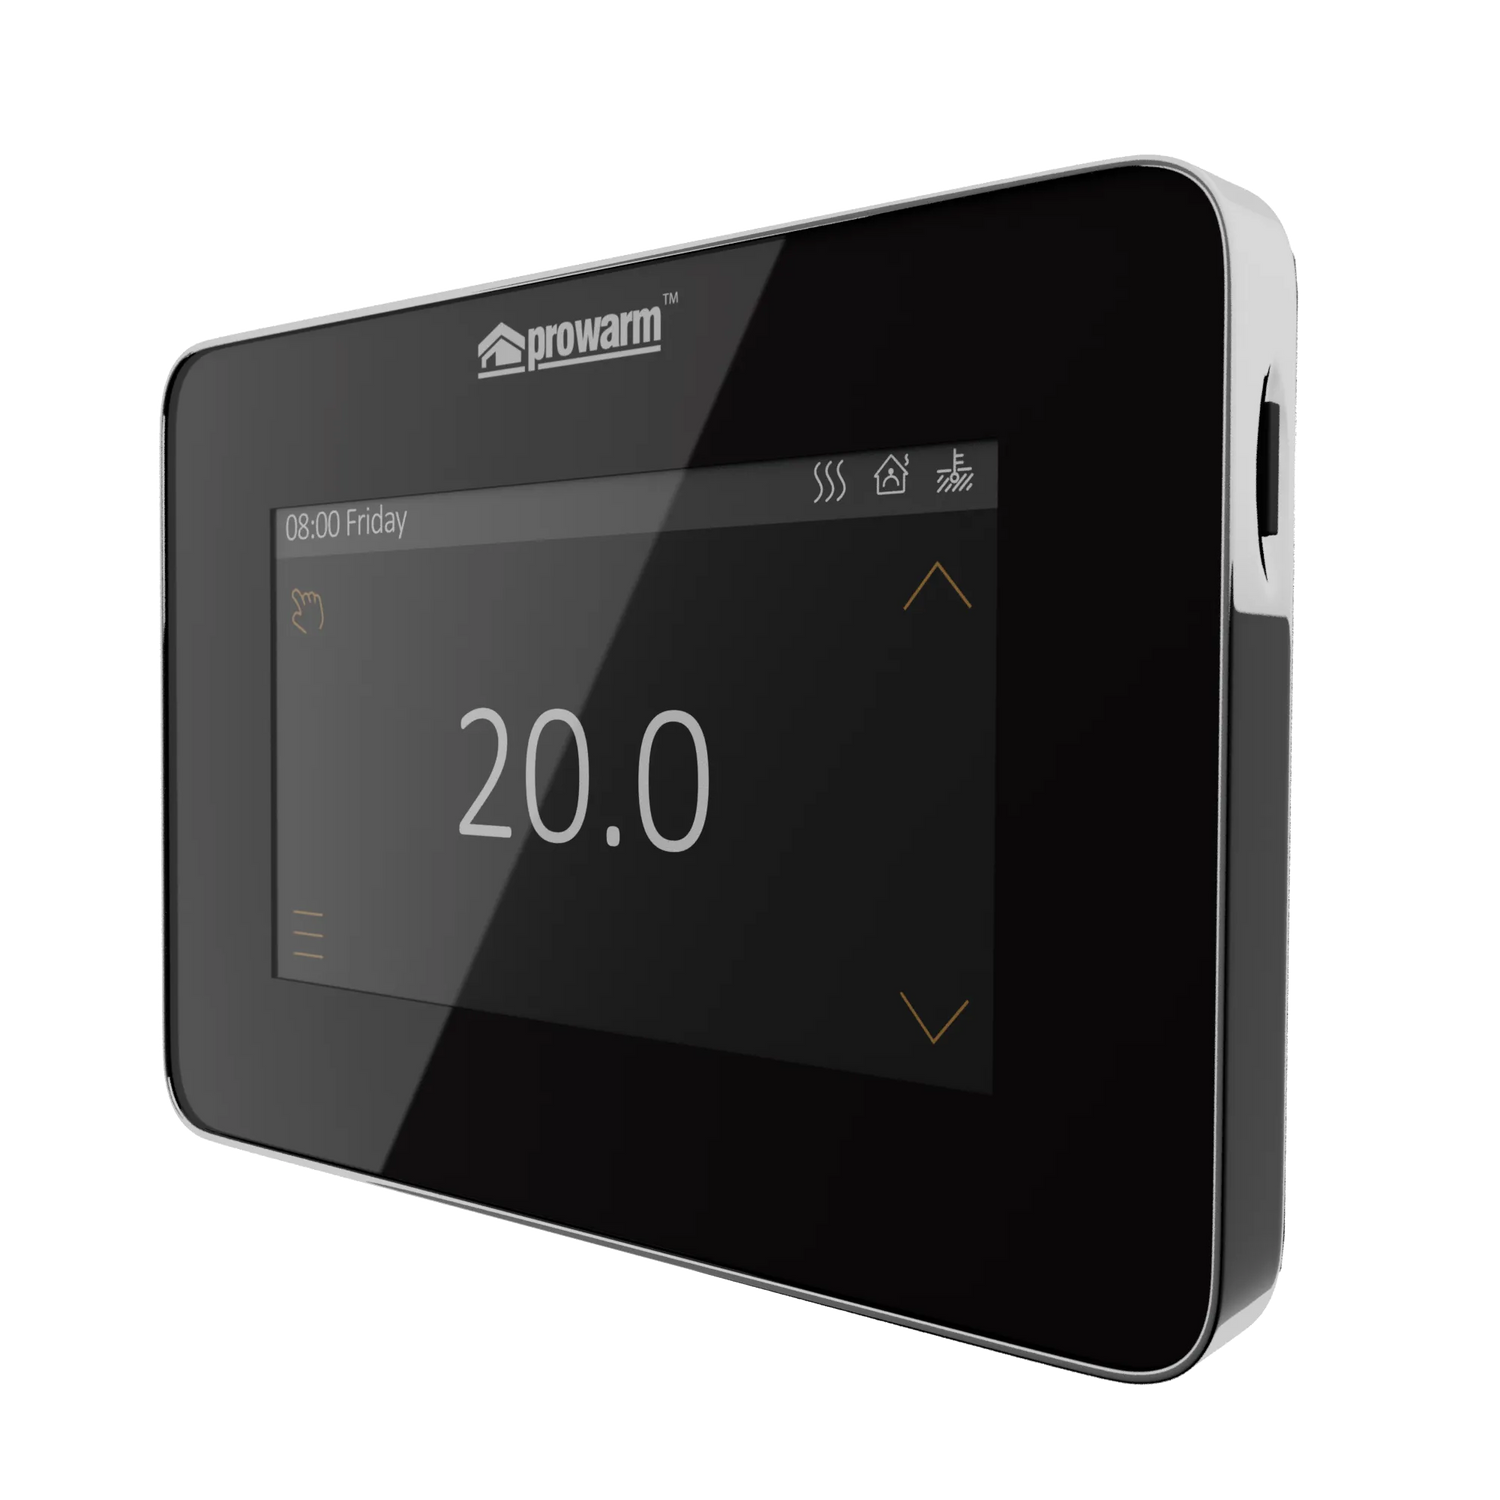
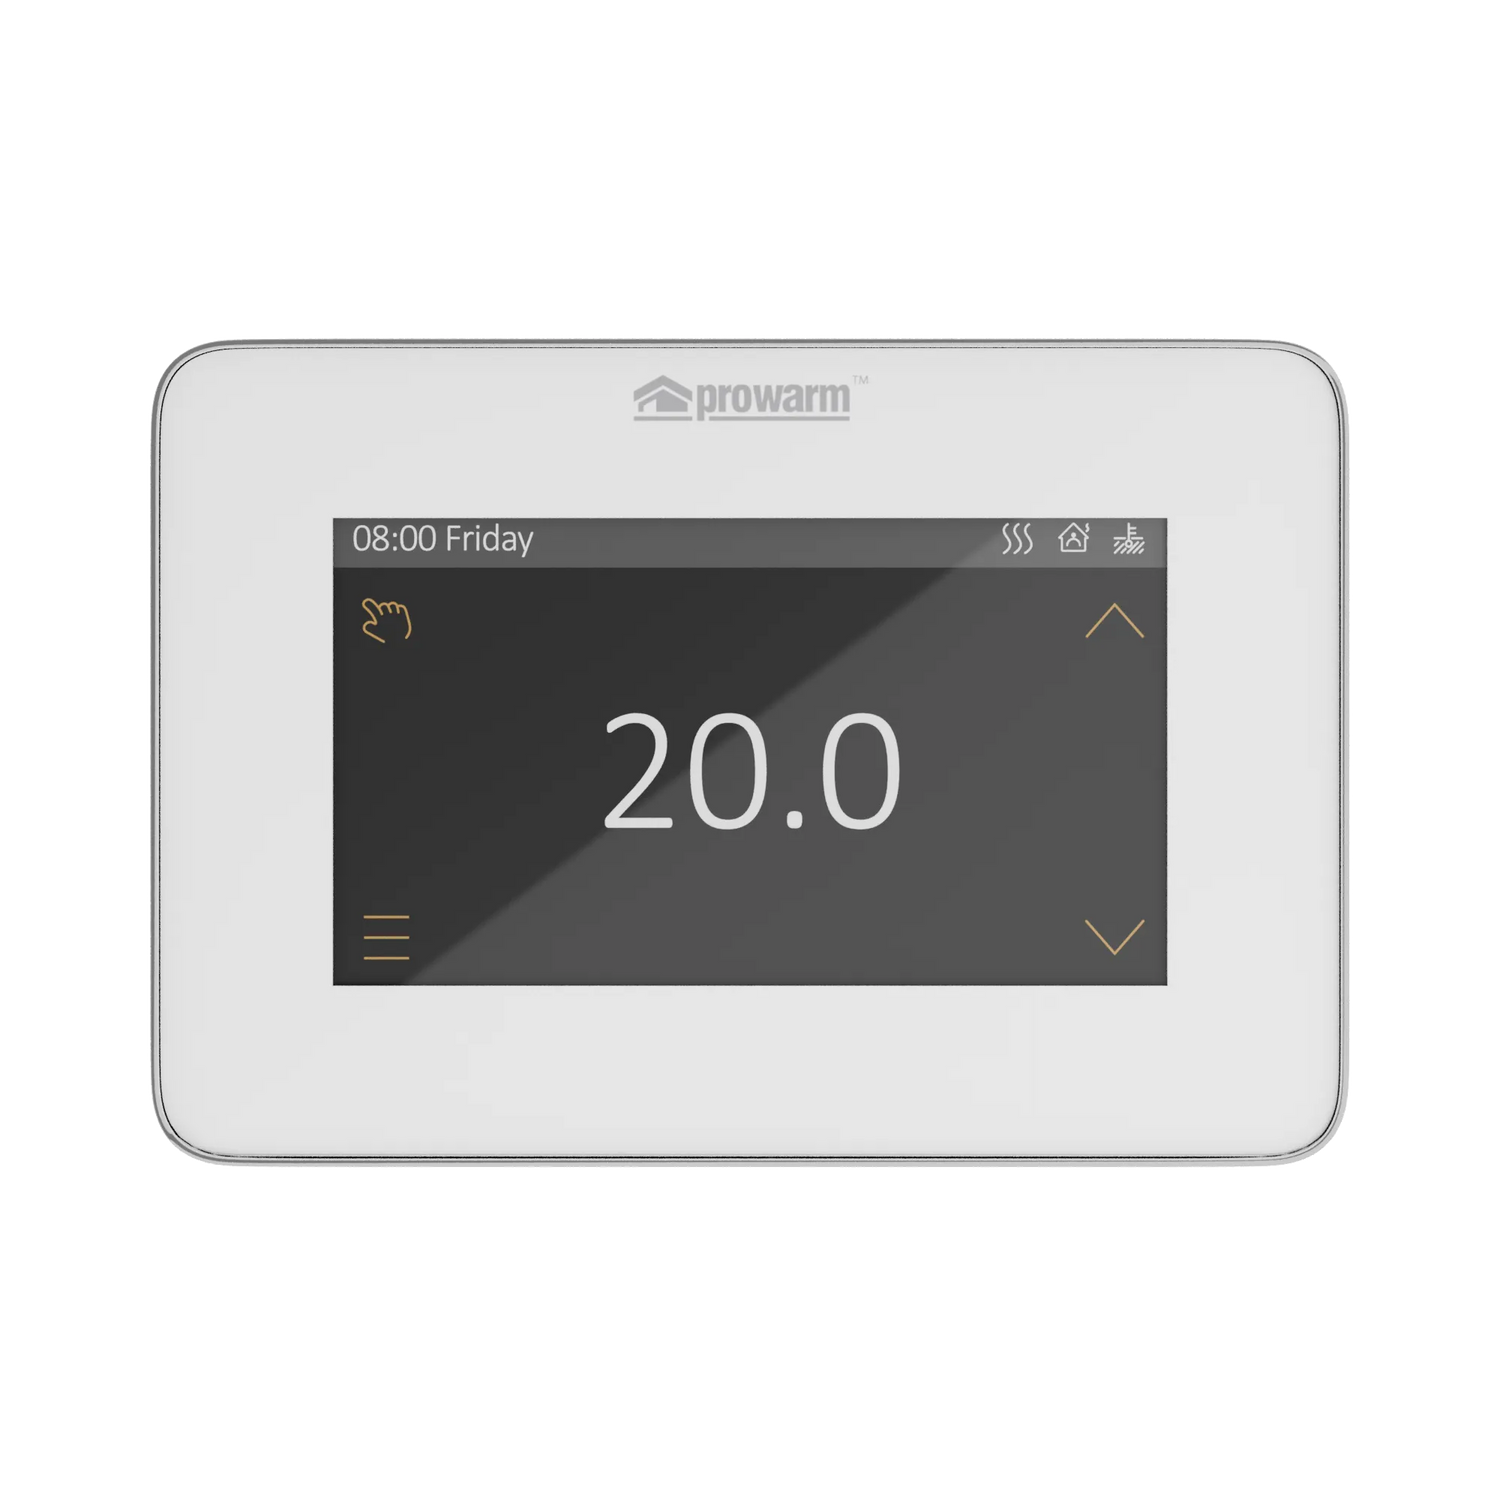
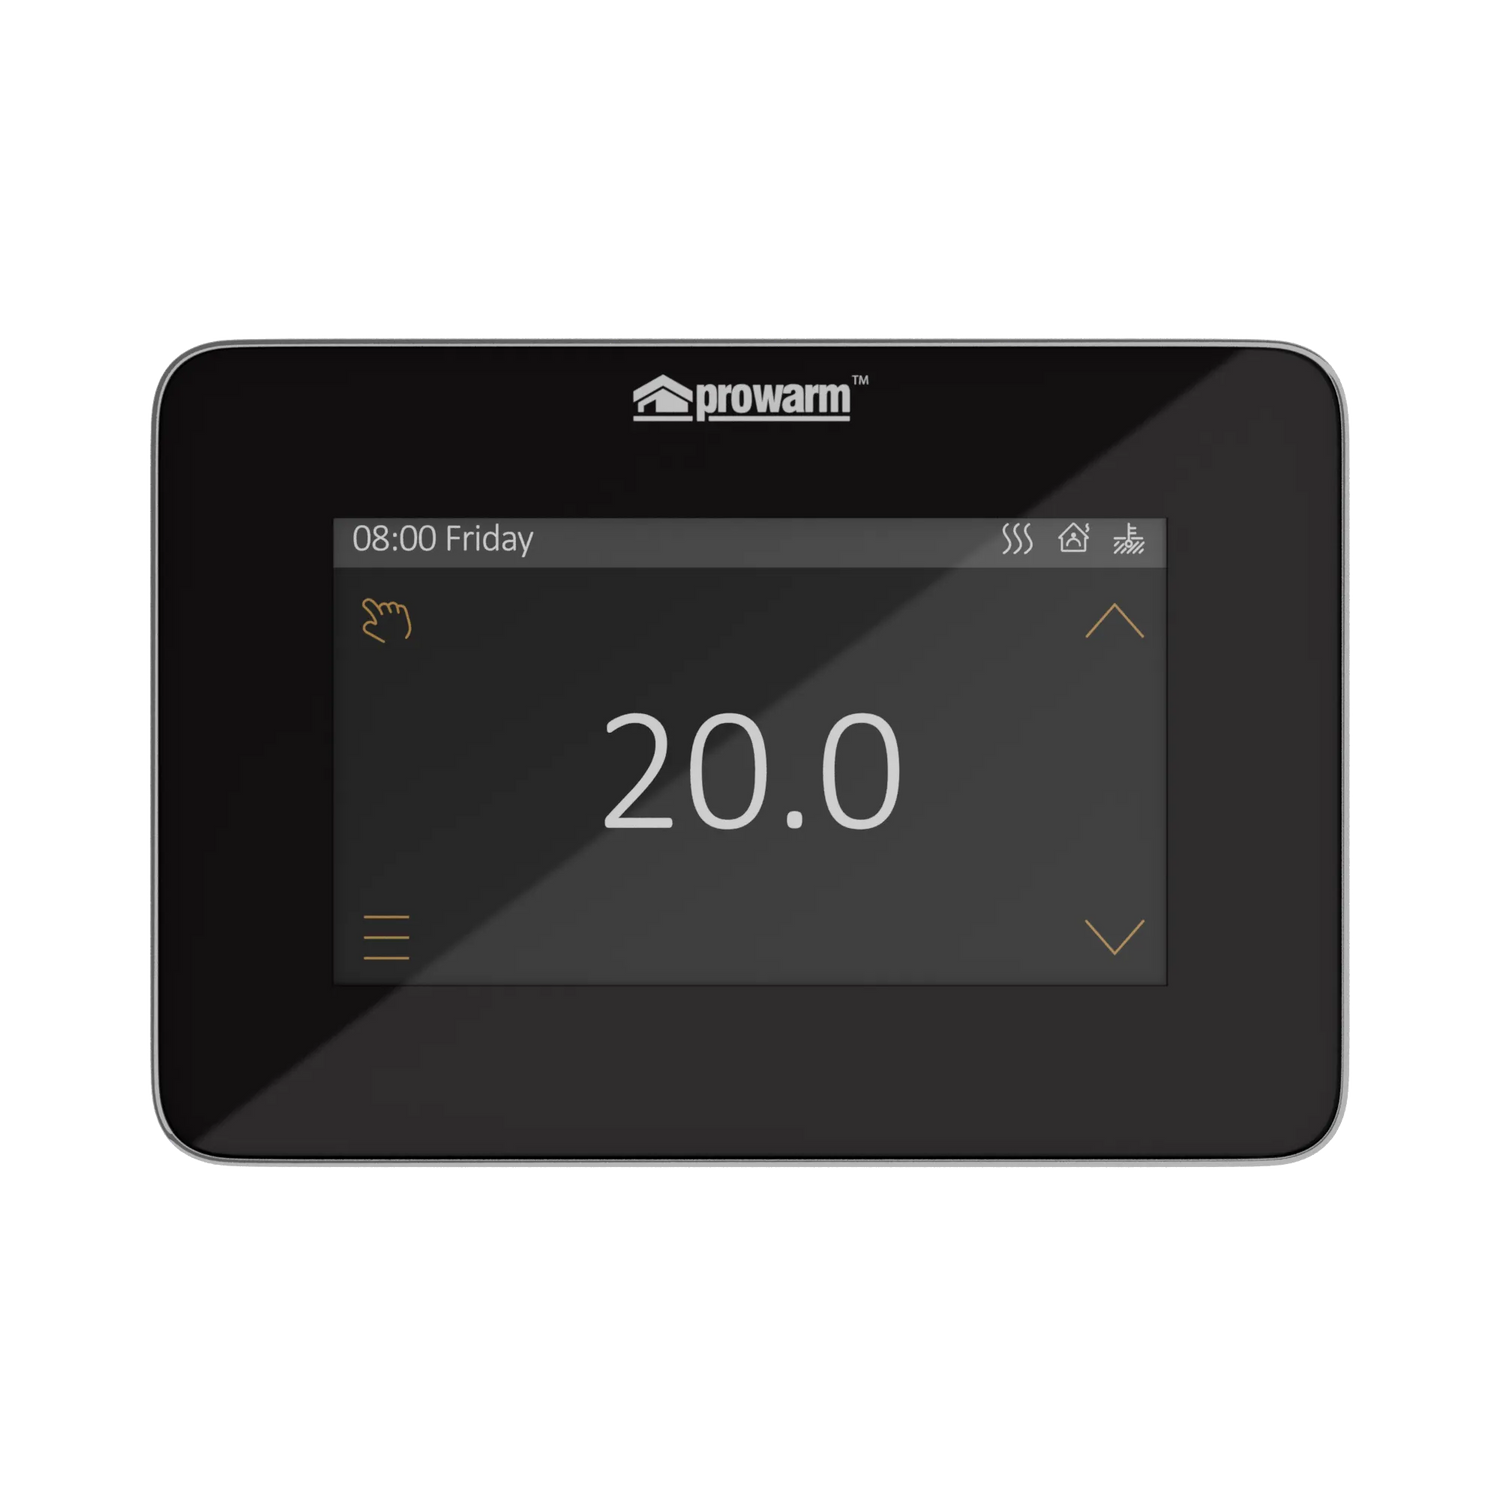
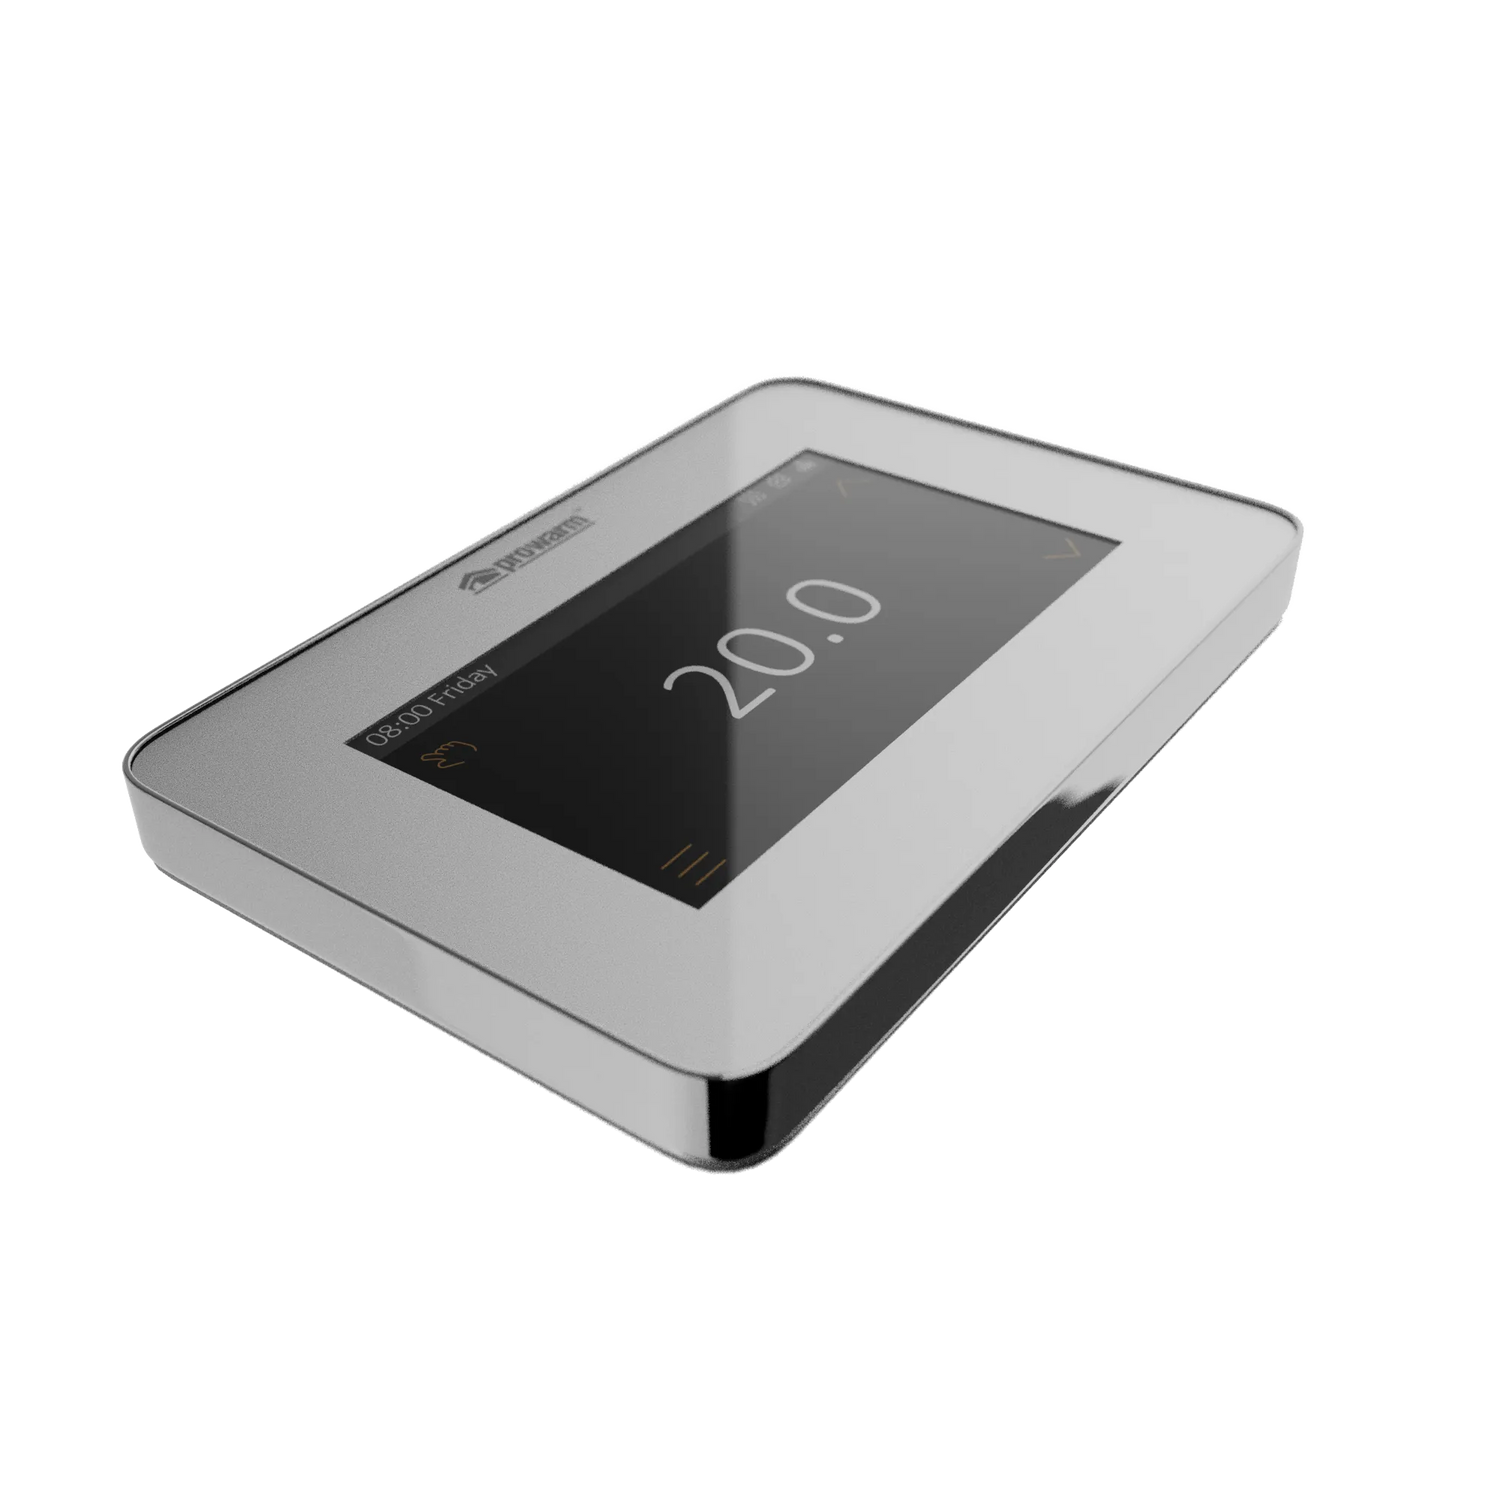
- Multi-Temperature Display: The thermostat offers a clear and easy-to-read display, providing you with real-time information on the current temperature, set temperature, and other relevant heating parameters. This allows for quick and convenient monitoring of your heating system.
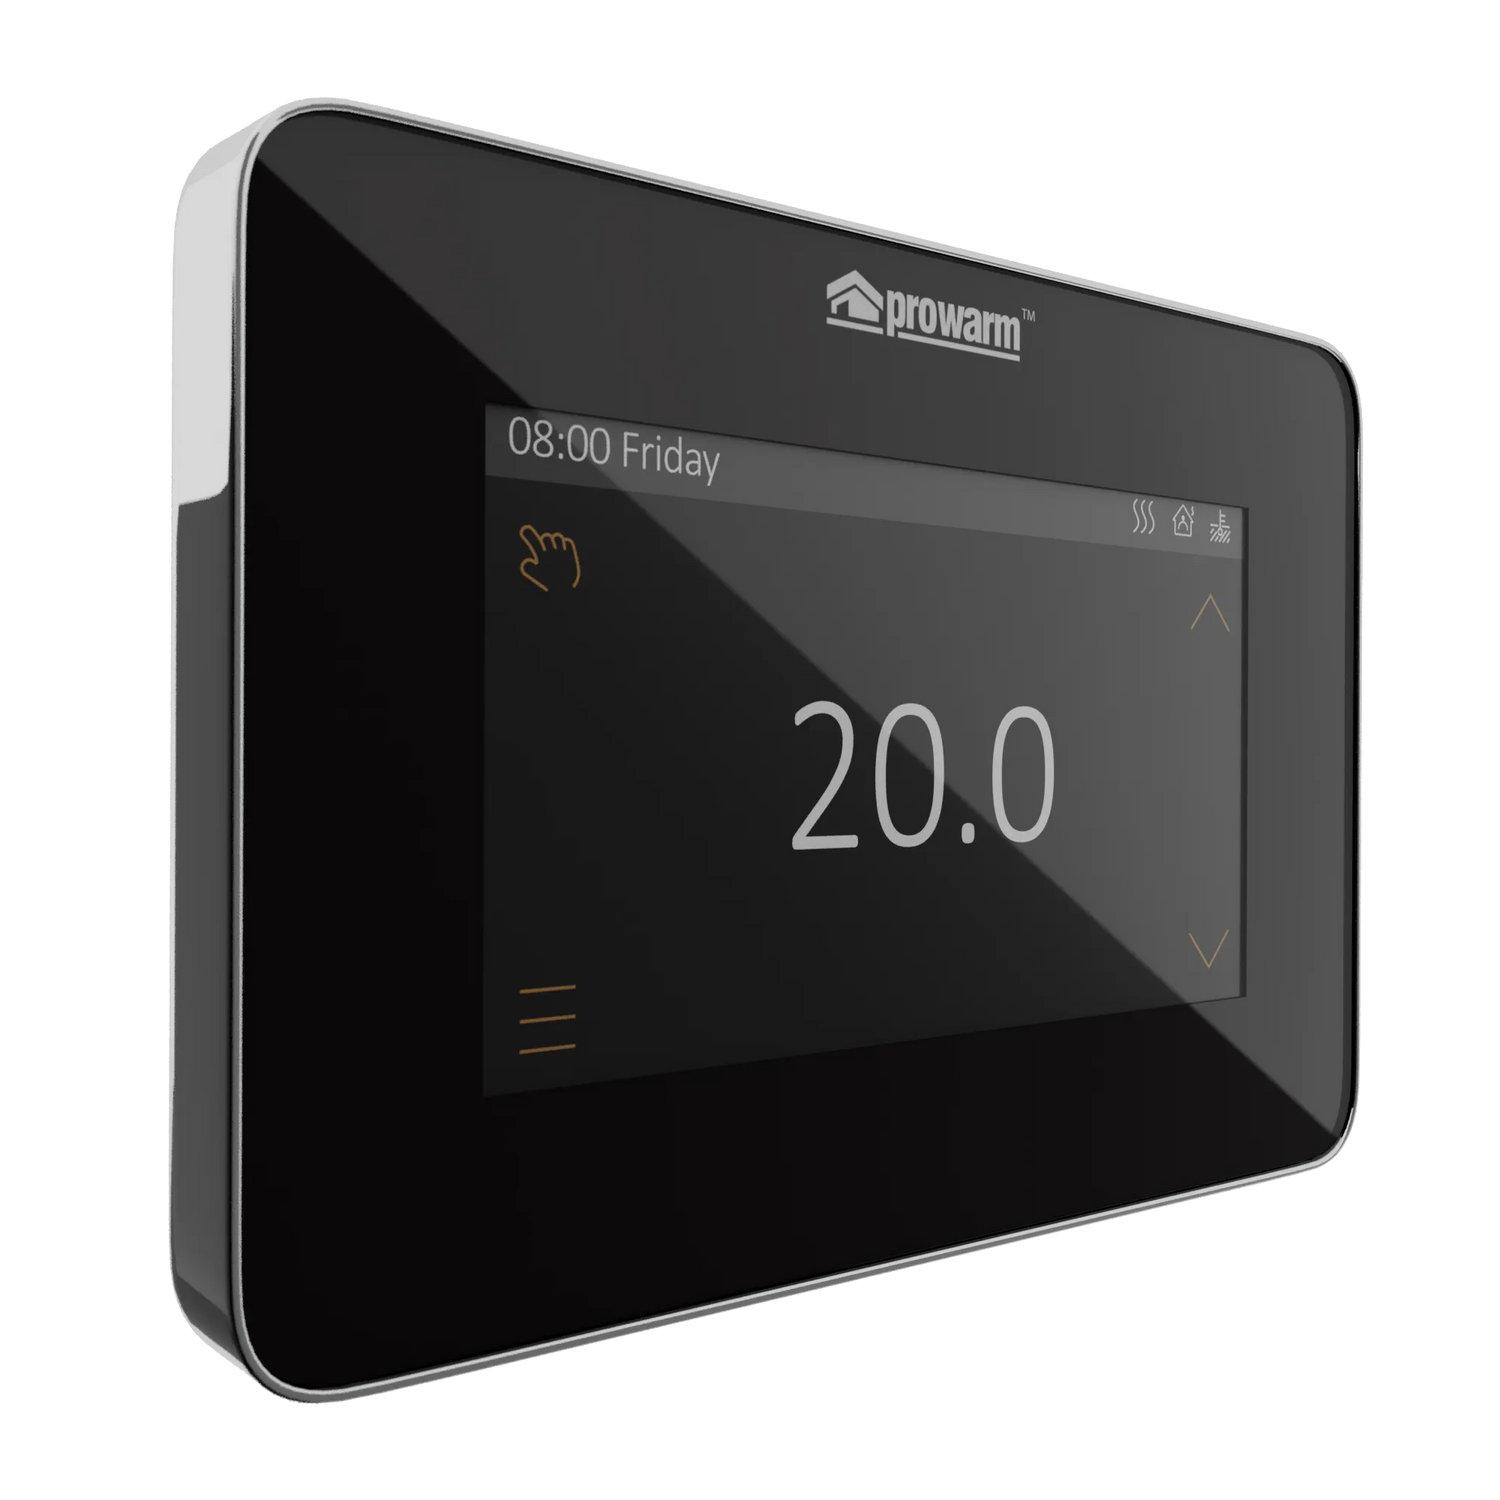
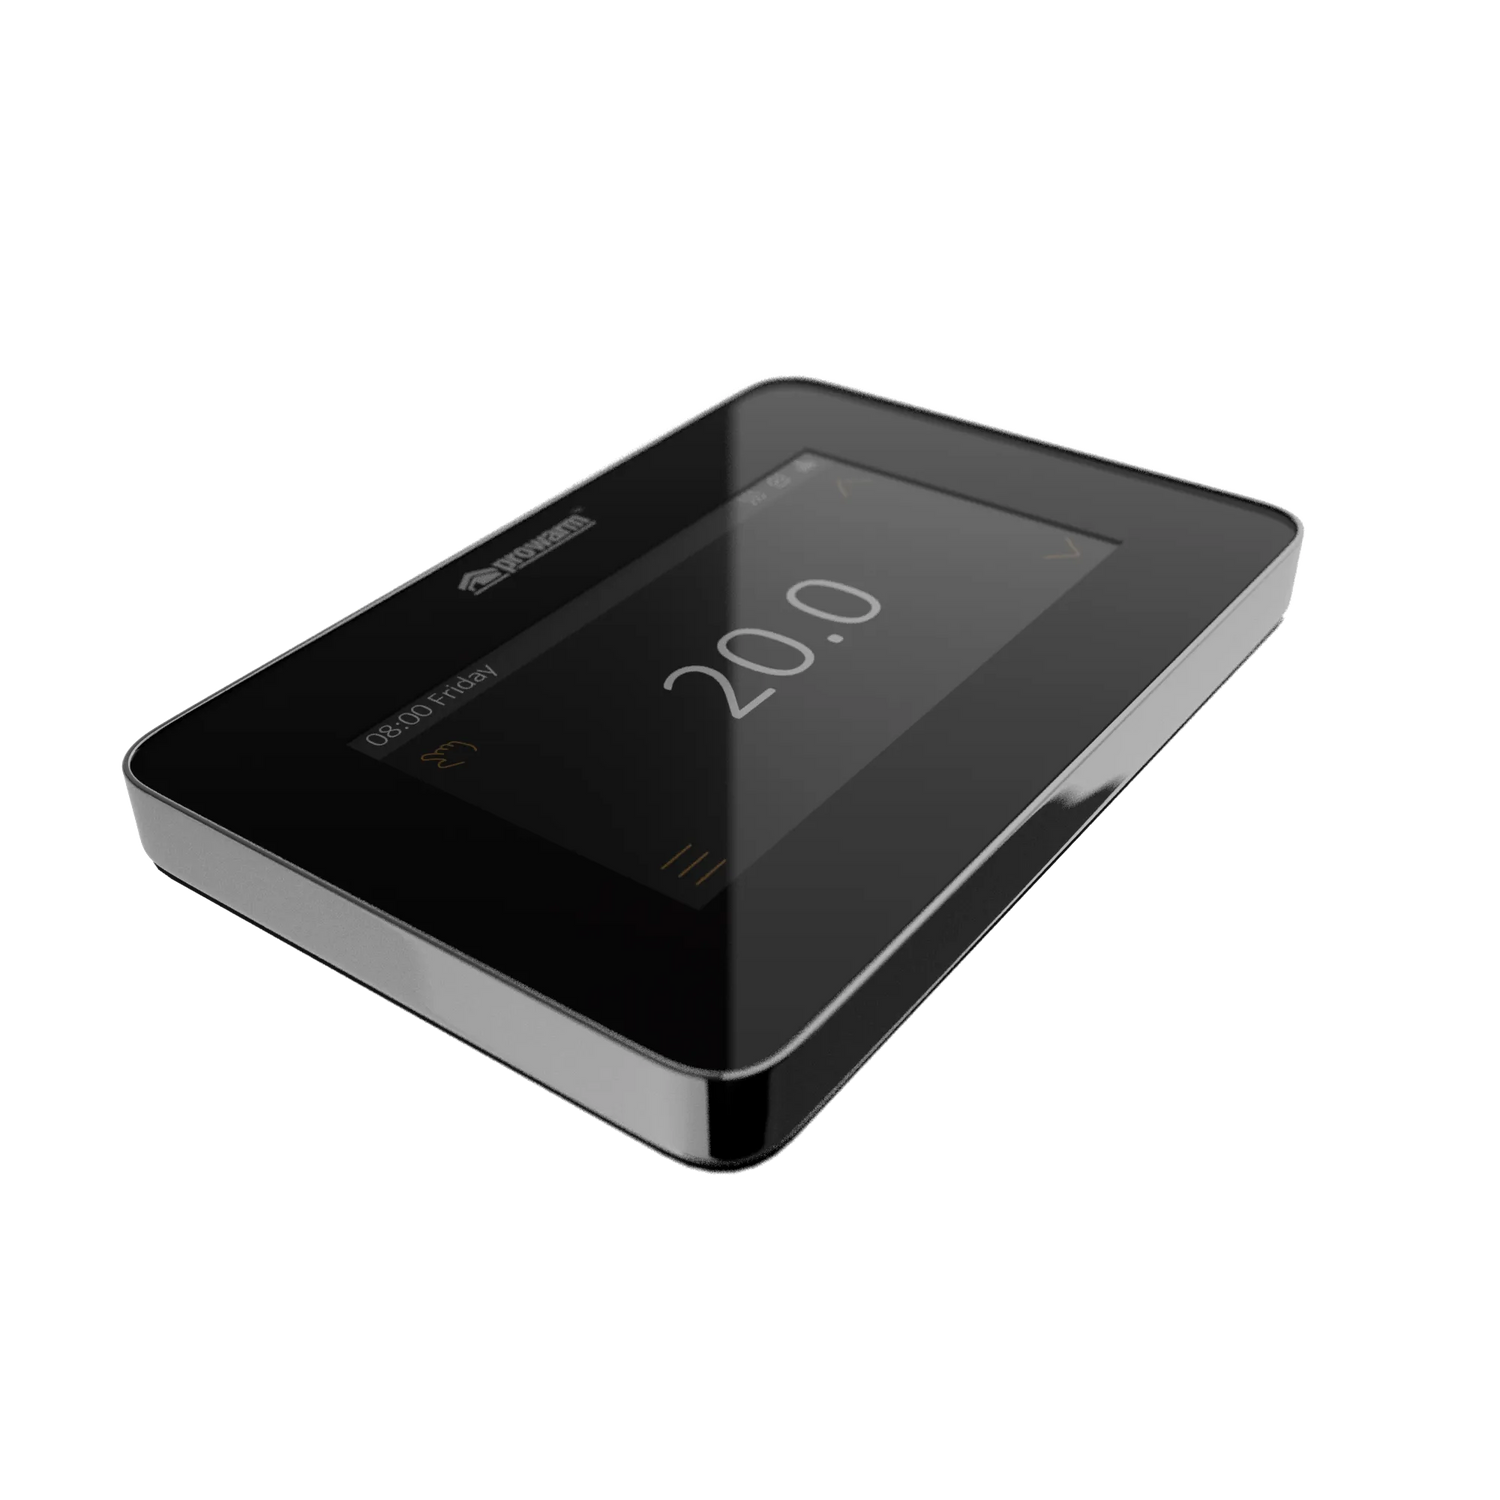
- Sleek and Stylish Design: Available in both white and black designs, the ProTouch V2 thermostat adds a touch of elegance to your interior decor. Its sensitive touchscreen interface ensures effortless operation and enhances the overall user experience.
- Intuitive Touchscreen Display: The thermostat features a modern white backlight touchscreen display that provides clear and easy-to-read information. It offers various control options, including holiday mode, manual override, and up to four set points per day, allowing you to customize your heating preferences.
- App Compatibility: The thermostat's dedicated app is available on both the iOS and Android platforms, ensuring broad compatibility with various devices. Additionally, it is compatible with Alexa, allowing for voice control and integration with your smart home ecosystem.
- Smartlife Smartliving App: The ProWarm ProTouch-2 WiFi Touchscreen Thermostat is compatible with the Smartlife Smartliving app, providing an additional option for controlling and managing your underfloor heating system. This app offers a comprehensive range of smart features and functionalities.
*Please note the thermostat comes with a floor sensor
Experience the convenience, style, and energy efficiency of the ProWarm ProTouch-2 WiFi Touchscreen Thermostat. With its dual functionality, intuitive touchscreen display, advanced modes, and lifetime warranty, this thermostat provides precise control and optimal comfort for your electric or water heating system.
Manufacturers Part Number: ET-82W
Contact Details support@prowarm.com
Reviews
Reviews
Payment & Security
Payment methods
Your payment information is processed securely. We do not store credit card details nor have access to your credit card information.
Not sure where to start? Let us help!
Answer a few questions and we’ll get you on your way