Description
Description
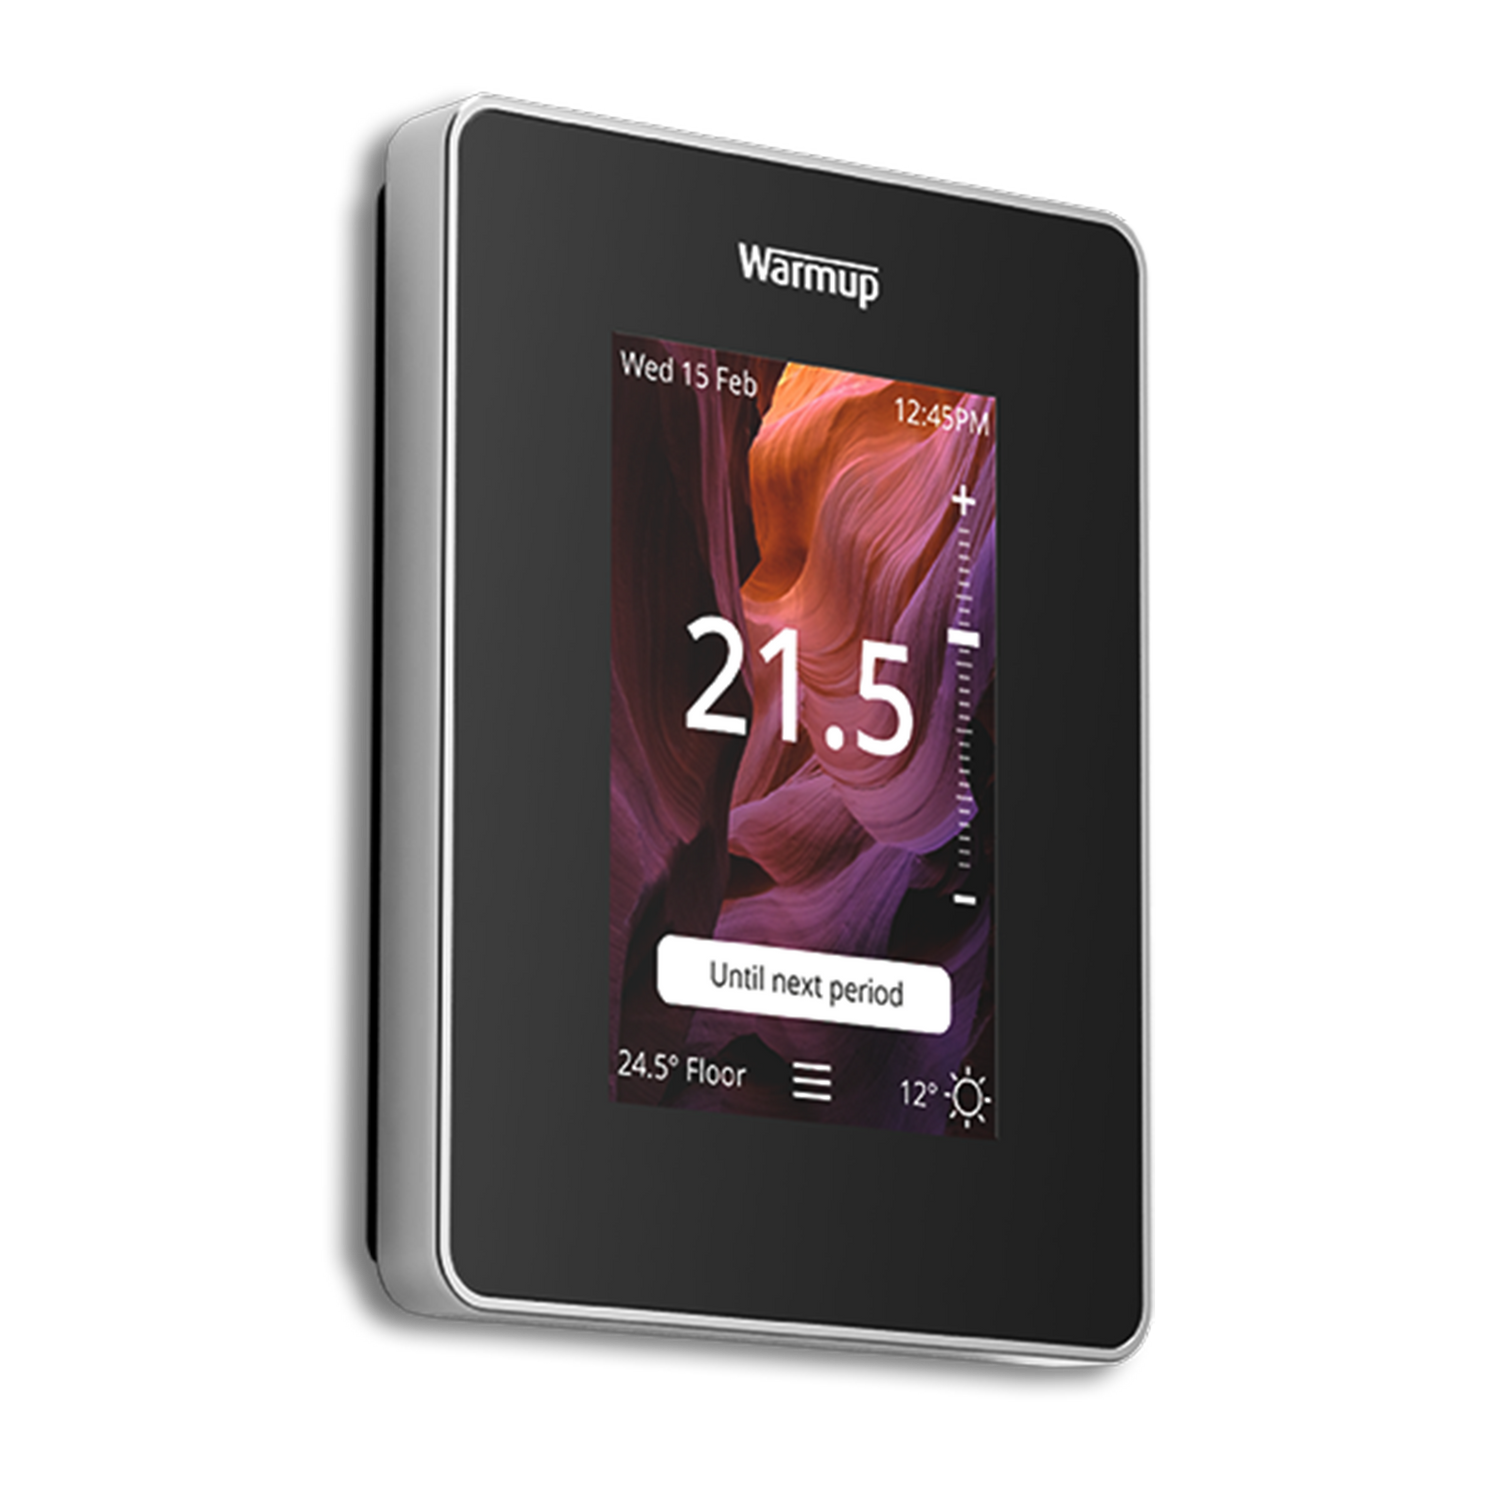
The Warmup 6ie Underfloor Heating Smart Thermostat is the world's first underfloor heating thermostat with a smartphone-style touchscreen, offering a new level of convenience and control. Say goodbye to the fiddly, clunky, and difficult-to-use WiFi thermostats of the past, as easy control of your heating is just a swipe away.
Features:
- Controlled by the Latest Warmup MyHeating App: The 6iE thermostat is compatible with the latest version of the Warmup MyHeating App, providing seamless integration with your smartphone for intuitive control of your underfloor heating system.
- Custom Photo Backgrounds and Adjustable Screen Brightness: Personalize your thermostat by uploading your own photos as backgrounds. Additionally, you can adjust the screen brightness to suit your preferences and create the perfect ambience in your space.
- Exceptional Efficiency Savings with SmartGeo Technology: The 6iE thermostat incorporates Warmup's exclusive SmartGeo technology, which learns your routines and adjusts the heating accordingly. This results in exceptional energy efficiency savings, as the thermostat provides radiant warmth at the right temperature and time, tailored to your needs.
- AutoSwitch Technology: With Auto Switch technology, the 6iE thermostat automatically switches Warmup users to their most favourable tariff. Each year, it identifies and selects a new and better tariff, providing cost savings without any effort on your part.
- Compact Dimensions: The thermostat has compact dimensions, measuring 115mm in height, 90mm in width, and 16mm in depth. Its sleek design ensures it seamlessly integrates into your home decor.
- 12-Year Manufacturer's Warranty: When installed with Warmup heating systems, the 6iE thermostat comes with a generous 12-year manufacturer's warranty. This warranty provides peace of mind and underscores the quality and reliability of the product.
Specifications
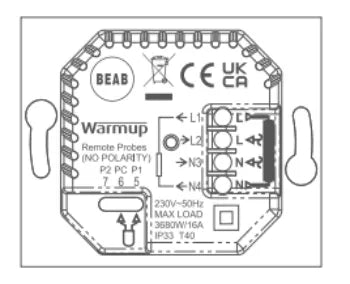
| Input voltage | 230V AC: 50Hz |
|---|---|
| Max output | 16A (3680W) |
| Dimensions (H/W/D): | 115 x 90 x 16mm (when fitted) |
| Sensors | Floor/air |
| Probe Rating | 10Kohm |
| Programming | 7-day, 1 day, 5/2 day |
| IP rating | IP 33 |
| Er-P Class | IV |
| Approvals | BEAB |
| Warranty |
12 years when installed together with a Warmup heating system (3 years with other systems) |
| Compatibility |
Electric underfloor heating Hydronic Underfloor Heating Central Heating Systems (Combi & system boilers with switch live, 230V AC input) |
Reviews
Reviews
Specifications
Specifications
Specifications
High-Quality Construction
ProWarm Electric Underfloor Heating Sticky Mat: Utilizes the same premium cable as the ProWarm Loose Cable kit. The mat incorporates a sticky fibreglass mesh to ensure optimal heat output by maintaining proper cable spacing. Installation is straightforward—simply roll out the mat to cover the desired heating area.
Heating Cable: Series-type with twin conductors and a 4m cold lead at one end.
Cable Composition: The resistance heating wire is encased in a fluoropolymer insulation layer, wrapped in protective metal shielding, and enclosed in a final plastic outer sheath. The twin conductor cable has a final diameter of 2mm.
Junction Design: Unique design for hot and cold lead junctions ensures they are 100% foolproof.
Standards and Approvals
Standards: Meets all test requirements of IEC 60335.
Certifications: CE certified by SGS.
Performance and Benefits
Cost-Effective: Provides heat precisely where needed, optimizing heat utilization and minimizing losses.
Flexibility: Can be installed in any area or floor layout.
Comfort: Close and uniform spacing of heating cables, combined with thermostat controls, allows for precise temperature settings, enhancing comfort.
DIY-Friendly: Designed for easy installation with clear instruction manuals and professional technical support.
Versatility: Available in various heat loads and sizes to suit various flooring types.
Mat Dimensions
Width: 0.5m
Length: Dependent on the selected square meter coverage
Cable thickness: 2mm
Kit Contents
Kit Contents
Kit Includes:
- Underfloor Heating Sticky Mat (Two individual mats if kit size over 12m2)
- Floor Primer - a high-performance universal priming/sealing agent suitable for plaster, timber, brick, and block work.
- Roller - a high-quality roller for applying floor primer to the subfloor
- Adhesive tape - works to assist in holding a mat or cable in position during installation
- 2m Floor Sensor Probe Conduit - provides a protective pathway for the sensor probe, connecting to your thermostat
- Digital thermostat (if selected) - adjust the heat settings and enjoy warm floors through a simple touch of a button
Installation
Installation
Installation
Please Note: This is a brief guide. Always refer to the full installation manual for comprehensive instructions.
1. Plan Your Layout:
- Divide the floor into a series of rectangles. Use these measurements to calculate the number and sizes of mats needed, excluding permanent or static fixtures from your calculations.
2. Prepare the Subfloor:
- For screed over concrete floors, lay insulation boards to minimize heat loss and ensure quicker warm-up times.
3. Lay the Heating Mat:
- Start with the first run of the mat. Cut the mat (leaving the cable intact) at the end of each run, turn it 90° or 180°, and continue laying.
- Once the area is covered, adjust the mat so that the loops are evenly spaced.
- Secure the mat to the subfloor using the special tape provided.
4. Electrical Connections:
- Install an RCD fused spur to power the thermostatic controller/programmer and the mat system.
- Lay the temperature probe from the timer-thermostat onto the floor, position it equidistant between two cable loops, and secure it to the surface.
- Position the unheated power supply cable from the end of the mat system near the thermostat.
- Make all necessary connections to the power supply. Run the heaters for no more than 10 minutes to ensure they are heating up properly.
5. Finish the Flooring:
- Option 1: Apply a thin, self-levelling screed over the mat and allow it to dry completely before laying tiles.
- Option 2: Directly trowel flexible tile adhesive over the mat and lay the floor tiles.
- After grouting, let the tile adhesive cure fully before switching on the system.
Payment & Security
Payment methods
Your payment information is processed securely. We do not store credit card details nor have access to your credit card information.
Not sure where to start? Let us help!
Answer a few questions and we’ll get you on your way


