


Warmup Element WiFi Thermostat
Description
Description
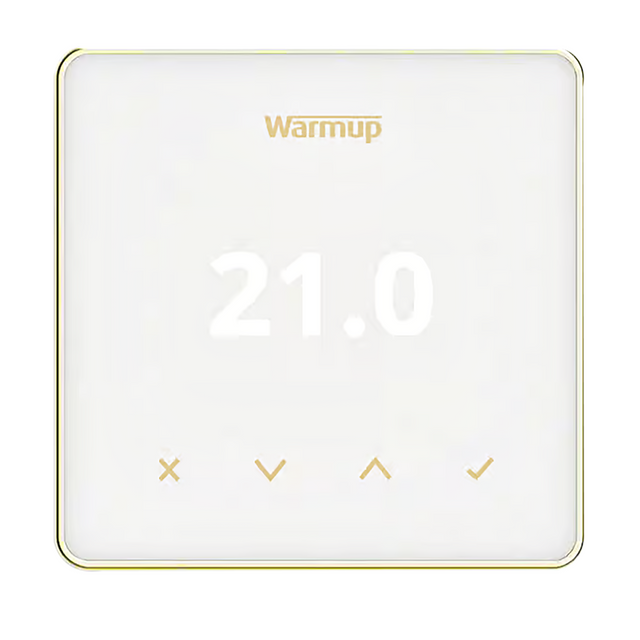
Warmup Element WiFi Thermostat has been designed with simplicity and stylish functionality in mind. It brings energy-efficient heating control to all floor heating systems. The Element does not require programming and uses Warmup latest Smart technology to automatically control the heating for luxurious comfort and energy efficient operation.
Stylish Design, Intuitive Control
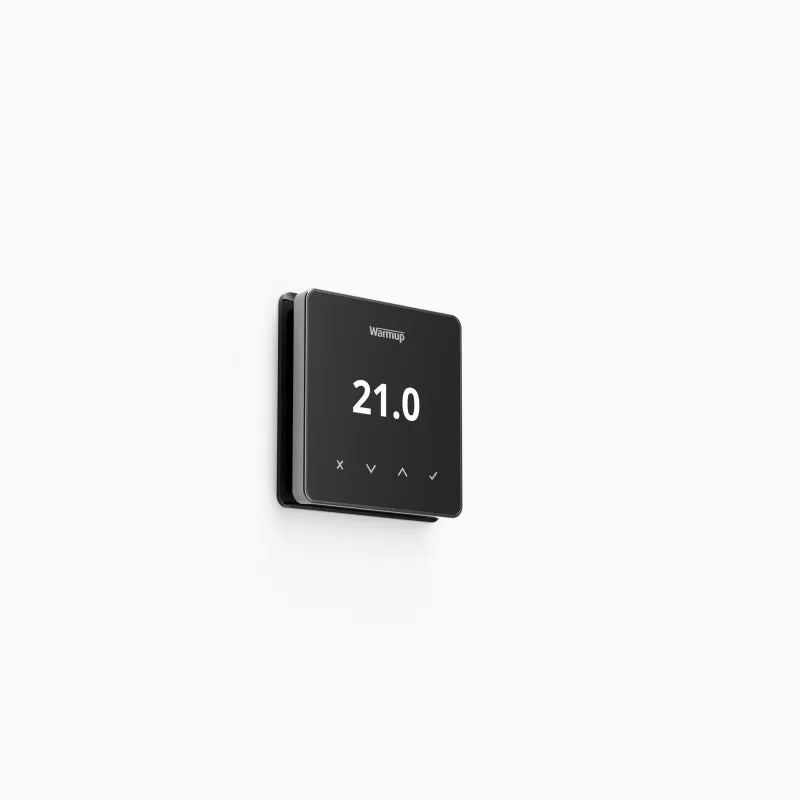
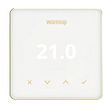
Available in two colours to complement your interior style, the Element WiFi thermostat is the perfect way to introduce the benefits of energy efficient smart underfloor heating control to your home. Featuring touch buttons and a simple display for accurate management of your home's floor heating, the Element offers true ease of use - simply scroll and tap to change the temperature. Its sleek, unobtrusive design will suit any home décor.
Energy-Saving Technology
The Element utilises SmartGeo technology to learn your routines - offering radiant warmth at the right temperature, at the right time for you, automatically.
Use the free MyHeating app for iOS and Android to control your underfloor heating system and view your energy usage and costs. Using the Element with the MyHeating app can help reduce energy usage and CO2 emissions by up to 25%.
Beautiful Looks, Built to last
The Element WiFi thermostat combines Warmup industry leading build quality and support with an elegant design, perfect for projects where style and performance are a priority.
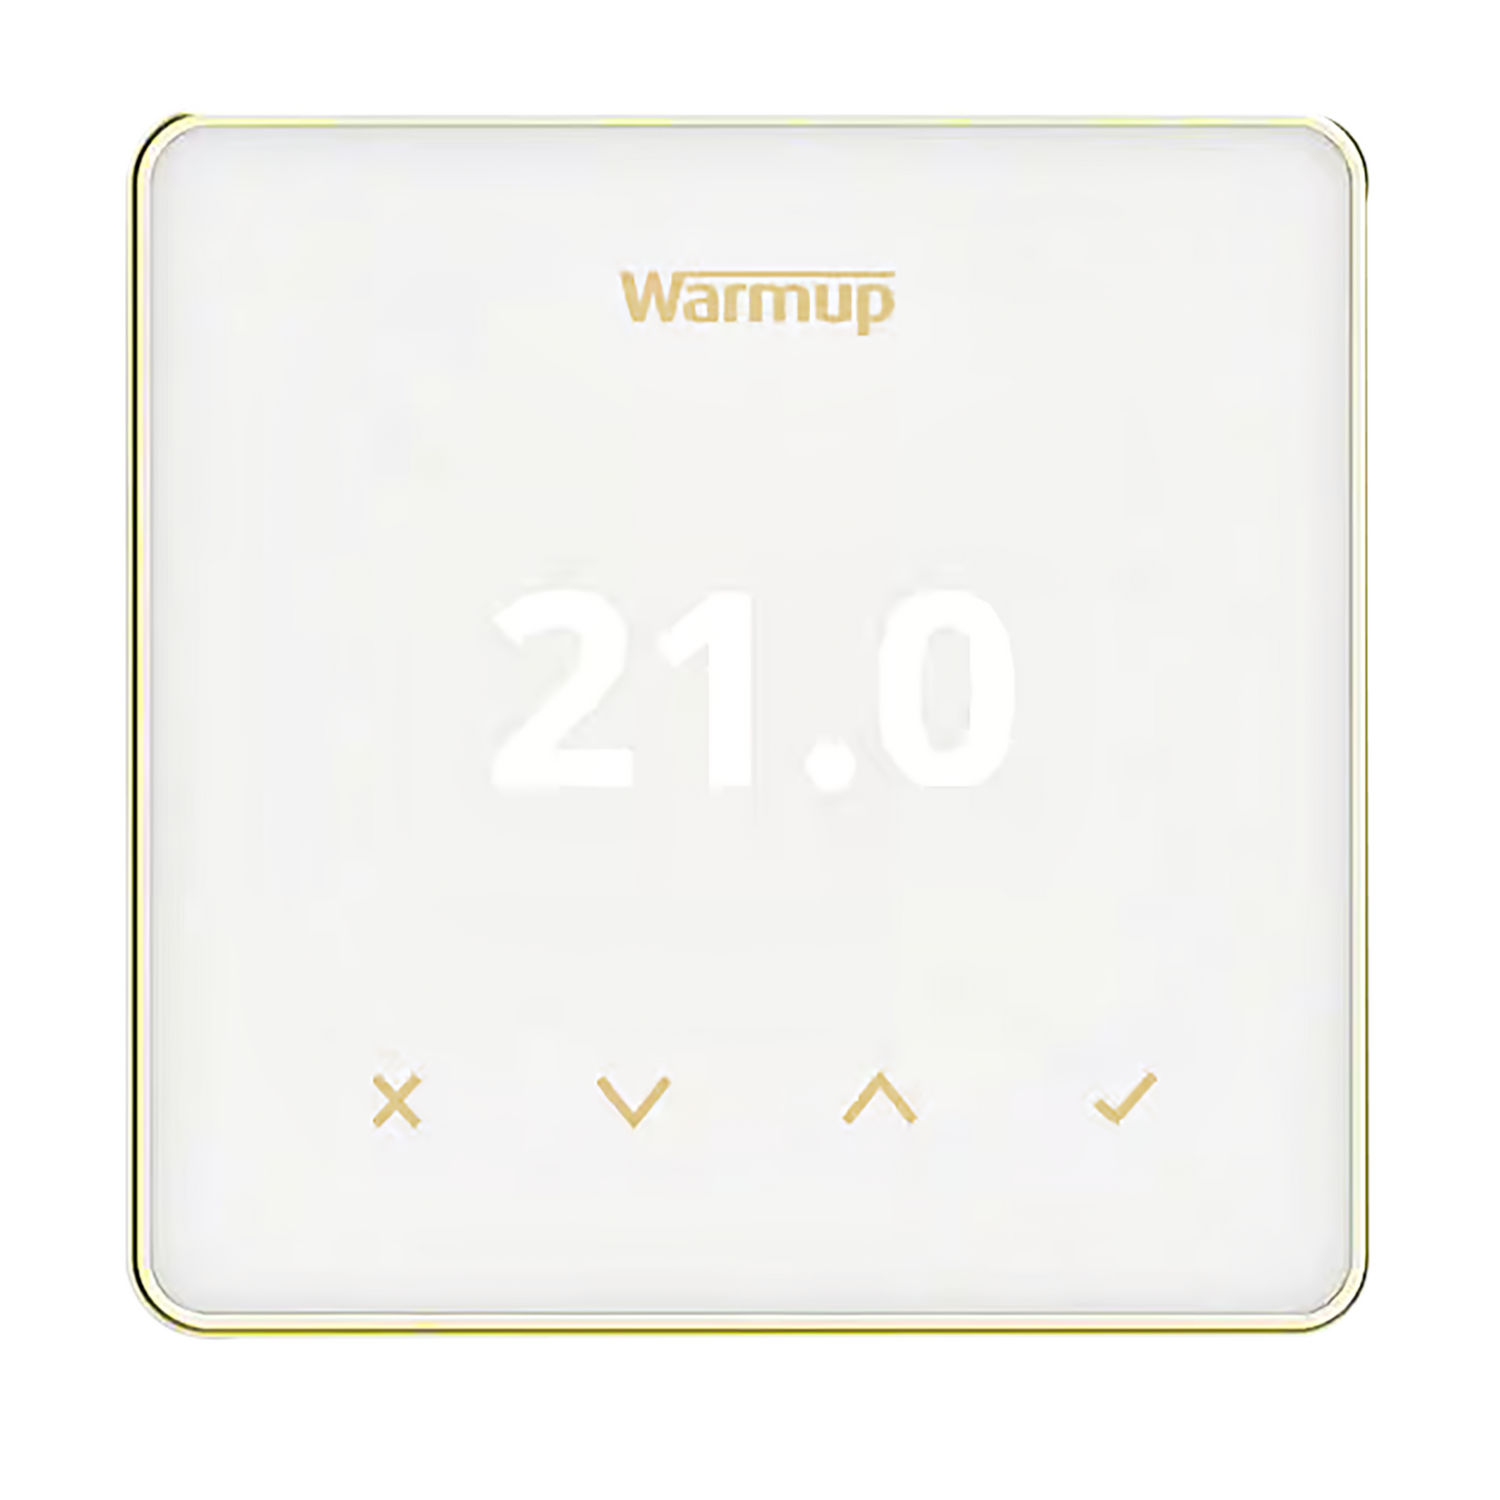
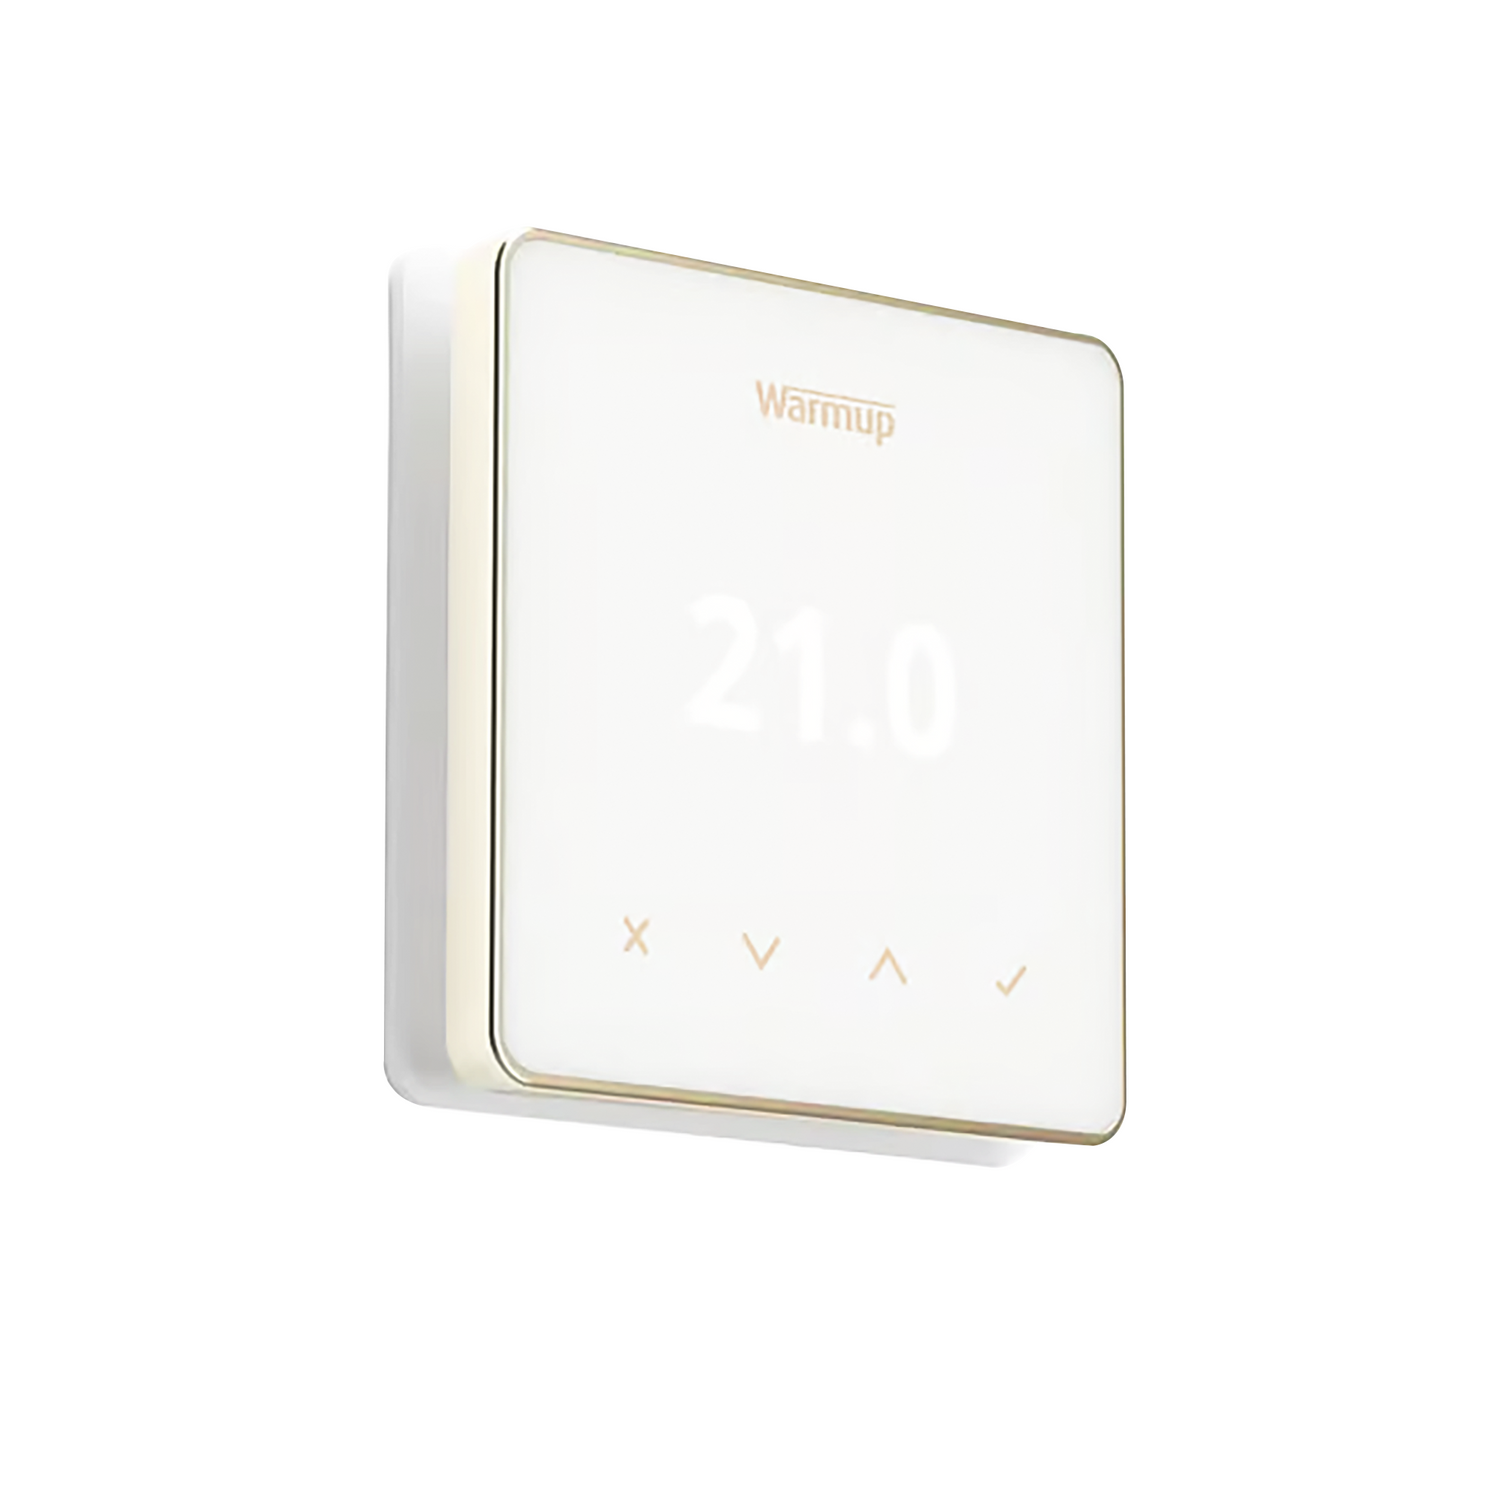
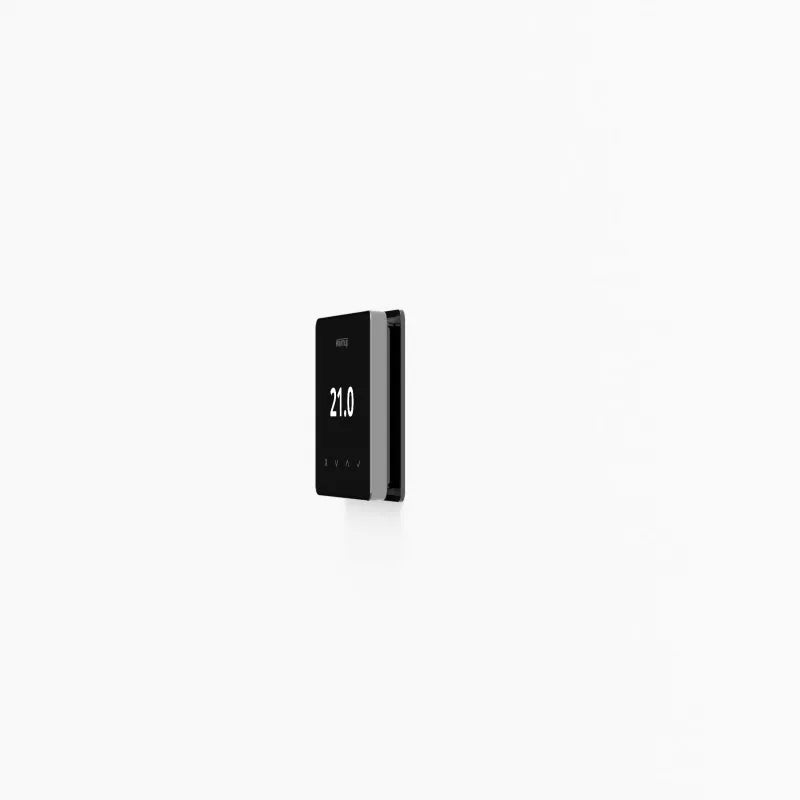
The translucent frosted Light fascia absorbs ambient colours to blend perfectly with walls and the polished rose-gold tone accents bring subtle warmth and brightness. The bold Dark fascia pairs inky black reflections with darkened metallic accents for a confidently understated look.
The Element WiFI Thermostat matches the size of standard light switches to become a cohesive addition to your interior design. The minimalist borderless display makes interaction intuitive, with simple up and down controls for temperature and an icon-based interface suitable for users in any language.
Works with the Warmup Smart Family
The Element WiFi thermostat can be used alongside the 6iE WiFi thermostat, all through the same MyHeating app. This means you can enjoy the large, full colour touch screen of the 6iE in one zone and benefit from the simpler design of the Element in another zone, without sacrificing usability. The MyHeating app makes it easy to control all of your zones from one screen and combines data from all your Warmup Smart thermostats to give a whole-house view of your energy usage and settings.
Specifications
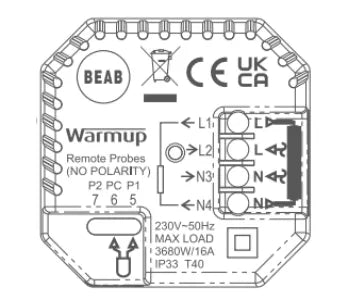
| Supply voltage | 230V AC ±15%, 50 Hz |
|---|---|
| Load | 16 A (~3680 W) |
| Max ambient temperature | 40 ºC |
| Floor sensor type | NTC10k (3 m long) |
| Installation depth | 50 mm back box recommended (35 mm minimum) |
| Sensors | floor / air |
| Screen size | 1,8 in |
| Dimensions (H/W/D) | 86 x 86 x 16 mm (from the wall) |
| Er-P class | IV |
| IP rating | IP33 |
| Certificates and marks | BEAB and CE marked |
| Warranty | 12 years when installed together with a Warmup heating system (3 years with other systems) |
Reviews
Reviews
Payment & Security
Payment methods
Your payment information is processed securely. We do not store credit card details nor have access to your credit card information.
Not sure where to start? Let us help!
Answer a few questions and we’ll get you on your way