Contact us
SKU: ROUNDINGTOOL

Pipe Re-Rounding Tool

Sale price £5.67 Regular price £7.09 Inc VAT
Order in
00 00 00
for Next Day Delivery

Buy now, Pay with Klarna

Buy now, Pay with PayPal

Description

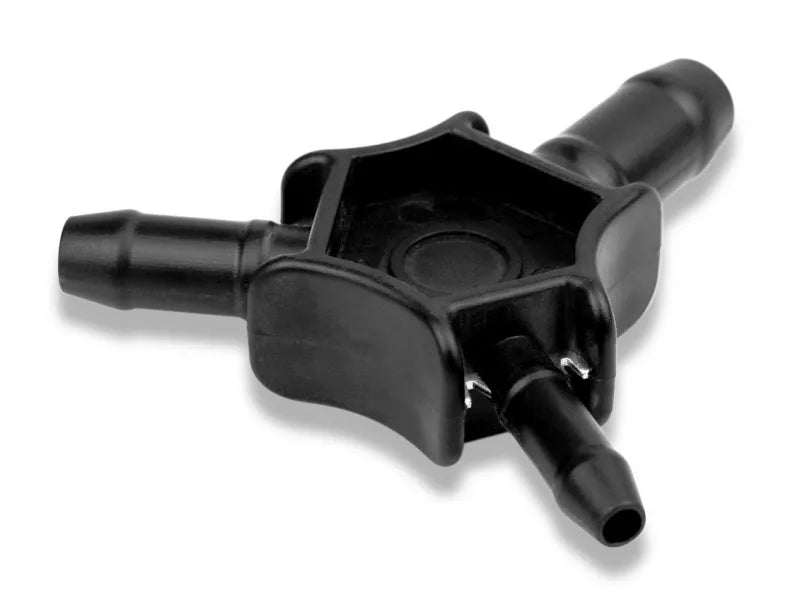
Pipe Re-Rounding Tool is an essential accessory designed to be used after cutting pipework, ensuring a perfectly spherical shape of the cut end. This tool plays a crucial role in achieving precise and secure connections, whether it's a coupling or a eurocone connector, by ensuring an optimal fit as planned.

Specifically designed for pipe sizes 10mm, 12mm, and 16mm, this versatile tool is suitable for a range of applications. When working with these pipe sizes, the re-rounding tool guarantees that the cut end of the pipe is reshaped to a perfectly rounded form, eliminating any irregularities or deformities that may have occurred during the cutting process.

By using the pipe re-rounding tool, professionals can achieve a secure and reliable connection between pipes and fittings. The perfectly spherical shape of the cut end allows for a tight and leak-free joint, enhancing the overall performance and longevity of the plumbing system.

Designed with precision and durability in mind, the pipe re-rounding tool is built to withstand regular use and maintain its functionality over time. Its user-friendly design ensures ease of operation and allows for quick and efficient pipe re-rounding, saving valuable time during plumbing installations or repairs.

Whether you're a professional plumber or a DIY enthusiast, investing in the Pipe Re-Rounding Tool is a wise choice. It guarantees the accuracy and reliability of your pipe connections, ensuring optimal performance and peace of mind.

Reviews

Specifications

Specifications

High-Quality Construction


  • ProWarm Electric Underfloor Heating Sticky Mat: Utilizes the same premium cable as the ProWarm Loose Cable kit. The mat incorporates a sticky fibreglass mesh to ensure optimal heat output by maintaining proper cable spacing. Installation is straightforward—simply roll out the mat to cover the desired heating area.

  • Heating Cable: Series-type with twin conductors and a 4m cold lead at one end.

  • Cable Composition: The resistance heating wire is encased in a fluoropolymer insulation layer, wrapped in protective metal shielding, and enclosed in a final plastic outer sheath. The twin conductor cable has a final diameter of 2mm.

  • Junction Design: Unique design for hot and cold lead junctions ensures they are 100% foolproof.

Standards and Approvals


  • Standards: Meets all test requirements of IEC 60335.

  • Certifications: CE certified by SGS.

Performance and Benefits


  • Cost-Effective: Provides heat precisely where needed, optimizing heat utilization and minimizing losses.

  • Flexibility: Can be installed in any area or floor layout.

  • Comfort: Close and uniform spacing of heating cables, combined with thermostat controls, allows for precise temperature settings, enhancing comfort.

  • DIY-Friendly: Designed for easy installation with clear instruction manuals and professional technical support.

  • Versatility: Available in various heat loads and sizes to suit various flooring types.

Mat Dimensions


  • Width: 0.5m

  • Length: Dependent on the selected square meter coverage

  • Cable thickness: 2mm

Kit Contents

Kit Includes:

  • Underfloor Heating Sticky Mat (Two individual mats if kit size over 12m2)
  • Floor Primer - a high-performance universal priming/sealing agent suitable for plaster, timber, brick, and block work.
  • Roller - a high-quality roller for applying floor primer to the subfloor
  • Adhesive tape - works to assist in holding a mat or cable in position during installation
  • 2m Floor Sensor Probe Conduit - provides a protective pathway for the sensor probe, connecting to your thermostat
  • Digital thermostat (if selected) - adjust the heat settings and enjoy warm floors through a simple touch of a button

Installation

Installation

Please Note: This is a brief guide. Always refer to the full installation manual for comprehensive instructions.

1. Plan Your Layout:

  • Divide the floor into a series of rectangles. Use these measurements to calculate the number and sizes of mats needed, excluding permanent or static fixtures from your calculations.

2. Prepare the Subfloor:

  • For screed over concrete floors, lay insulation boards to minimize heat loss and ensure quicker warm-up times.

3. Lay the Heating Mat:

  • Start with the first run of the mat. Cut the mat (leaving the cable intact) at the end of each run, turn it 90° or 180°, and continue laying.
  • Once the area is covered, adjust the mat so that the loops are evenly spaced.
  • Secure the mat to the subfloor using the special tape provided.

4. Electrical Connections:

  • Install an RCD fused spur to power the thermostatic controller/programmer and the mat system.
  • Lay the temperature probe from the timer-thermostat onto the floor, position it equidistant between two cable loops, and secure it to the surface.
  • Position the unheated power supply cable from the end of the mat system near the thermostat.
  • Make all necessary connections to the power supply. Run the heaters for no more than 10 minutes to ensure they are heating up properly.

5. Finish the Flooring:

  • Option 1: Apply a thin, self-levelling screed over the mat and allow it to dry completely before laying tiles.
  • Option 2: Directly trowel flexible tile adhesive over the mat and lay the floor tiles.
  • After grouting, let the tile adhesive cure fully before switching on the system.

Payment & Security

Payment methods

  • American Express
  • Apple Pay
  • Diners Club
  • Discover
  • Google Pay
  • Klarna
  • Maestro
  • Mastercard
  • PayPal
  • Shop Pay
  • Union Pay
  • Visa

Your payment information is processed securely. We do not store credit card details nor have access to your credit card information.