
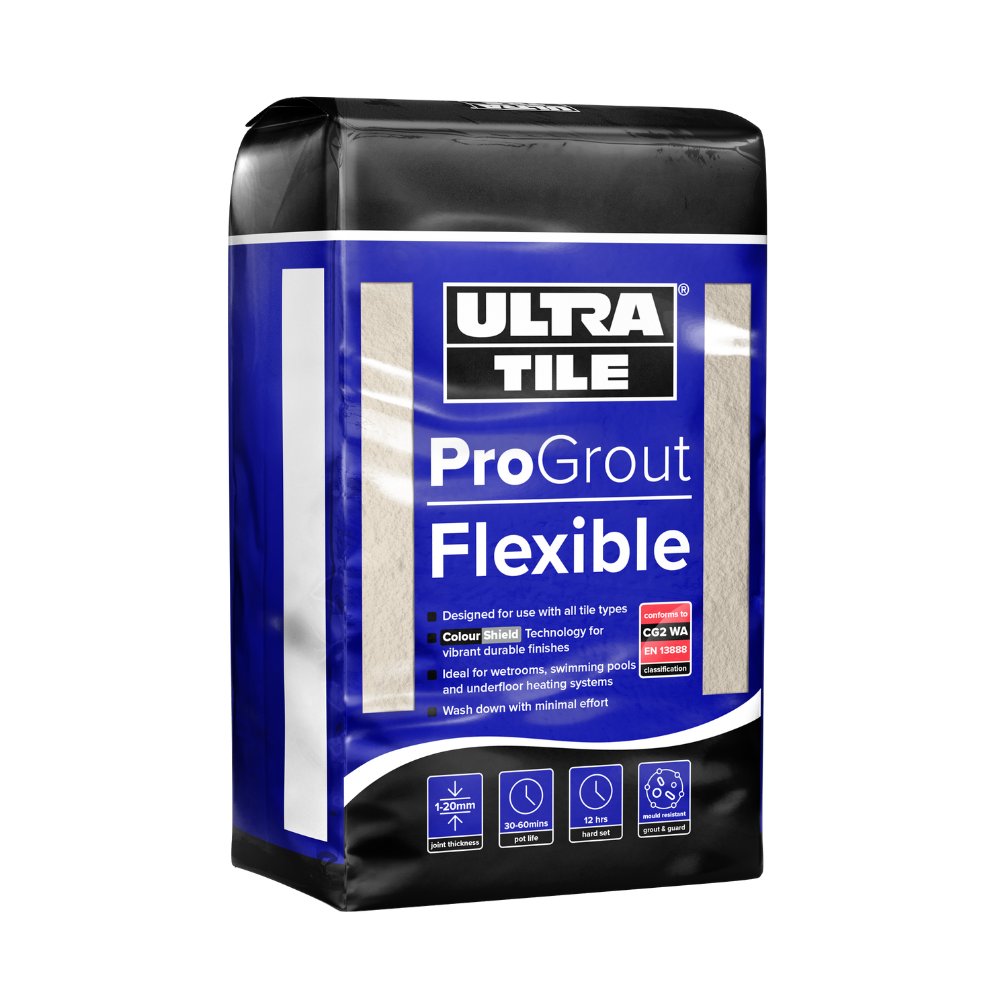
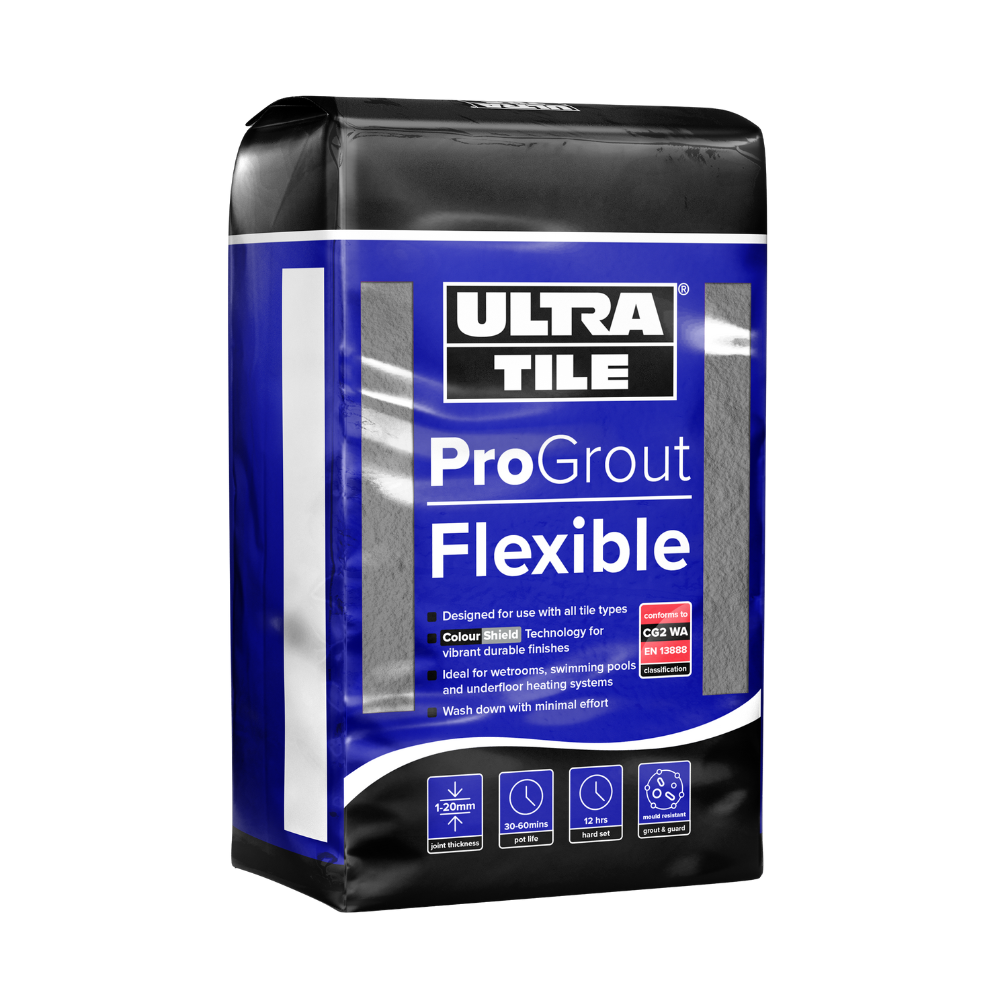


UltraTile ProGrout Flexible Grout 3kg
Description
Description
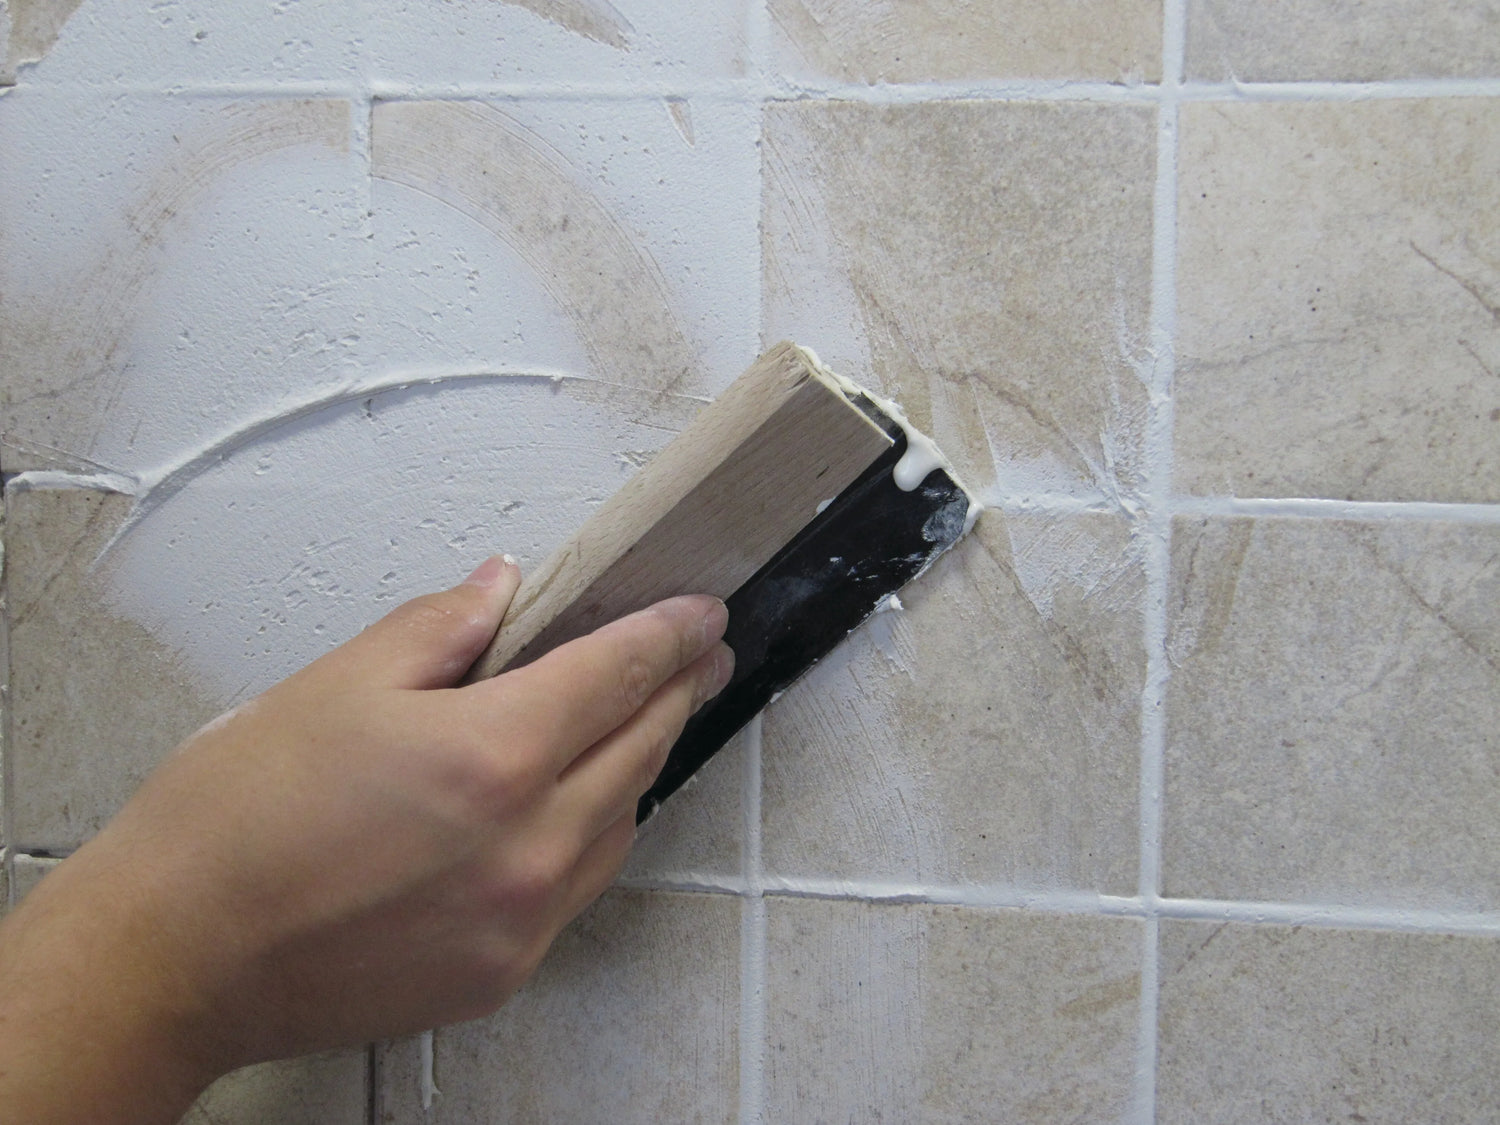
UltraTile ProGrout Flexible Grout 3kg has been designed for areas where movement or vibration is likely. Polymer has been added to the formulation to increase flexibility and to provide a virtually impermeable set. UltraTile ProGrout Flexible is suitable for joint widths up to 20mm. ProGrout Flexible is packaged using the latest plastic packaging technology, offering you greater product protection and prolonged freshness.
- Designed for use with all tile types
- ColourShield technology for vibrant durable finishes
- Ideal for wetrooms, swimming pools and underfloor heating systems
- Wash down with minimal effort
- 1-20mm joint thickness
- 30 – 60 minutes pot life
- 12 hours hard set
- Mould resistant
- Conforms to CG2 WA EN 13888 classification
- Sizes: 3kg & 10kg
- Colours: Vintage White, Ivory & Grey
Coverage
For a standard size tile of width 400mm and length 300mm with a joint width of 6mm and a joint depth of 5mm - 1 * 3kg bag will cover approx 10m2 of tiling.
Specifications
| Packaging | 3kg |
|---|---|
| Standard Conformities | CG2, EN13888 |
| Initial Drying time | 10-15 min (dependent on temperature) |
| Pot Life | 60 min (dependent on temperature) |
| Set Time | 24 hours |
| Application Thickness | 1-20mm |
| Protein Free | Yes |
| Storage | This product must be stored in unopened bags, clear of the ground in cool dry conditions and protected from excessive drafts. |
| Shelf Life | Unopened bags: 12 months in cool, dry conditions above 5°C and below 30°C. |
Reviews
Reviews
Payment & Security
Payment methods
Your payment information is processed securely. We do not store credit card details nor have access to your credit card information.
Not sure where to start? Let us help!
Answer a few questions and we’ll get you on your way


