Contact us
We're here to help - speak to an expert today on 01268 567016. Open today until 6pm.
SKU: HIVEACTIVESTATHUB

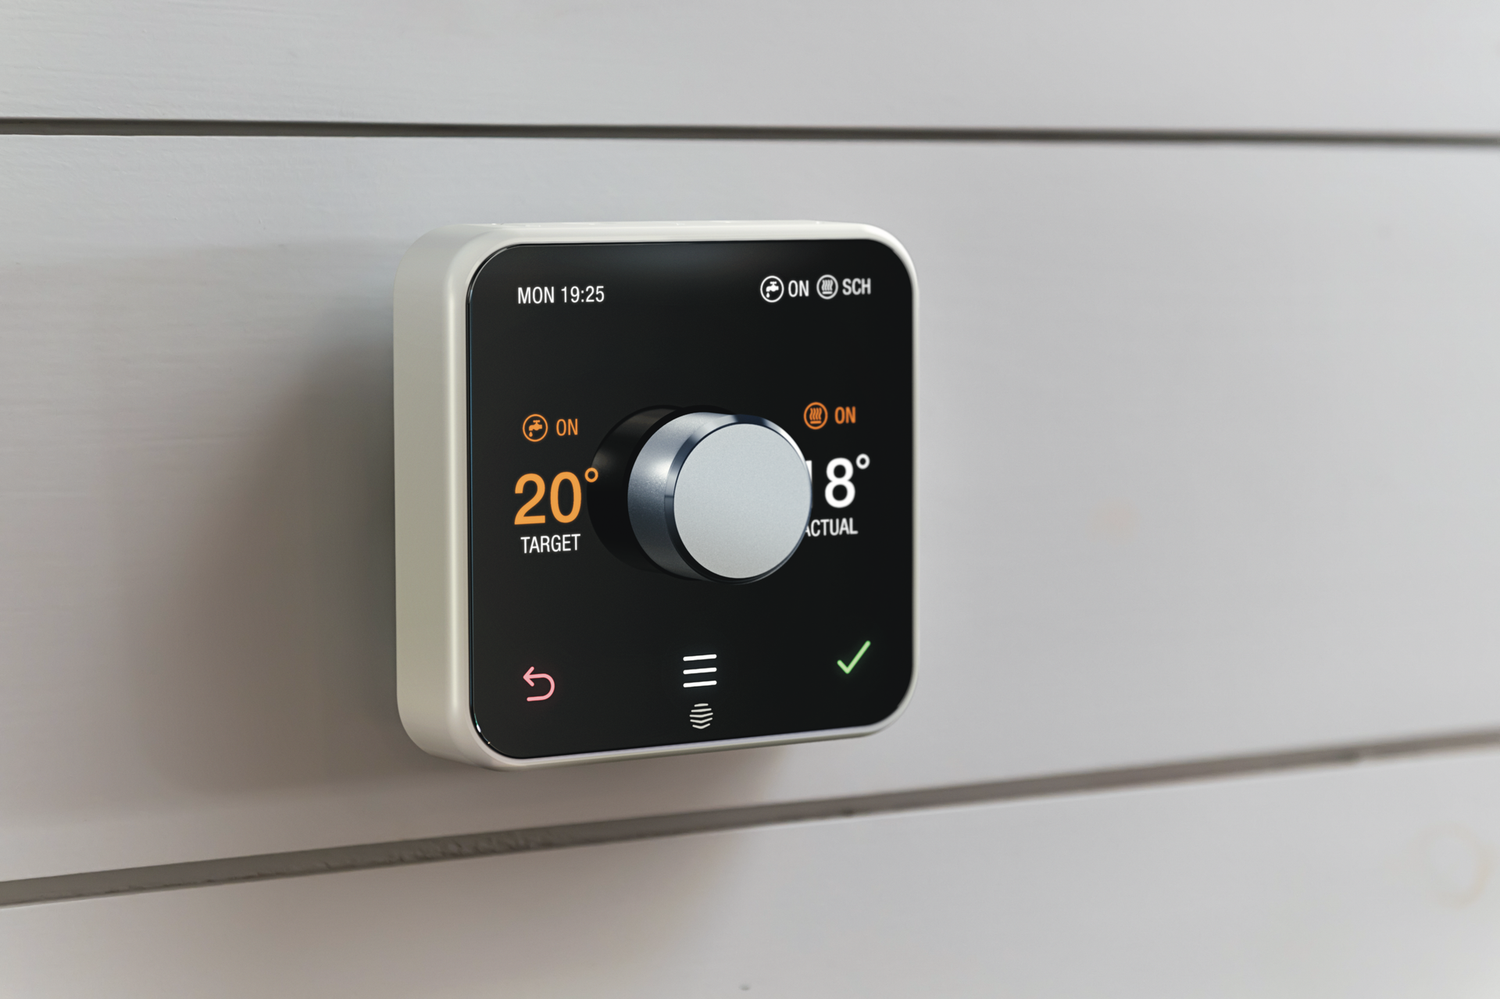
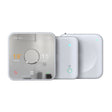
Hive Active Heating Thermostat V4 & Hub (852108)

Regular price £179.99 Inc VAT
Order in
00 00 00
for Next Day Delivery

Buy now, Pay with Klarna

Buy now, Pay with PayPal

Description

The Hive Active Heating Thermostat V4 & Hub is designed to optimize the comfort and efficiency of your home’s heating system. Ideal for use with combi boilers, this smart thermostat offers advanced features and seamless control to enhance your heating experience.

With the Hive App, you can remotely manage your heating from anywhere, giving you the flexibility to adjust settings and receive alerts whether you're at home or on the go. The thermostat's geolocation feature ensures that heating commands are sent at the right time, and its sophisticated programming includes options such as holiday mode and Ready By pre-heating for precise temperature management.

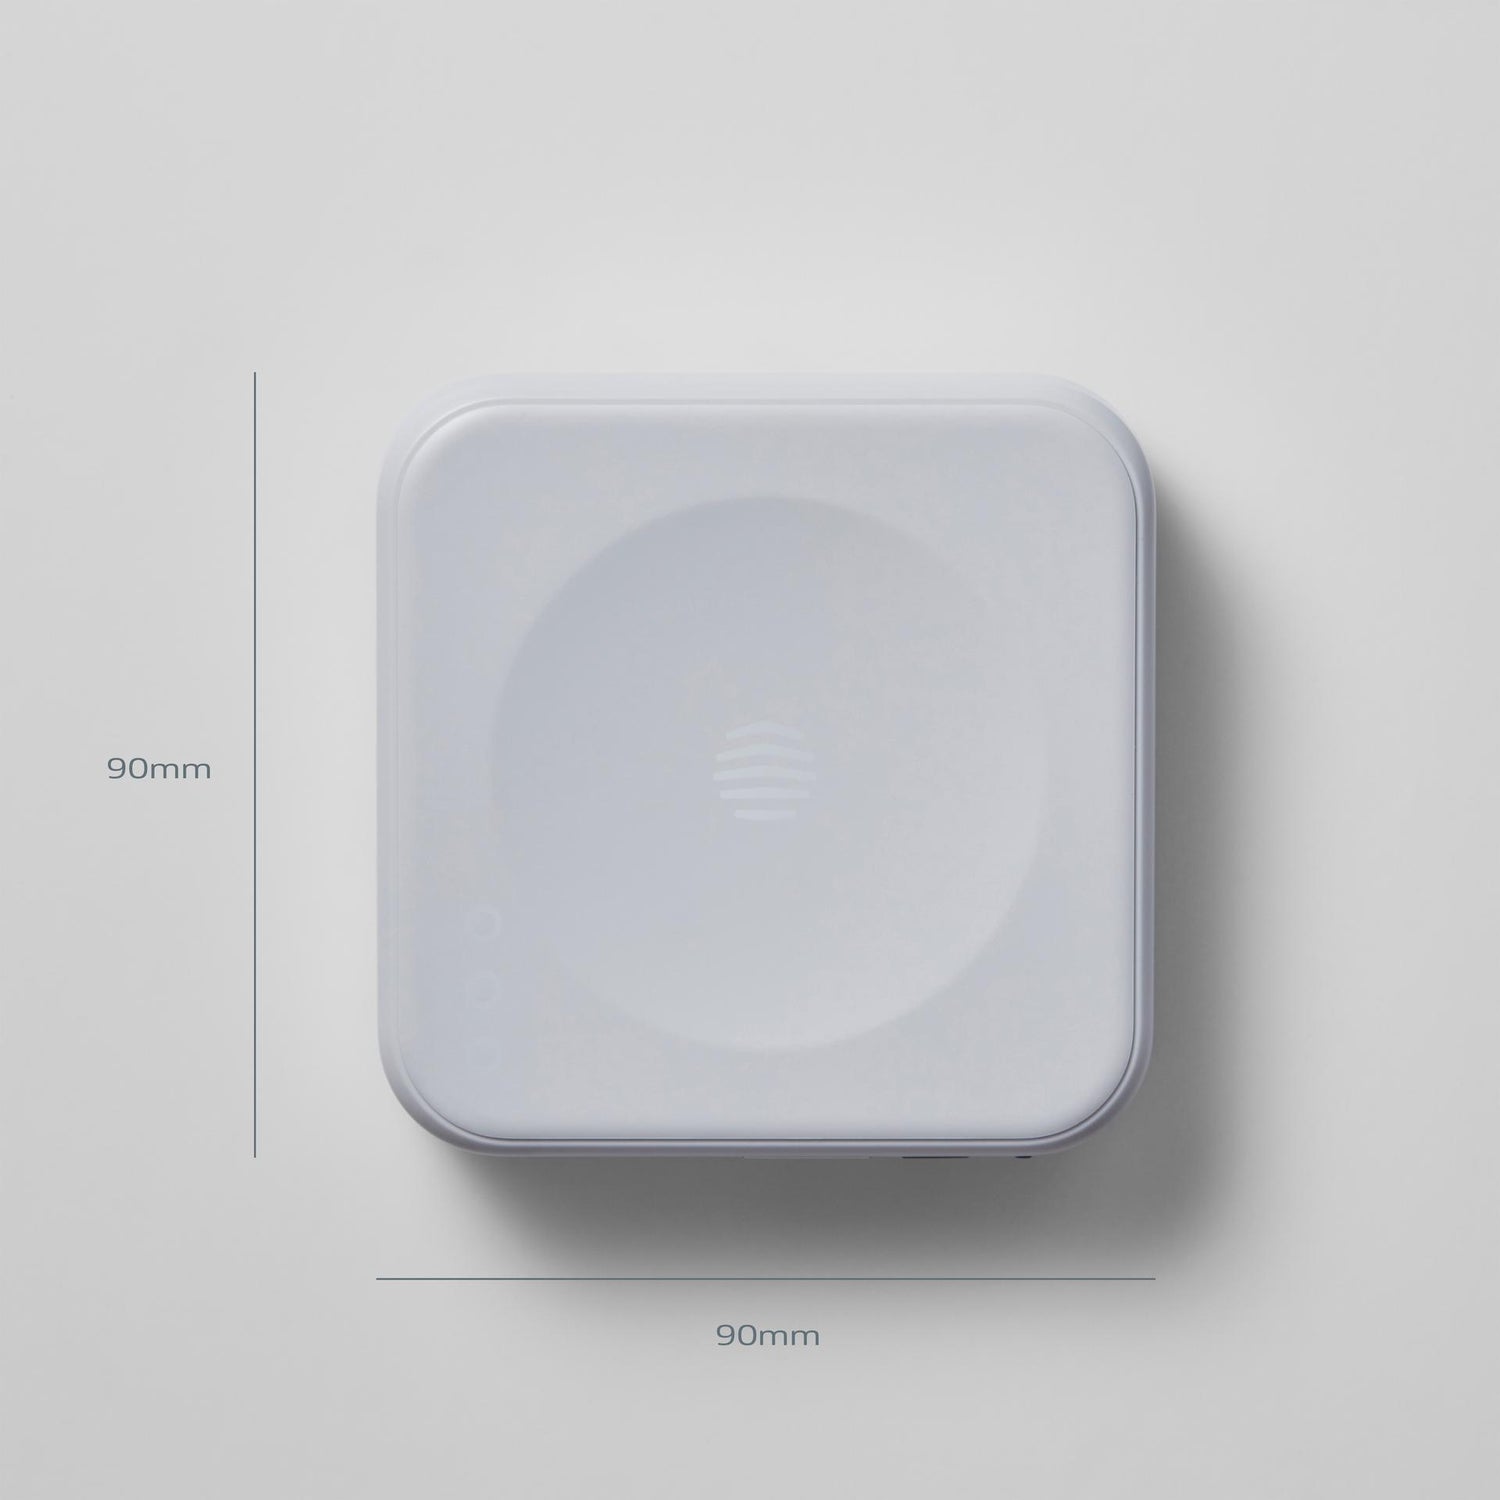
The Hive Active Heating Thermostat V4 is compatible with a variety of heating systems, including gas, LPG, oil boilers, and certain electric boilers. It also includes the Hive Hub, which facilitates smart home integration.

Key Features:

  • Daily Heating Schedules: Customize your heating schedule to fit your daily routines and preferences.
  • Automatic Frost Protection: Prevents your home from freezing by automatically activating the heating system in cold conditions.
  • Ready By Pre-Heating: Ensures your home reaches the perfect temperature at the exact time you need it.
  • Holiday Mode: Keeps your home at an optimal temperature while you’re away, so it's comfortable when you return.
  • Touch Screen Control: Provides an intuitive and user-friendly interface for easy adjustments.
  • Voice Control Compatibility: Works seamlessly with Amazon Alexa, Google Assistant, and Apple HomeKit for voice-activated control.
  • Energy Savings: The Hive Thermostat V3 can save you up to £202 per year on energy bills, based on an average annual consumption of 10,578 kWh at 7p per kWh. Carbon savings amount to 488.2 Kg CO2e per year. Actual savings will vary based on individual circumstances.

Elevate your home heating efficiency and comfort with the Hive Active Heating Thermostat V4, combining cutting-edge technology with easy-to-use features for a smarter, more responsive heating solution.

Reviews

Specifications

Specifications

High-Quality Construction


  • ProWarm Electric Underfloor Heating Sticky Mat: Utilizes the same premium cable as the ProWarm Loose Cable kit. The mat incorporates a sticky fibreglass mesh to ensure optimal heat output by maintaining proper cable spacing. Installation is straightforward—simply roll out the mat to cover the desired heating area.

  • Heating Cable: Series-type with twin conductors and a 4m cold lead at one end.

  • Cable Composition: The resistance heating wire is encased in a fluoropolymer insulation layer, wrapped in protective metal shielding, and enclosed in a final plastic outer sheath. The twin conductor cable has a final diameter of 2mm.

  • Junction Design: Unique design for hot and cold lead junctions ensures they are 100% foolproof.

Standards and Approvals


  • Standards: Meets all test requirements of IEC 60335.

  • Certifications: CE certified by SGS.

Performance and Benefits


  • Cost-Effective: Provides heat precisely where needed, optimizing heat utilization and minimizing losses.

  • Flexibility: Can be installed in any area or floor layout.

  • Comfort: Close and uniform spacing of heating cables, combined with thermostat controls, allows for precise temperature settings, enhancing comfort.

  • DIY-Friendly: Designed for easy installation with clear instruction manuals and professional technical support.

  • Versatility: Available in various heat loads and sizes to suit various flooring types.

Mat Dimensions


  • Width: 0.5m

  • Length: Dependent on the selected square meter coverage

  • Cable thickness: 2mm

Kit Contents

Kit Includes:

  • Underfloor Heating Sticky Mat (Two individual mats if kit size over 12m2)
  • Floor Primer - a high-performance universal priming/sealing agent suitable for plaster, timber, brick, and block work.
  • Roller - a high-quality roller for applying floor primer to the subfloor
  • Adhesive tape - works to assist in holding a mat or cable in position during installation
  • 2m Floor Sensor Probe Conduit - provides a protective pathway for the sensor probe, connecting to your thermostat
  • Digital thermostat (if selected) - adjust the heat settings and enjoy warm floors through a simple touch of a button

Installation

Installation

Please Note: This is a brief guide. Always refer to the full installation manual for comprehensive instructions.

1. Plan Your Layout:

  • Divide the floor into a series of rectangles. Use these measurements to calculate the number and sizes of mats needed, excluding permanent or static fixtures from your calculations.

2. Prepare the Subfloor:

  • For screed over concrete floors, lay insulation boards to minimize heat loss and ensure quicker warm-up times.

3. Lay the Heating Mat:

  • Start with the first run of the mat. Cut the mat (leaving the cable intact) at the end of each run, turn it 90° or 180°, and continue laying.
  • Once the area is covered, adjust the mat so that the loops are evenly spaced.
  • Secure the mat to the subfloor using the special tape provided.

4. Electrical Connections:

  • Install an RCD fused spur to power the thermostatic controller/programmer and the mat system.
  • Lay the temperature probe from the timer-thermostat onto the floor, position it equidistant between two cable loops, and secure it to the surface.
  • Position the unheated power supply cable from the end of the mat system near the thermostat.
  • Make all necessary connections to the power supply. Run the heaters for no more than 10 minutes to ensure they are heating up properly.

5. Finish the Flooring:

  • Option 1: Apply a thin, self-levelling screed over the mat and allow it to dry completely before laying tiles.
  • Option 2: Directly trowel flexible tile adhesive over the mat and lay the floor tiles.
  • After grouting, let the tile adhesive cure fully before switching on the system.

Manuals

Payment & Security

Payment methods

  • American Express
  • Apple Pay
  • Diners Club
  • Discover
  • Google Pay
  • Klarna
  • Maestro
  • Mastercard
  • PayPal
  • Shop Pay
  • Union Pay
  • Visa

Your payment information is processed securely. We do not store credit card details nor have access to your credit card information.