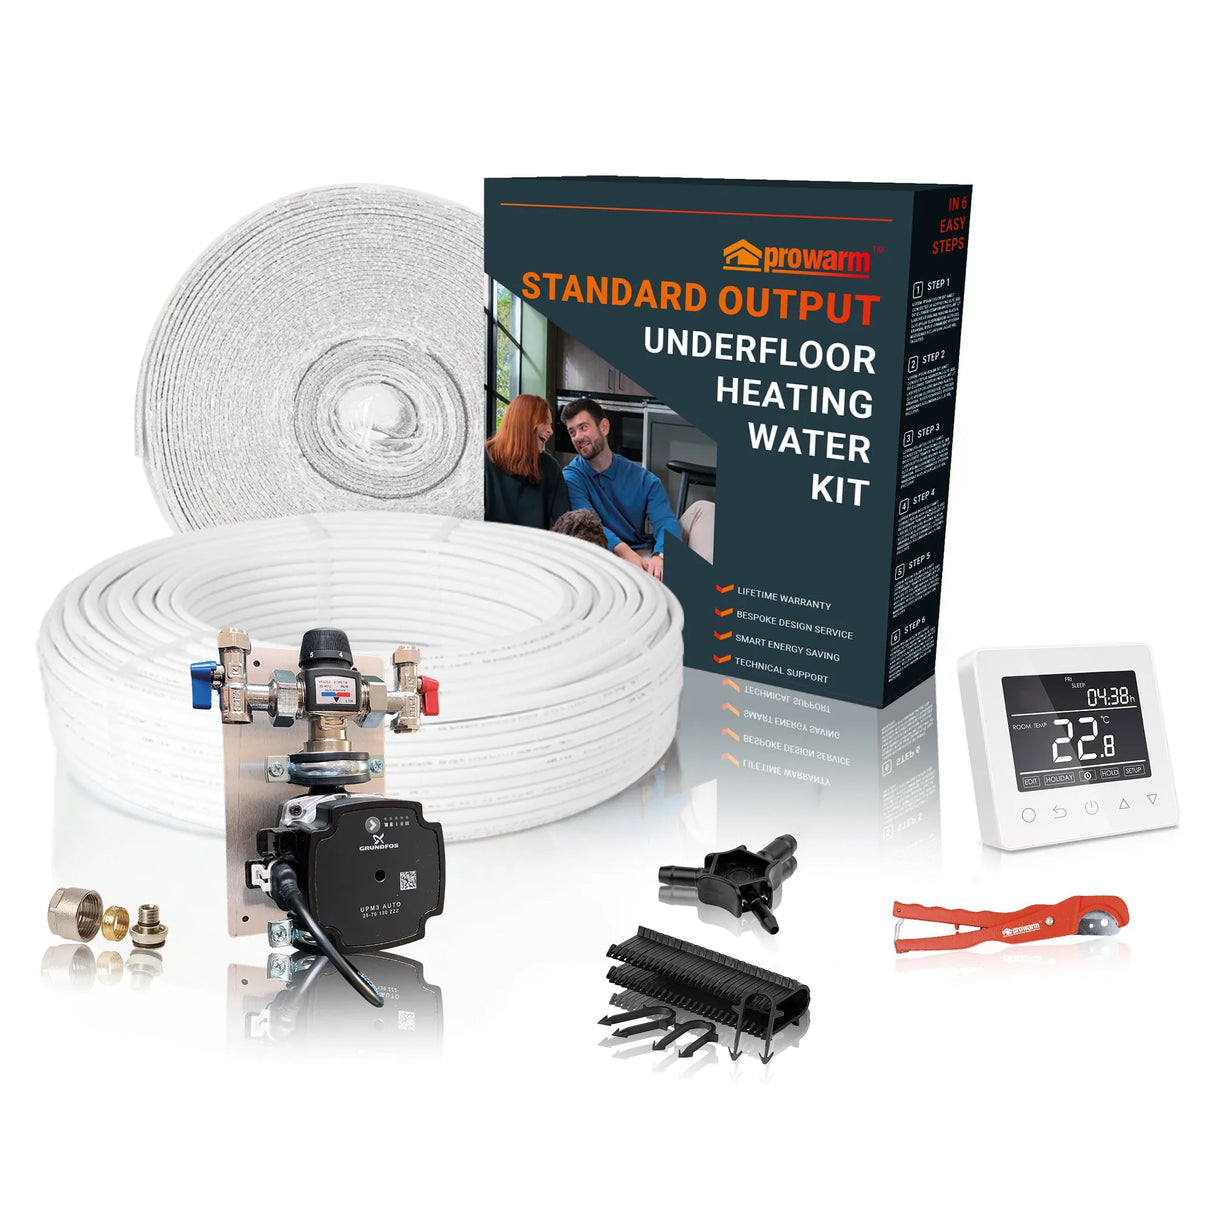
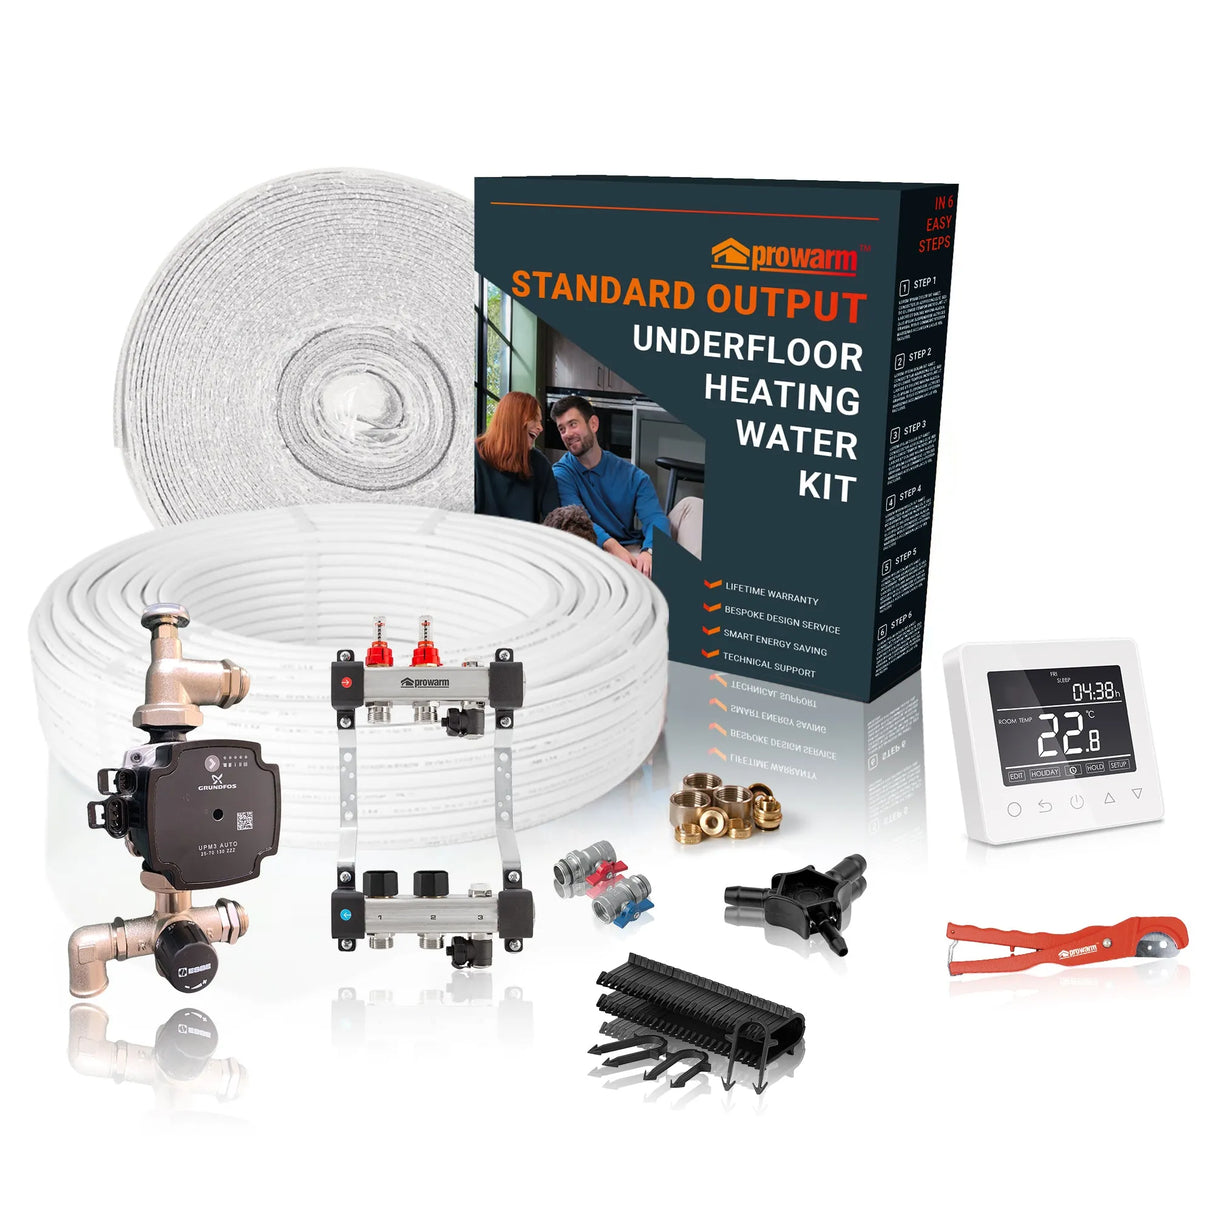
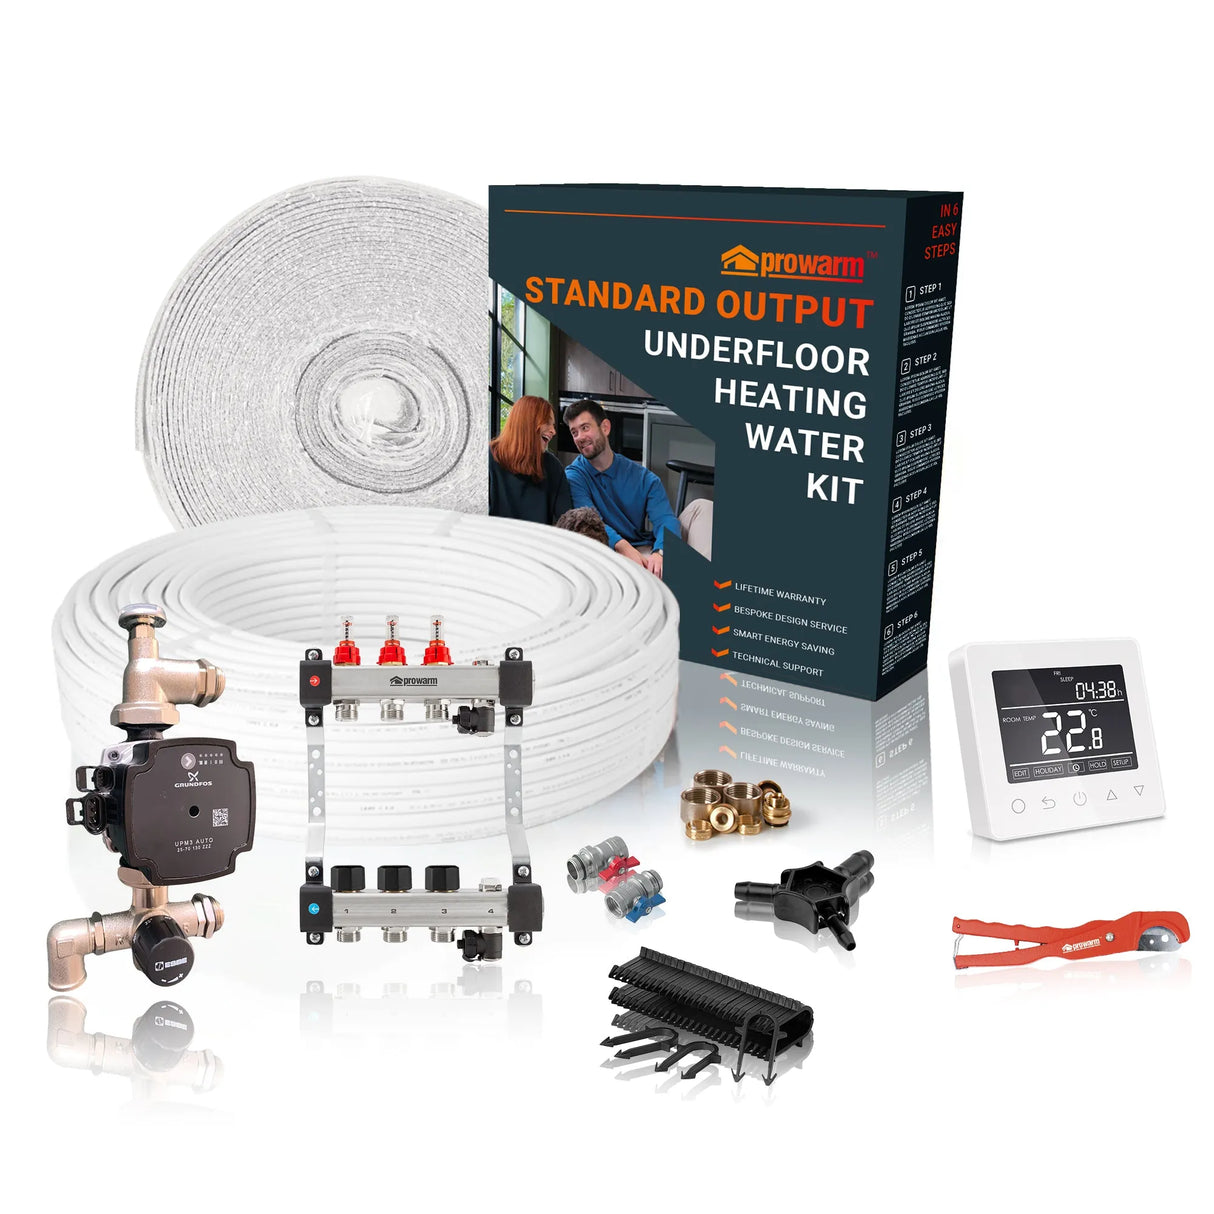
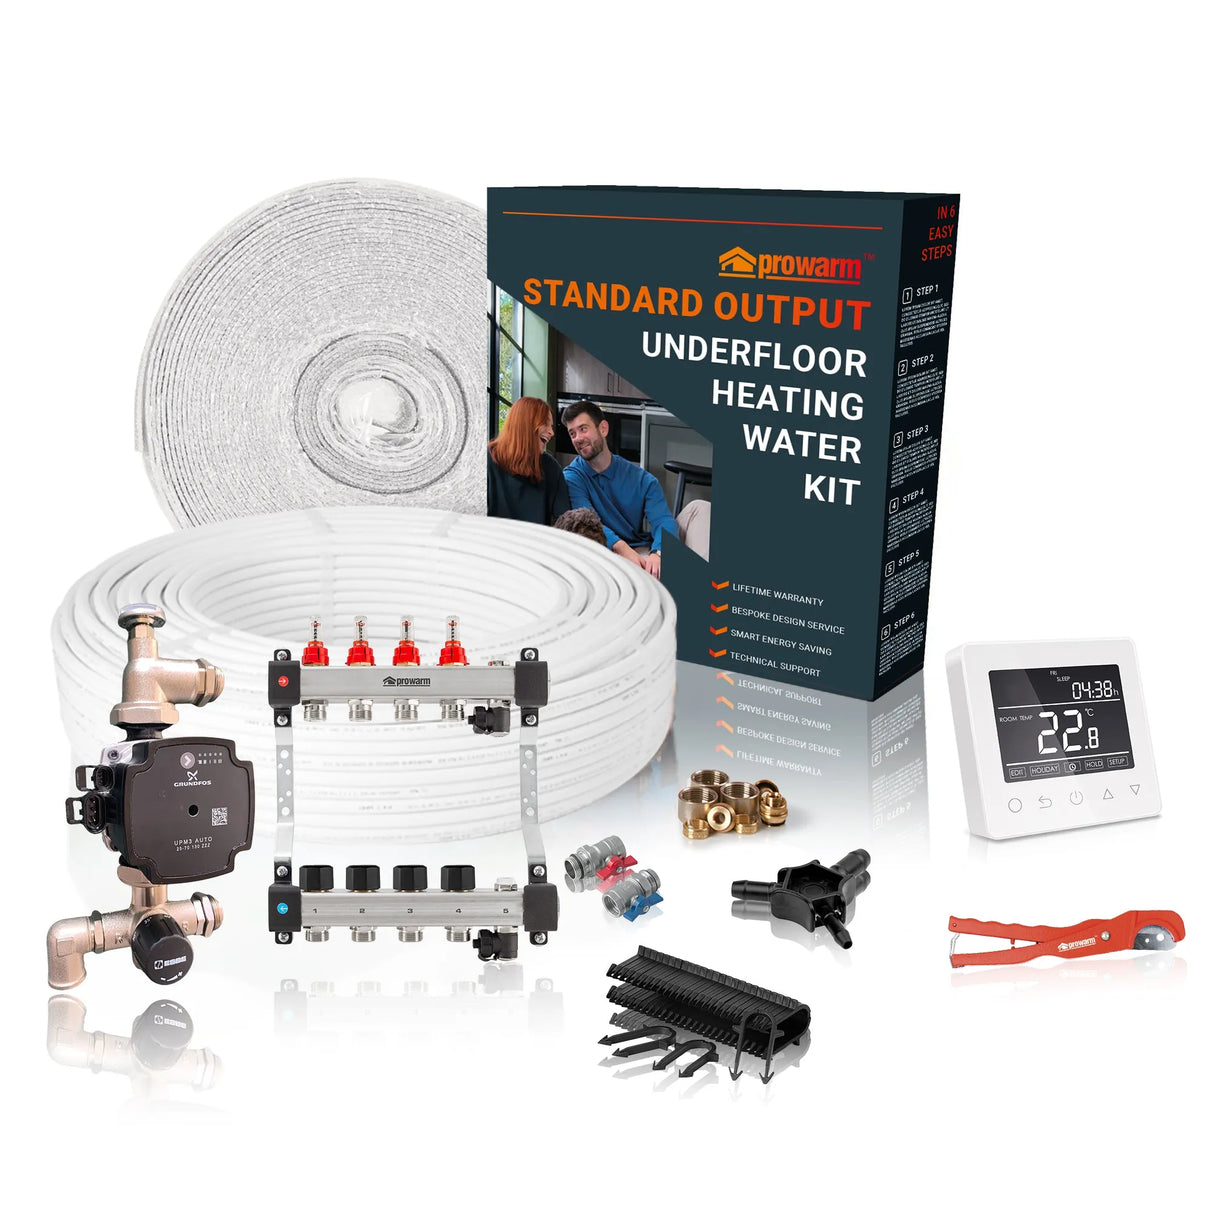
ProWarm Water Underfloor Heating - Standard Output

Buy now, Pay with Klarna

Buy now, Pay with PayPal
Description
Description
Discover the comfort and energy savings of ProWarm Water Underfloor Heating Kits – the industry-leading solution for homeowners and professional installers seeking premium performance, long-term reliability, and unbeatable value. Whether you're renovating a single room or upgrading your entire home, ProWarm delivers consistent warmth from the ground up.
Why Choose ProWarm Water Underfloor Heating?
- Optimised for Performance – Each kit delivers a high-efficiency output of 115W/m² (based on 250mm pipe spacing), ideal for single rooms like living rooms, kitchens, bathrooms, or bedrooms.
- Designed for Single Rooms – ProWarm single room water underfloor heating kits are tailored to specific floor areas for precision heating with no waste.
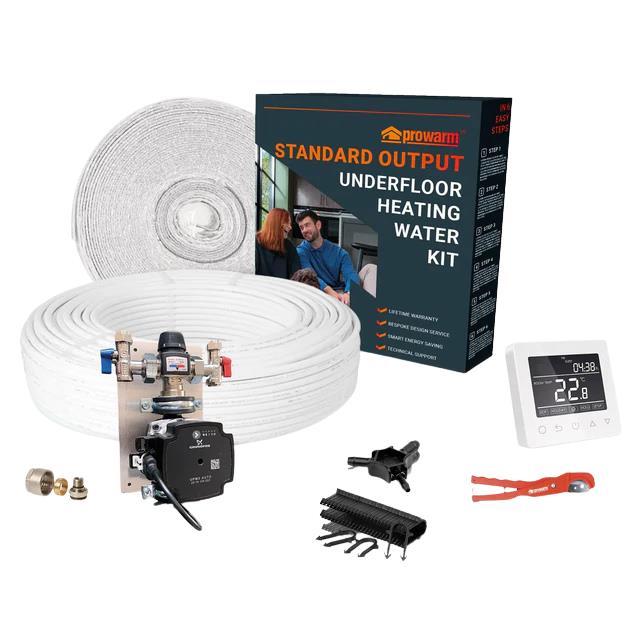
- Complete Water-Based Underfloor Heating System – Each kit includes everything required for a professional installation - no surprises, no missing parts.
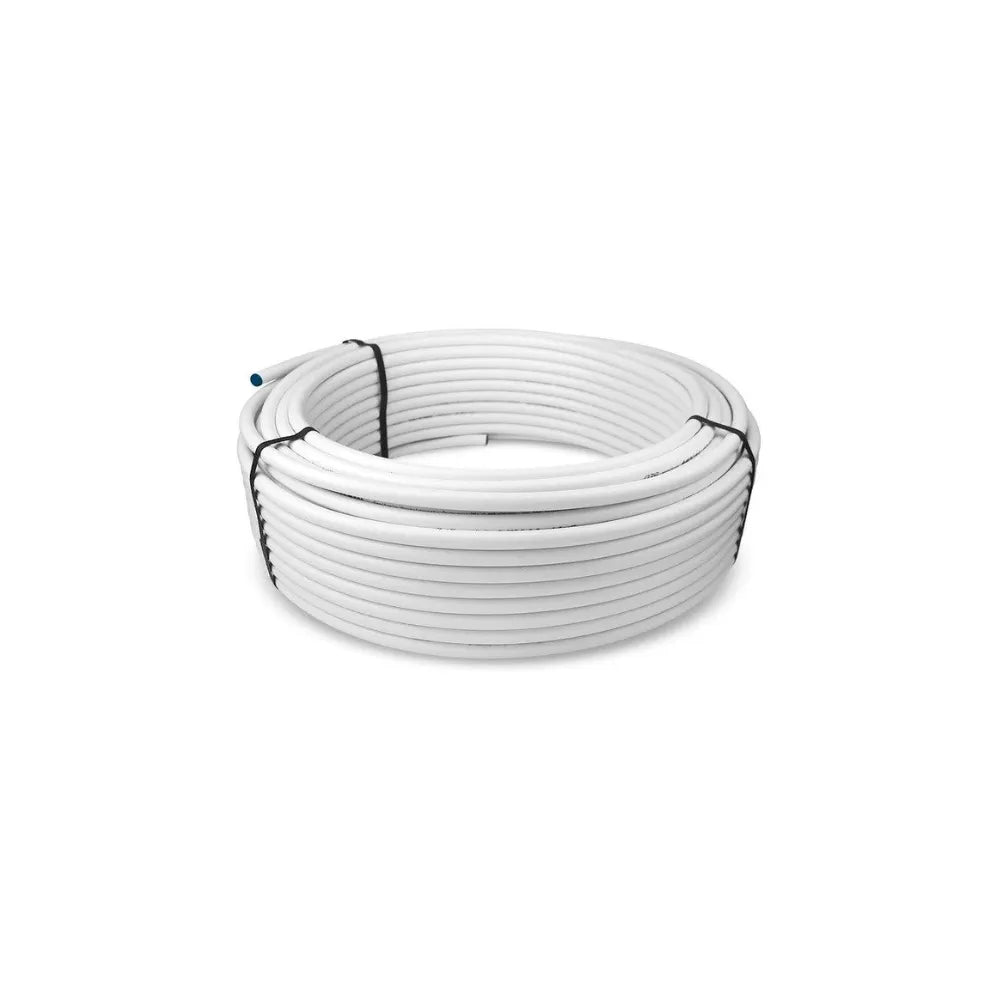
- Built to Last – Supplied with WRAS-approved Pert-Al-Pert pipe that meets strict European standards. The integrated aluminium core prevents oxygen ingress and protects your system from corrosion.
- Precision Water Temperature Control – Integrated temperature control ensures reliable, comfortable warmth while minimising energy use.
- Backed by a Lifetime Warranty – We stand behind our underfloor heating systems with a full lifetime guarantee for total peace of mind.
What’s Included in Your ProWarm Kit
Everything you need to install a reliable, energy-efficient water underfloor heating system in one room:
-
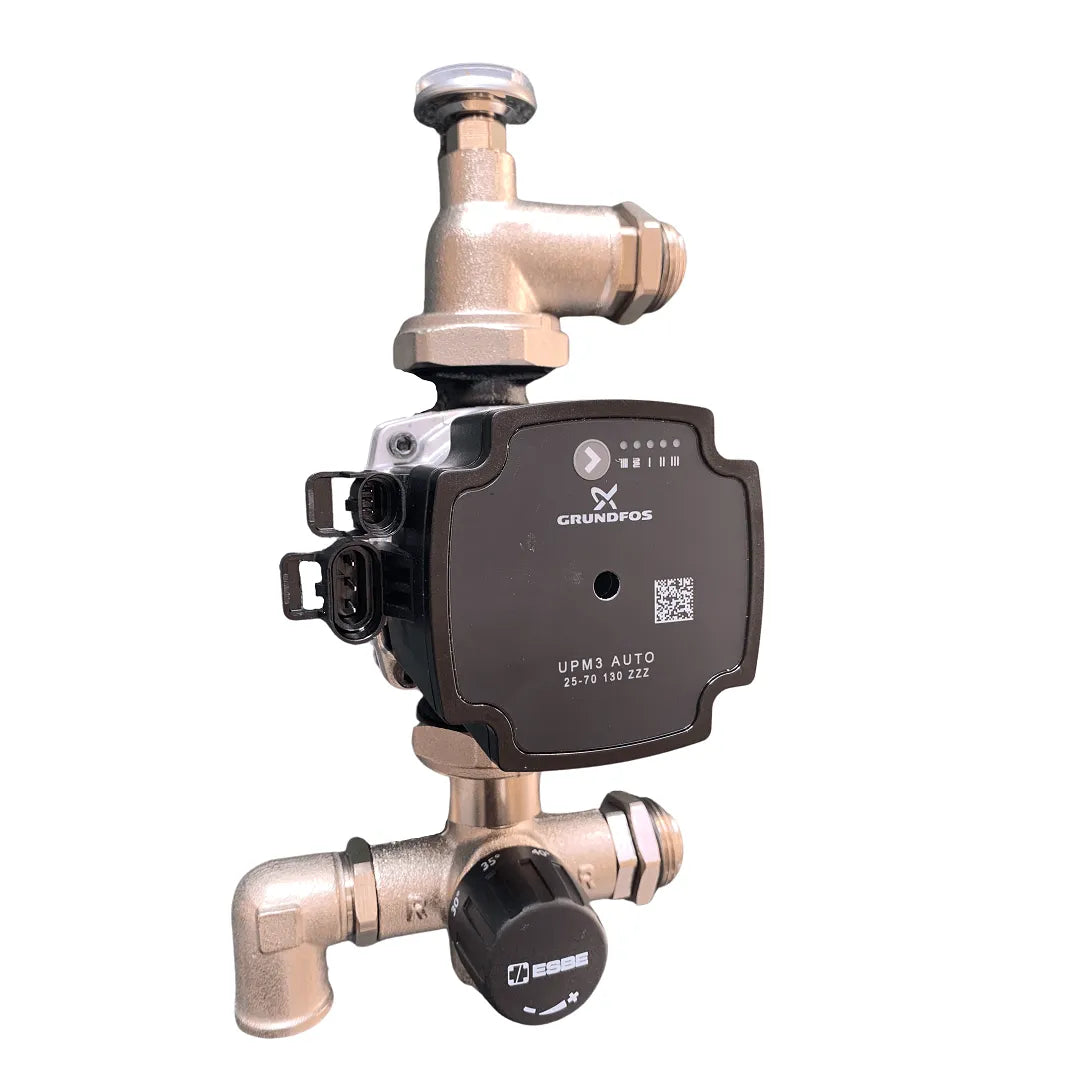
Grundfos Temperature or Mixing Unit
- UPM3 Constant Temperature Unit (for areas up to 30m²)
- UPM3 Manifold Pump & Mixing Valve (for areas 37–100m²)
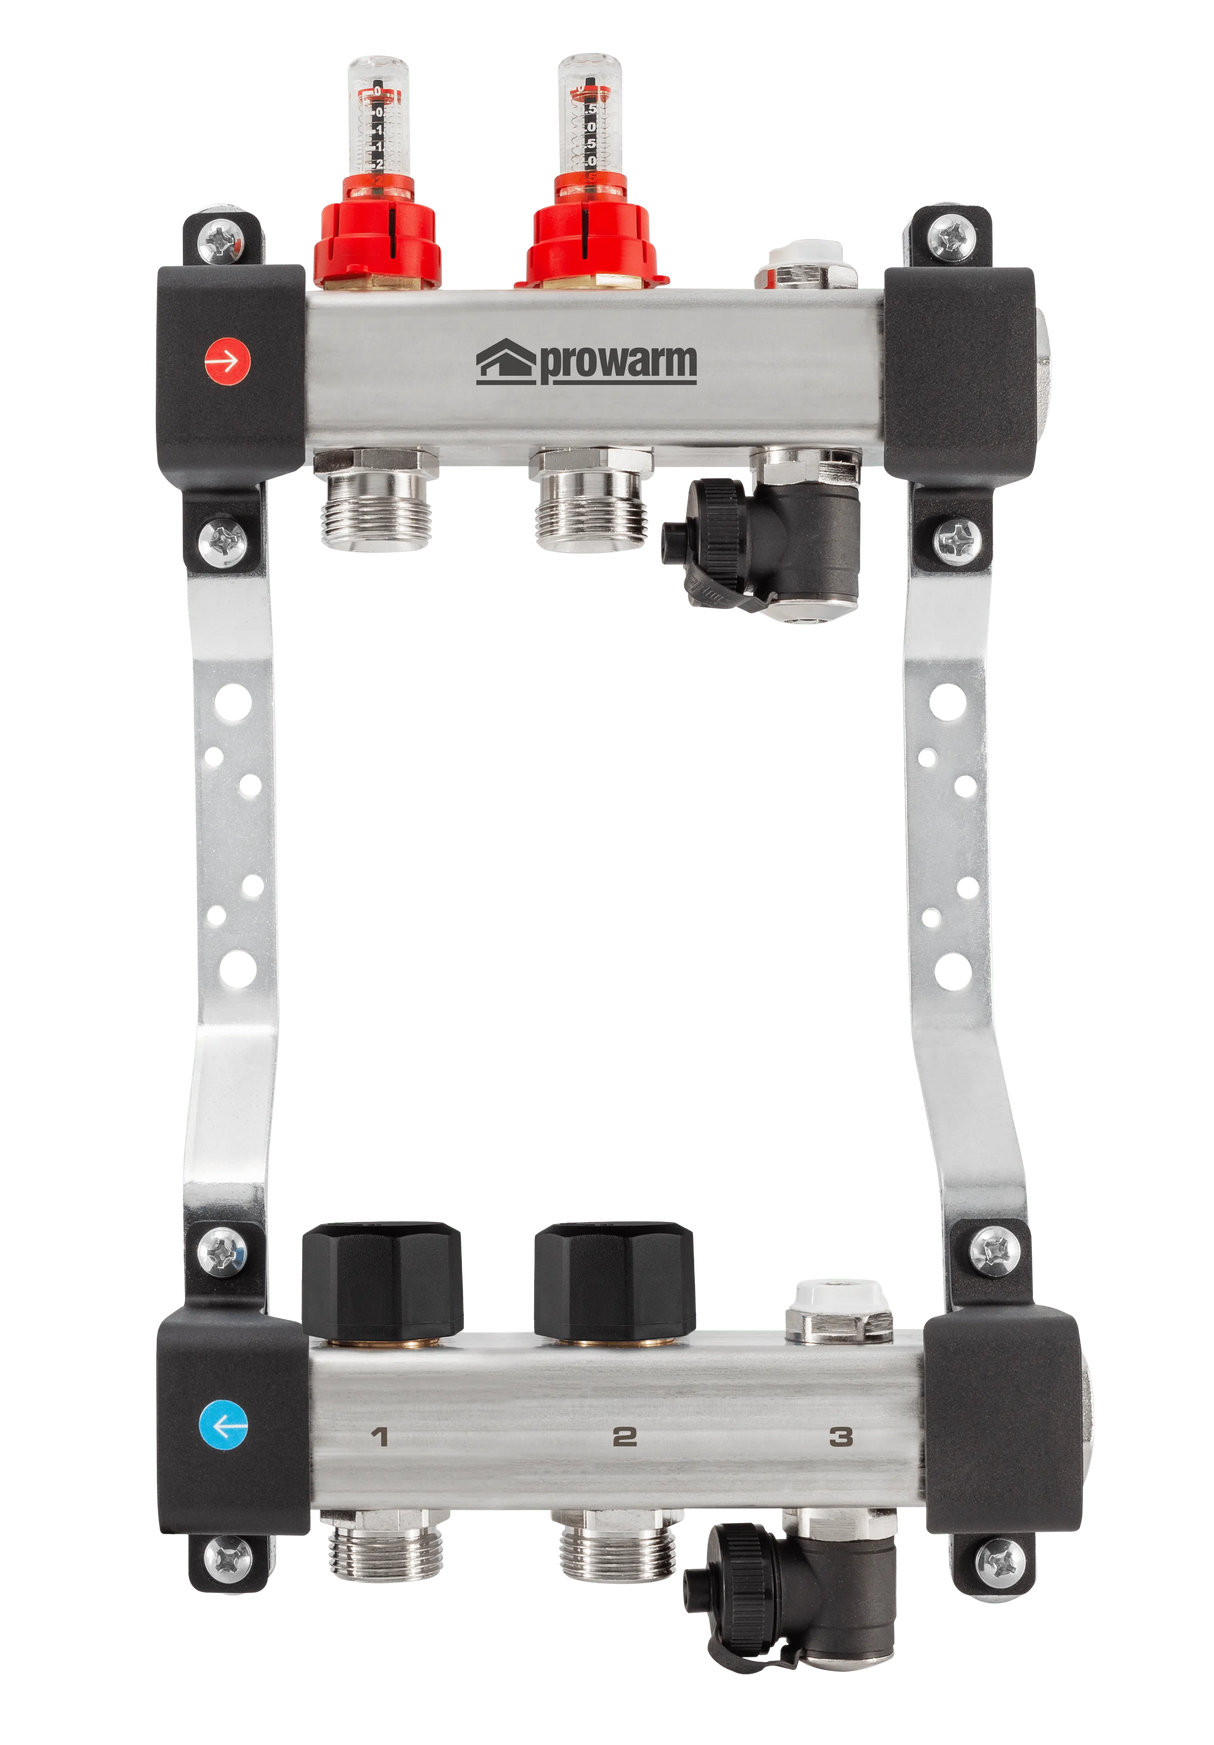
- Stainless Steel Manifold (2–4 Port) – Pre-assembled with flow meters, isolation valves, and wall mounting brackets.
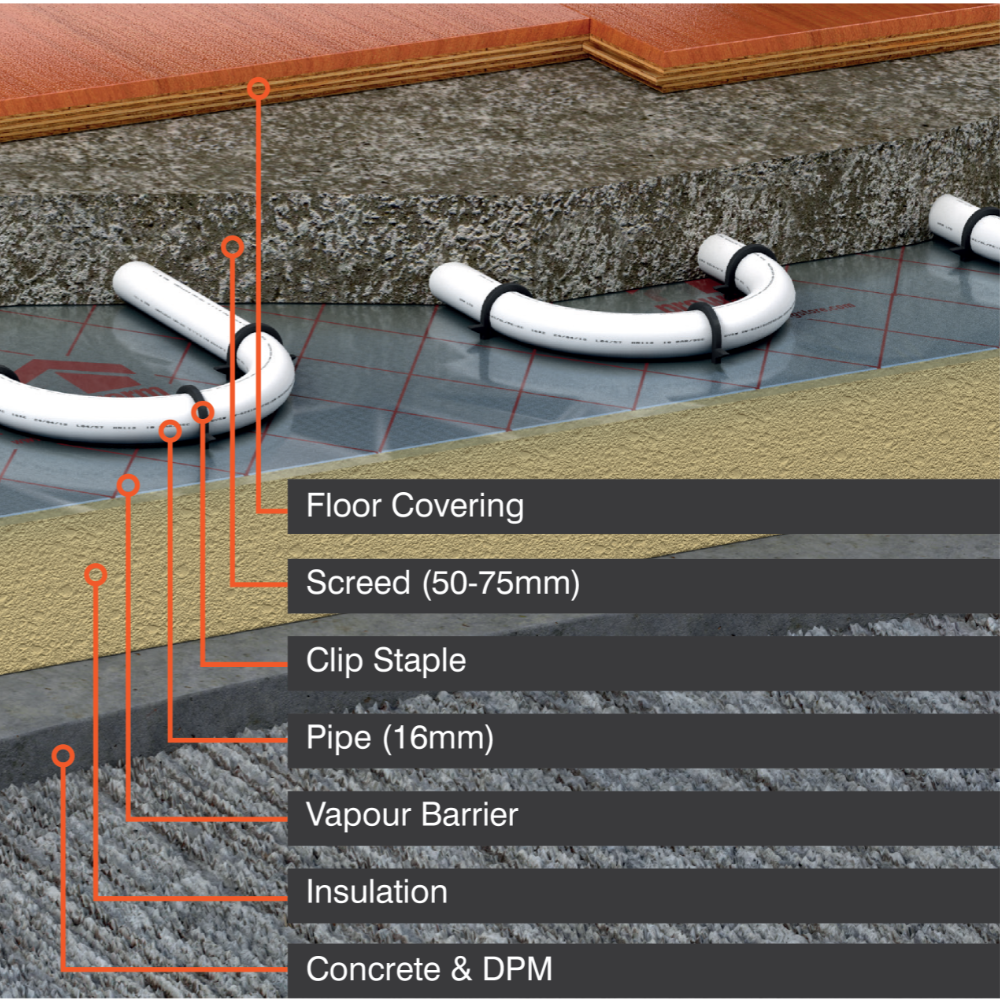
- ProWarm 16mm Pert-Al-Pert Pipe – High-quality multilayer pipe with an integrated oxygen barrier for durability and maximum heat transfer.
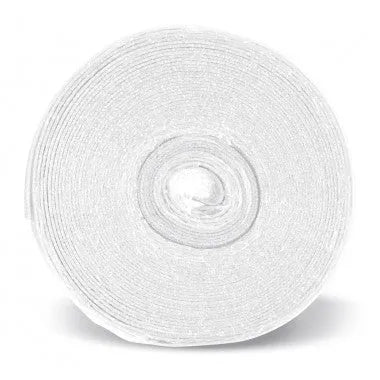
- Edge Insulation – Reduces heat loss at room boundaries and allows floor expansion.
- Essential Installation Tools – Includes pipe cutters, pipe re-rounding tool, and pipe staples to make installation quick and professional.
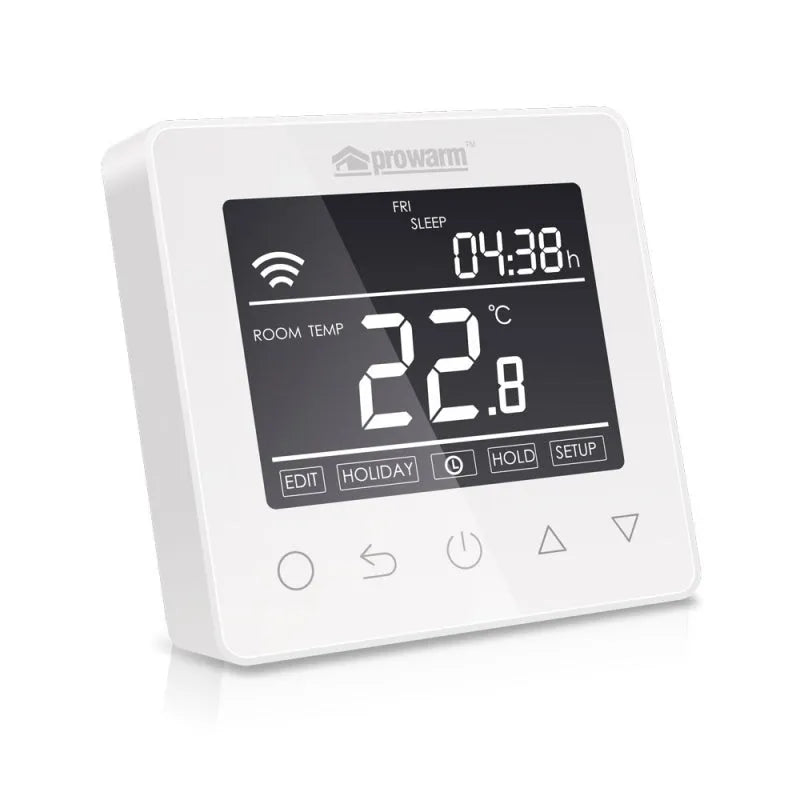
- Optional Thermostat – Add a smart thermostat for enhanced temperature control and energy efficiency.
Water Underfloor Heating Made Simple
ProWarm makes water underfloor heating easy to install, affordable to run, and incredibly effective. Whether you're a DIY enthusiast or a professional installer, our kits offer the perfect balance of performance, quality, and ease of use.
Say goodbye to cold floors and hello to year-round comfort with ProWarm – the UK's most trusted name in water underfloor heating systems.
Compare Kits
This table shows exactly what you'll get in the box based on your chosen kit size.

Specifications
| Features | Values | Testing Methods |
|---|---|---|
| Material |
Crosslinked polyethylene PE-RT internal layer, internal bonding layer, intermediate aluminium layer, external bonding layer, high density polyethylene PE-RT external layer. |
- |
| Colour | White |
- |
| Dimensions | 14÷32 mm | - |
| Application | Hot and cold potable water distribution, convector and radiator heating systems, radiant heating and air cooling systems, compressed air distribution systems, industrial installations. | - |
| Fittings | Pexal Brass, Bravopress and Pexal Twist | - |
| Minimum operating Temperature(1) | -60°C | - |
| Maximum temperature | 90°C | EN ISO 21003-1 |
| Maximum Pressure | 10 bar | EN ISO 21003-1 |
| Density at 23°C | > 0.950 g/cm3 (crosslinked polyethylene) | - |
| Softening temperature | 135°C | - |
| Thermal expansion coefficient | 0.023-0.025 mm/m.K | - |
| Thermal conductivity | 0.43 W/m.K | - |
| Internal roughness | 0.007 mm | - |
| Oxygen permeability | 0 mg/l | - |
| UV Resistance | Yes, if protected with UV-resistant paint | - |
| Halogen levels | Halogen-free | - |
(1) At any rate above the freezing temperature of the transported fluid.
The ProWarm Water Underfloor Heating Kit is WRAS approved. WRAS approval demonstrates it is of a suitable quality and standard against the Water Supply (Water Fittings) Regulations and Water Supply (Water Fittings) (Scotland) Byelaws, provided it is installed and used in accordance with the installation and requirement notes and any other restrictions within the approval. Any water fitting, which when installed, will carry or receive water from the public mains water supply in the UK, must comply with these regulations. They require that a water fitting should not cause waste, misuse, undue consumption or contamination of the water supply and must be ‘of an appropriate quality and standard’. To learn more about compliance, visit: WRAS approvals.
Reviews
Reviews
Payment & Security
Payment methods
Your payment information is processed securely. We do not store credit card details nor have access to your credit card information.
Not sure where to start? Let us help!
Answer a few questions and we’ll get you on your way


