ProWarm ProTray Wetroom Shower Tray

Buy now, Pay with Klarna

Buy now, Pay with PayPal
Description
Description
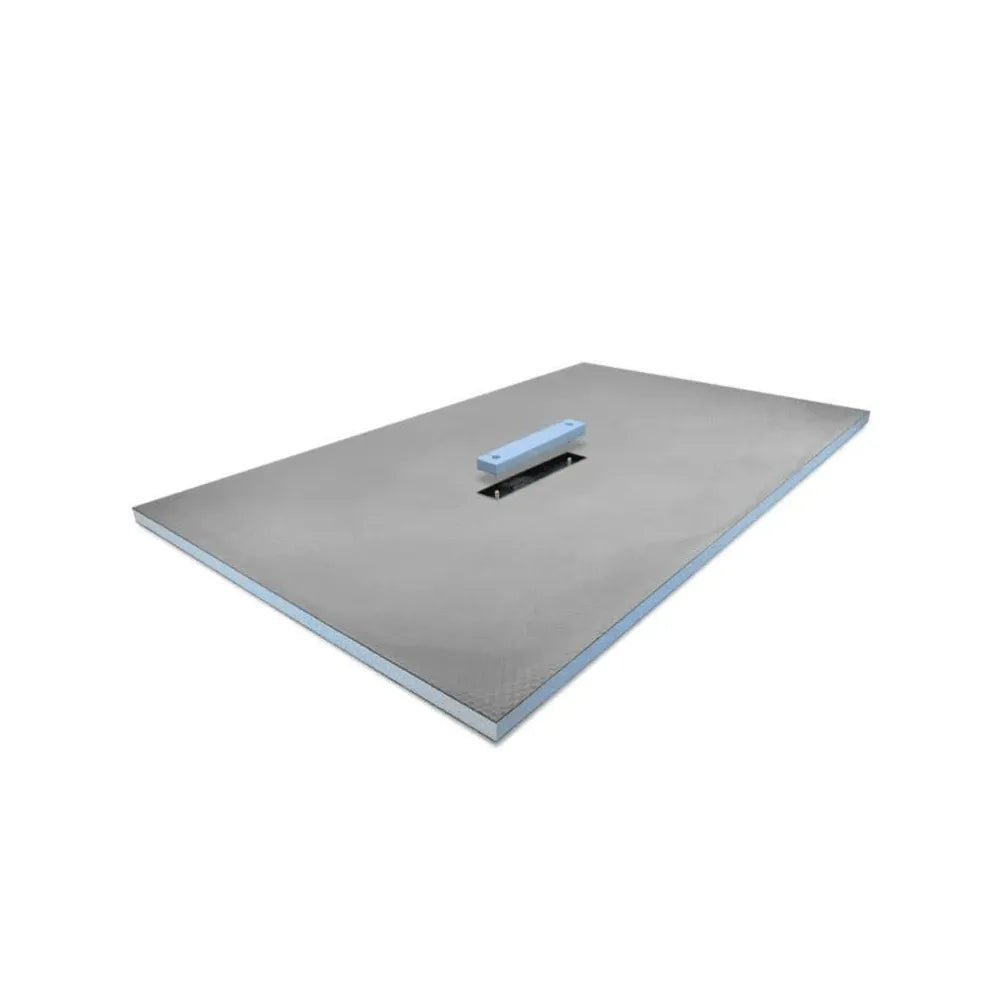
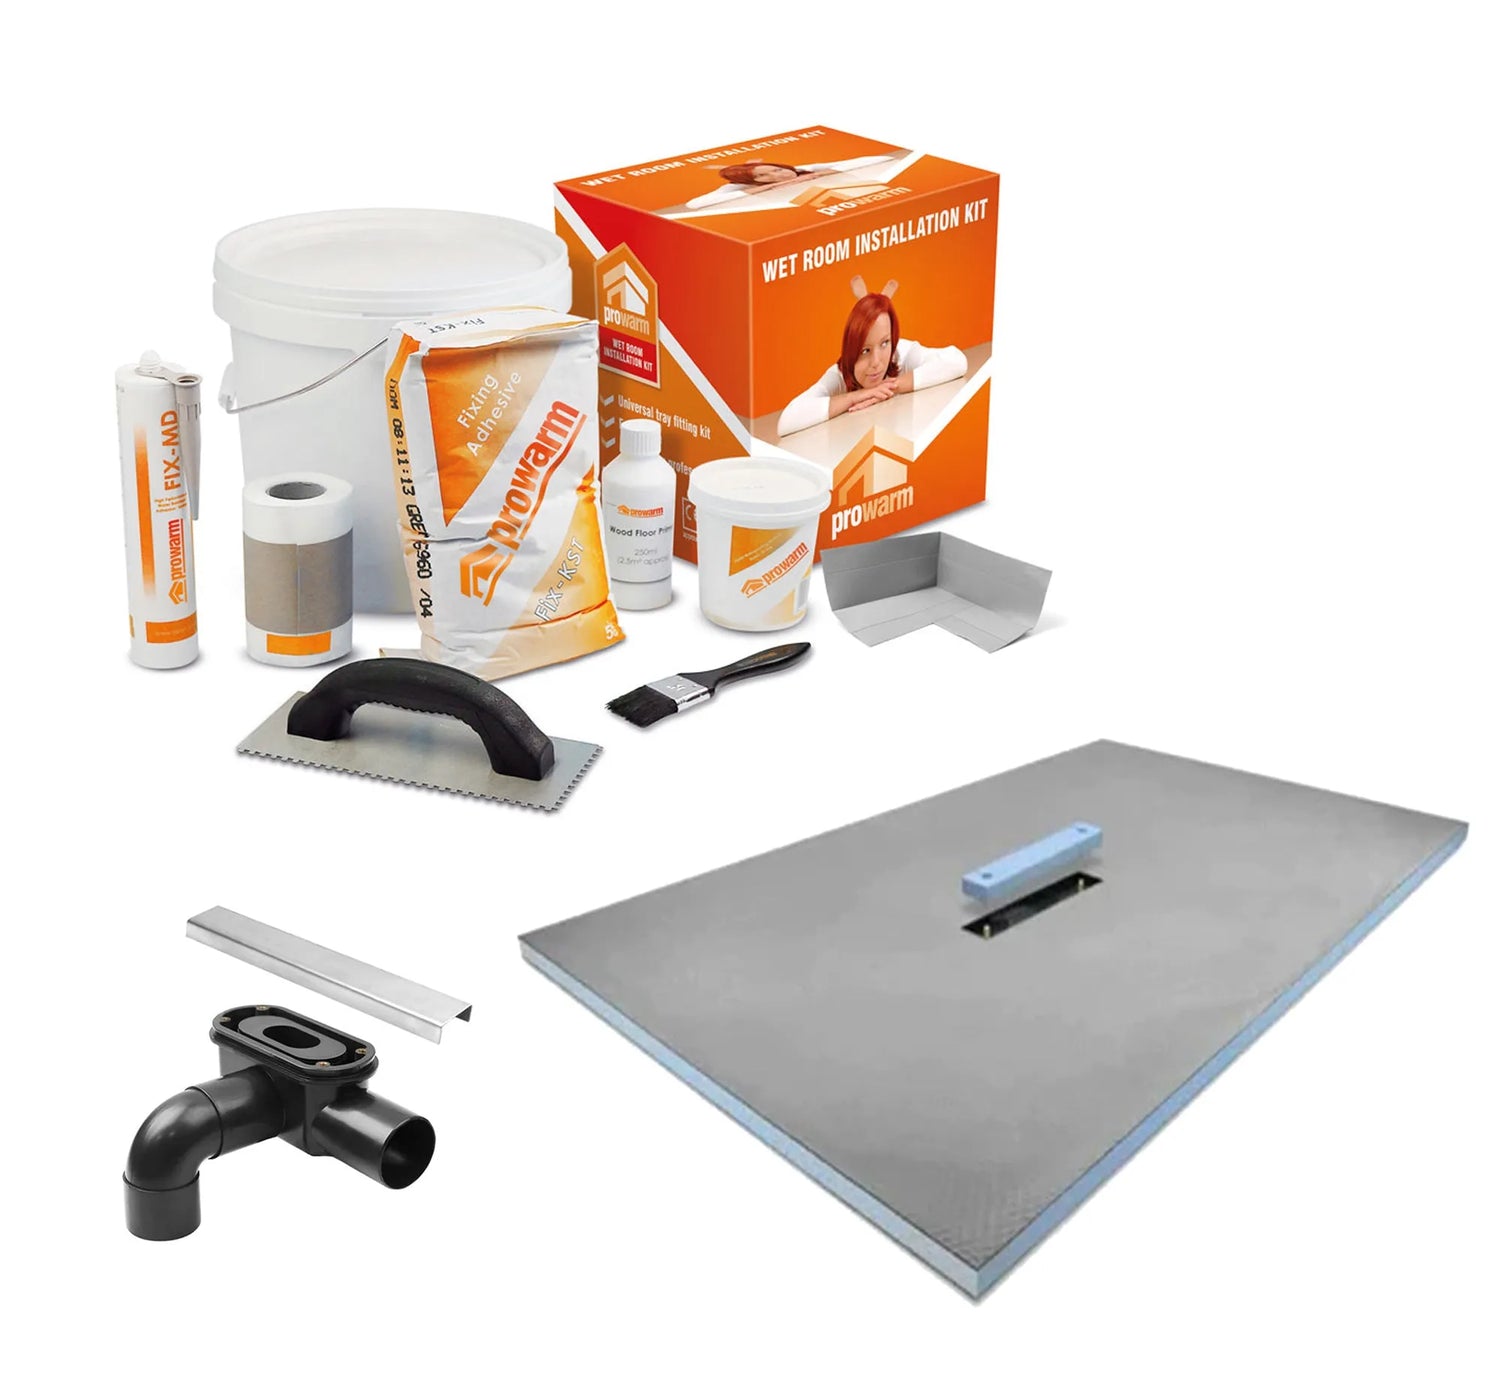
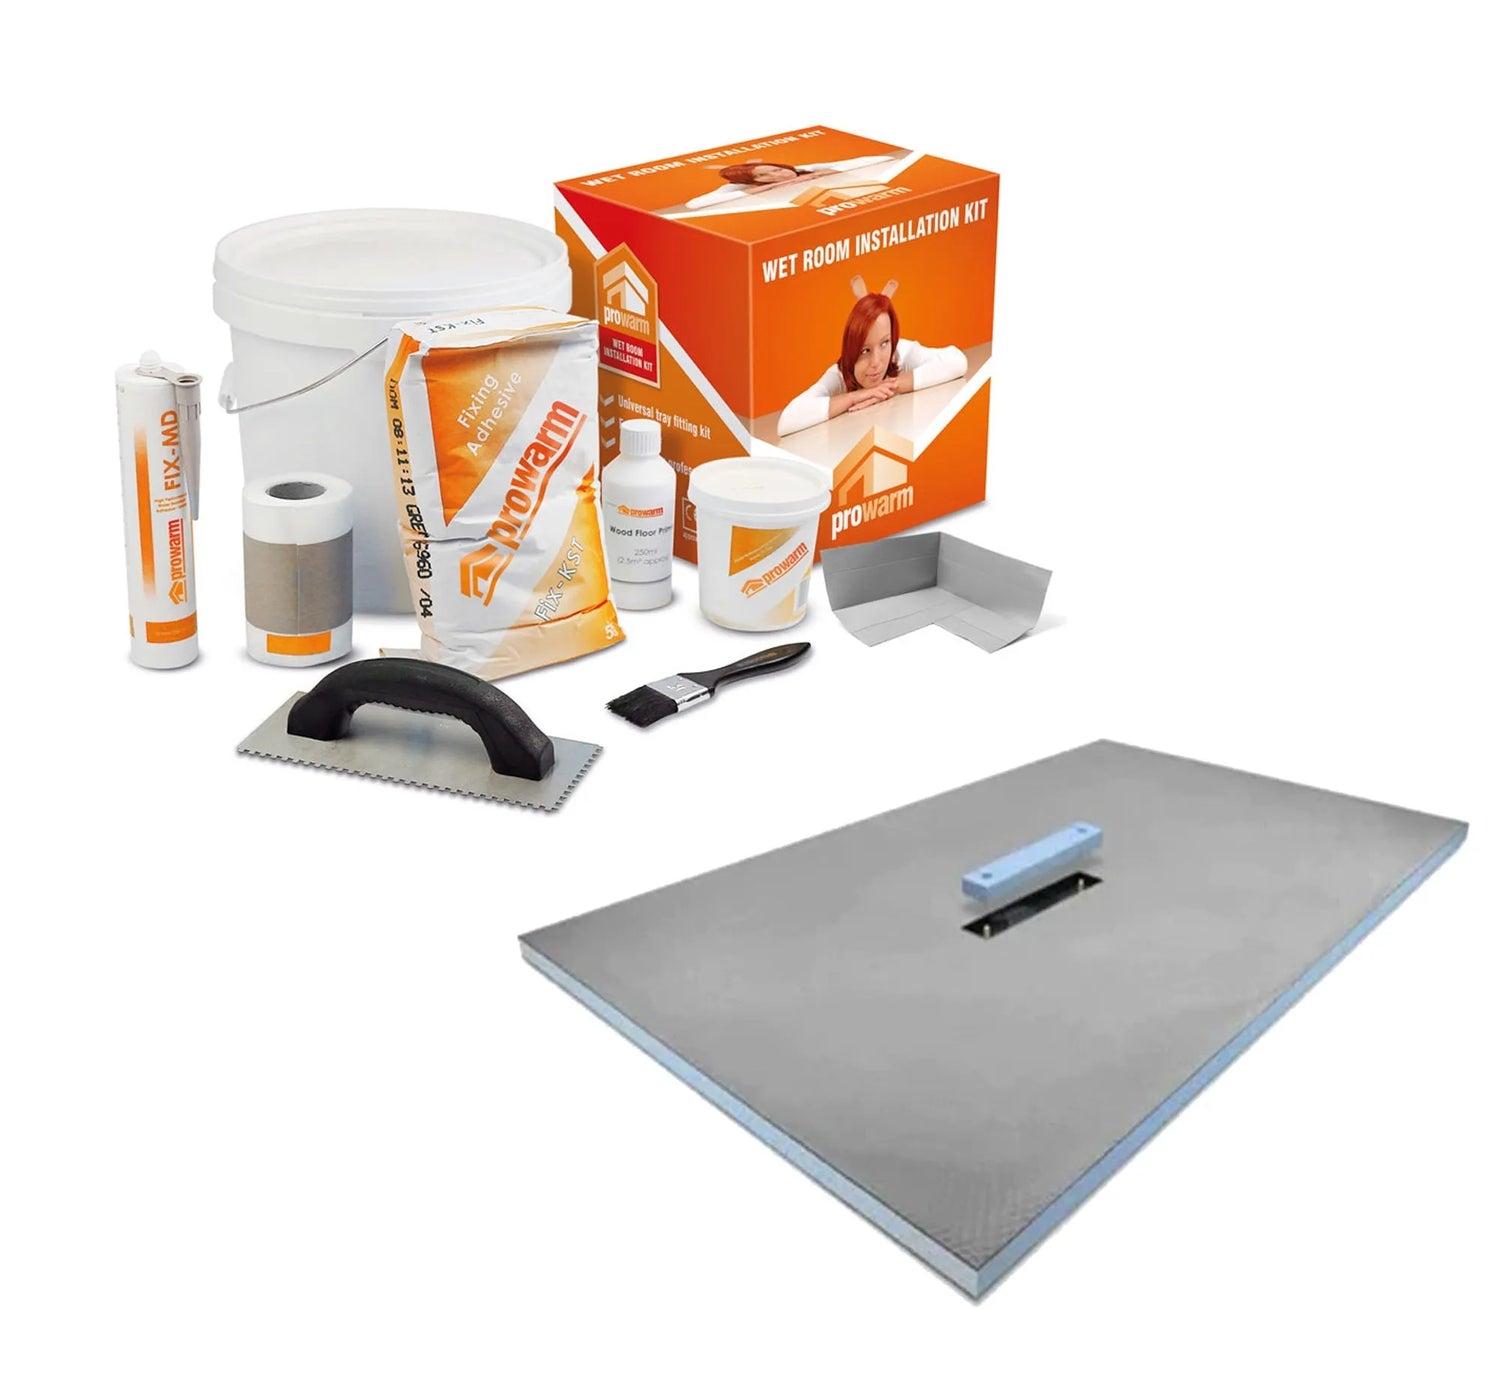
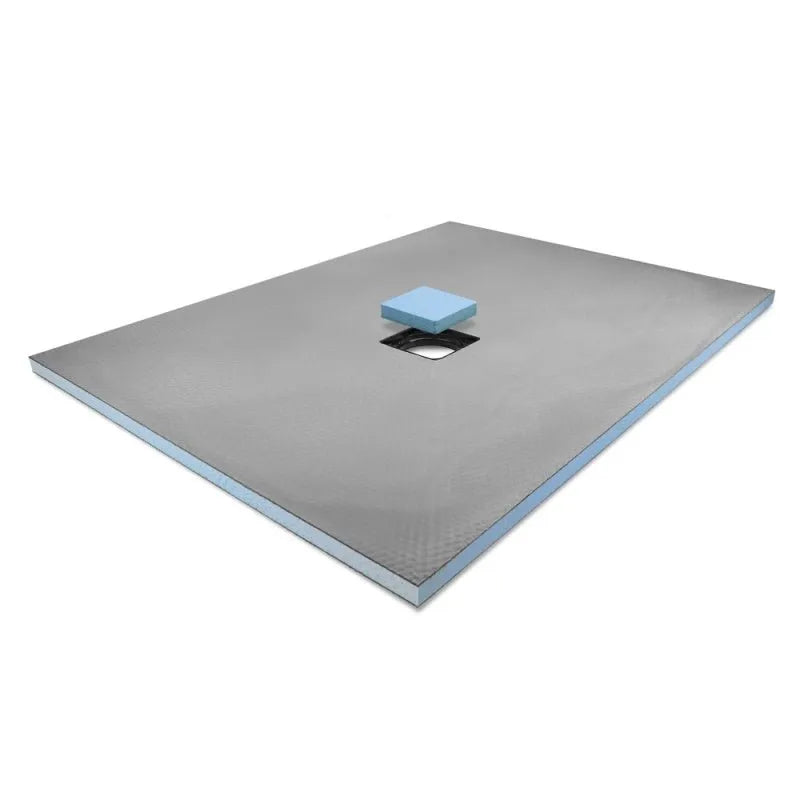
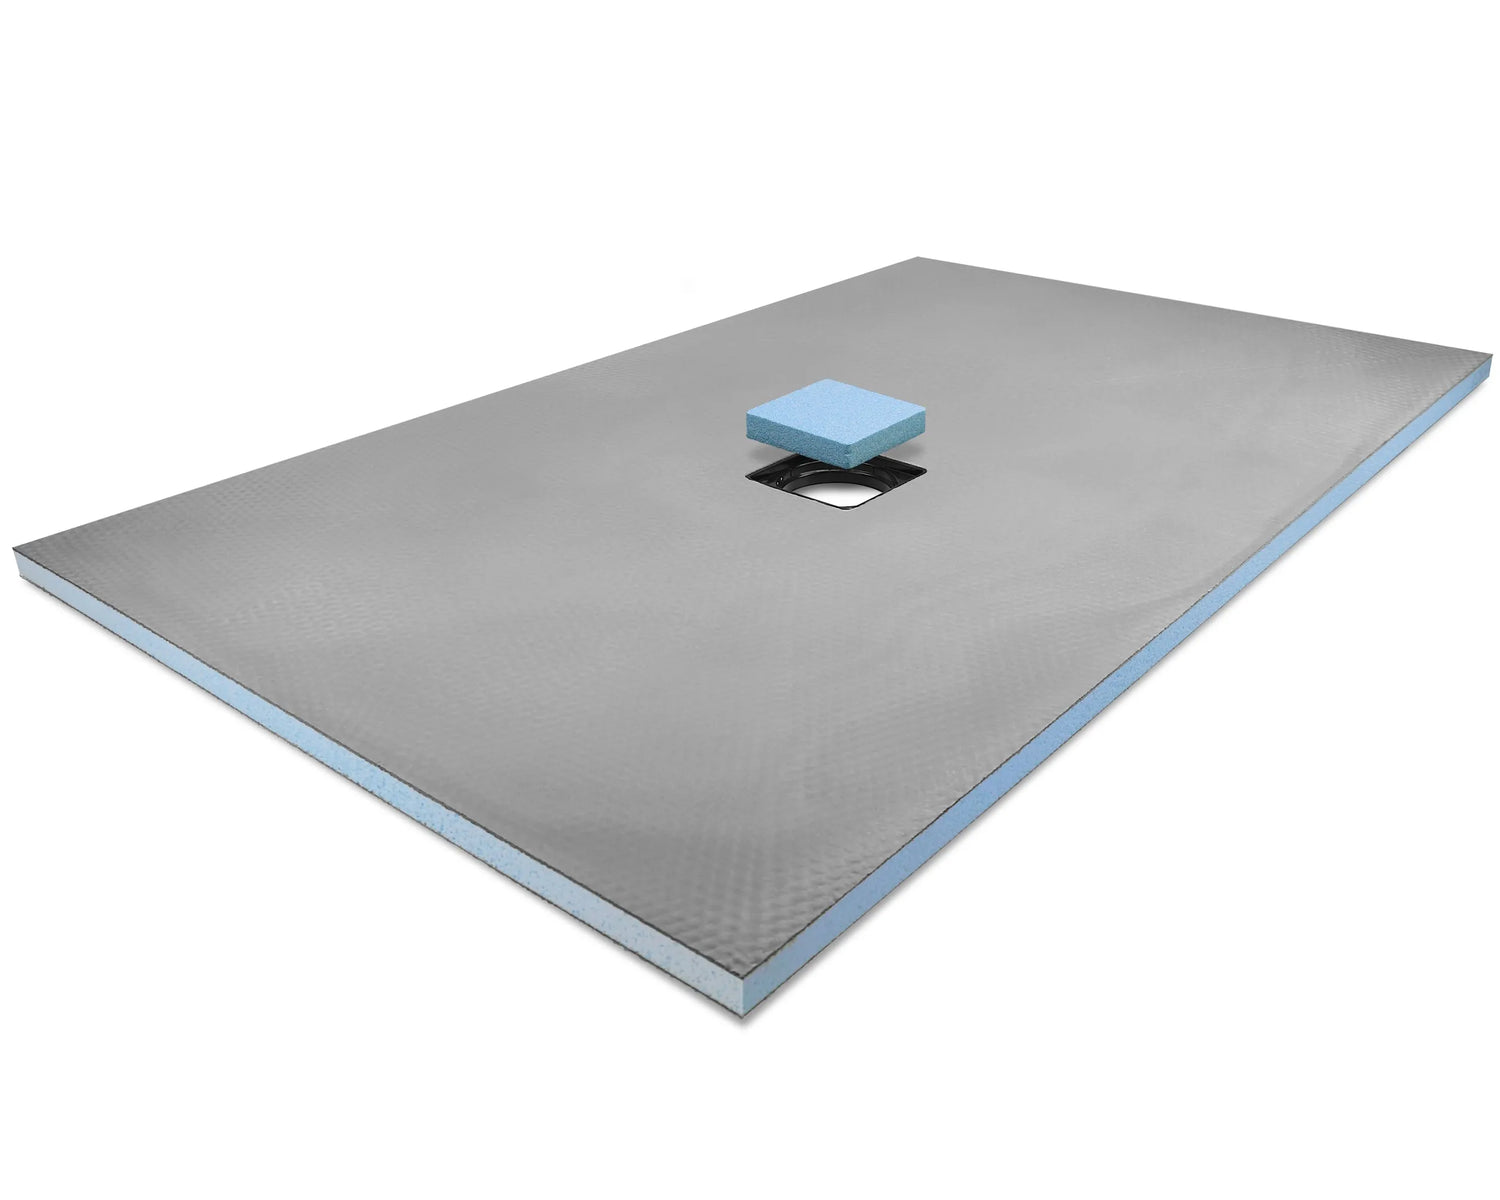
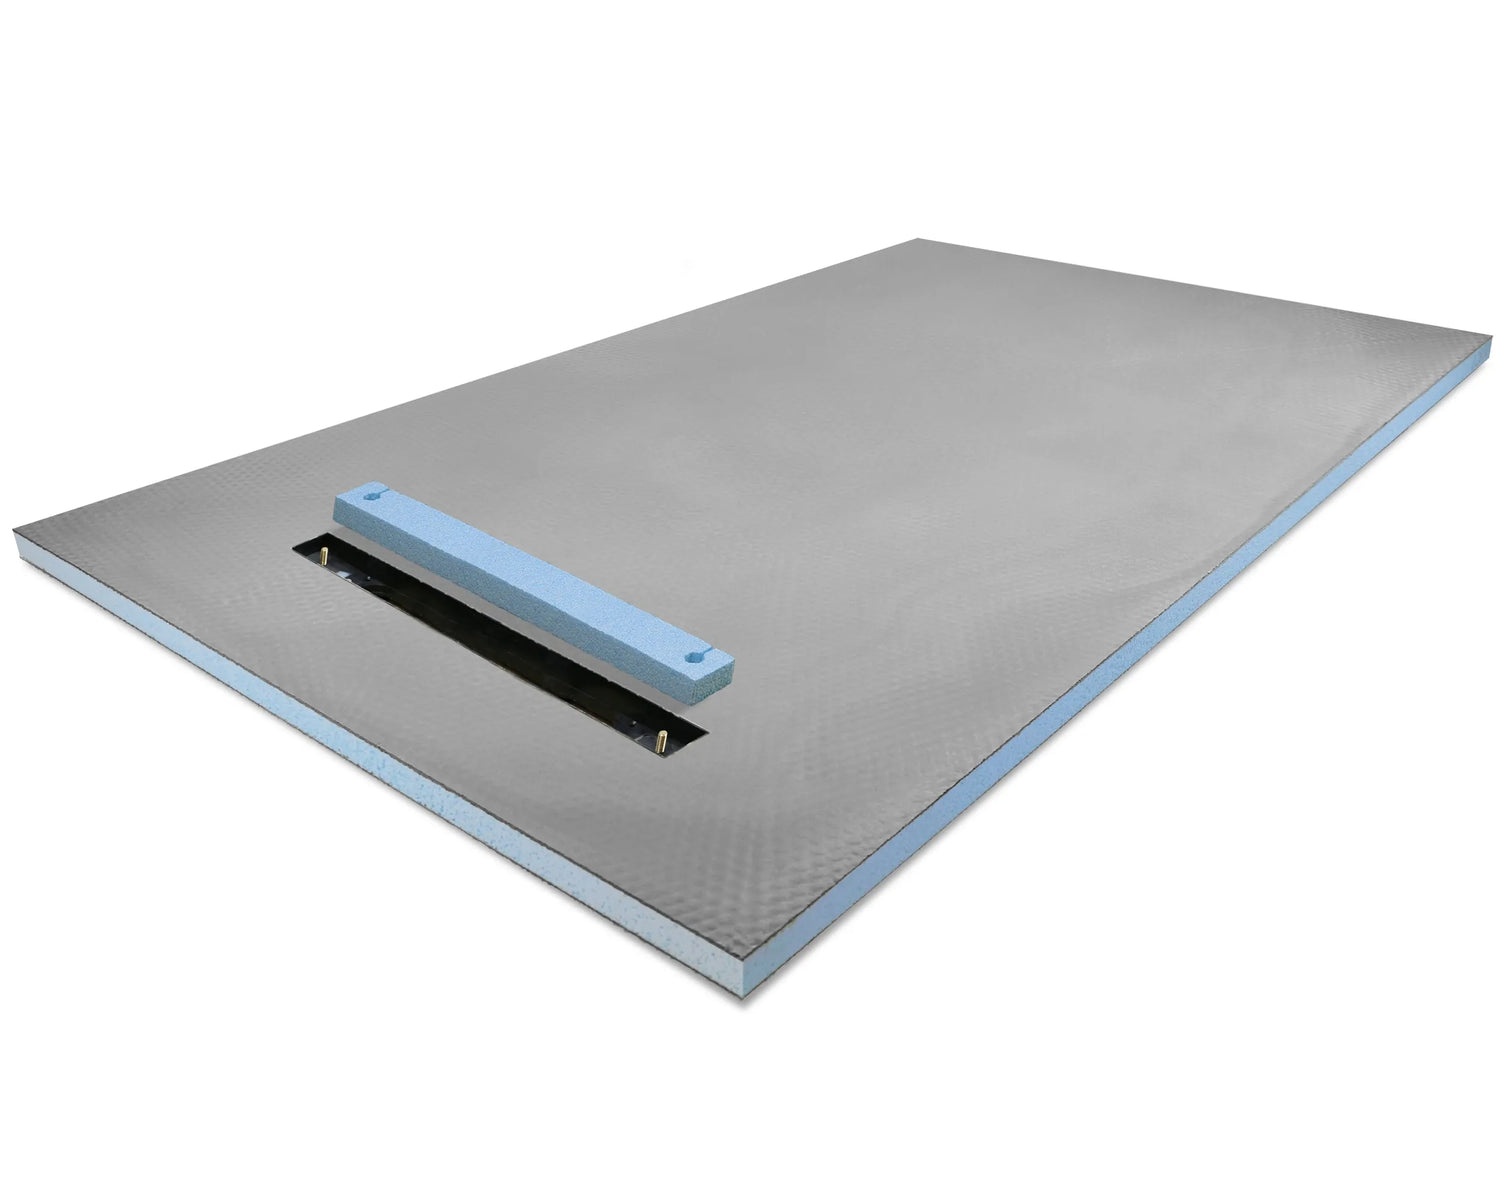
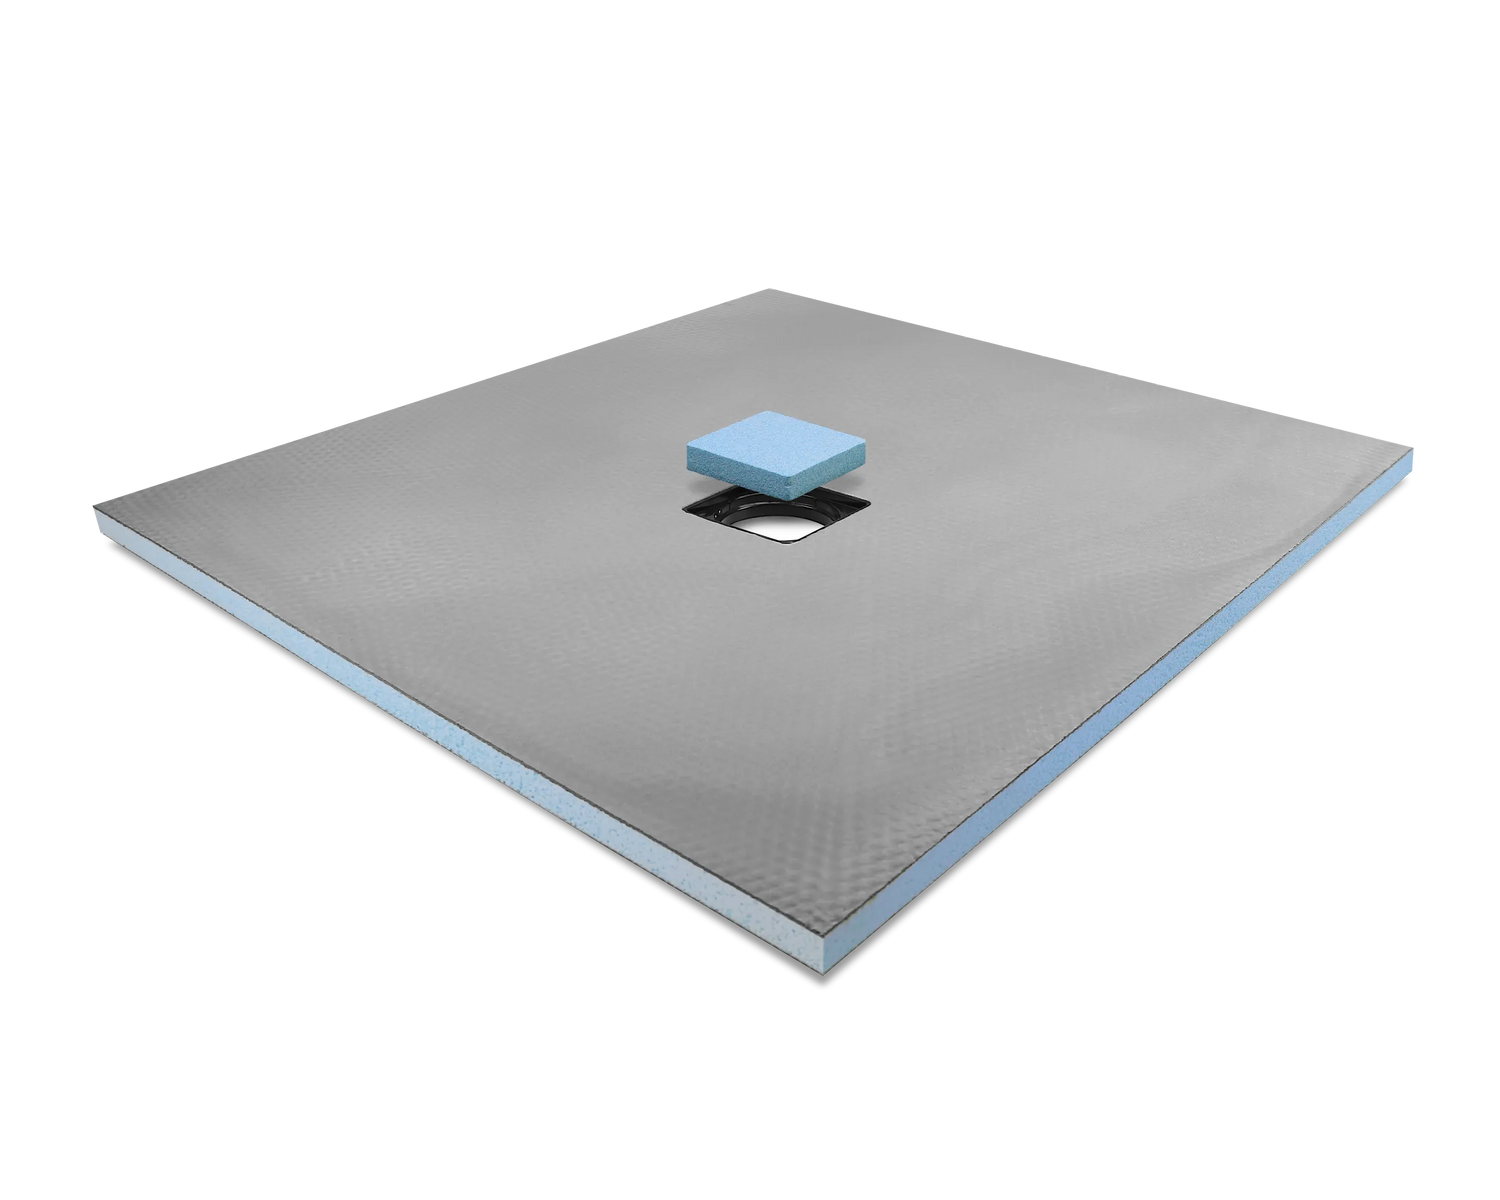
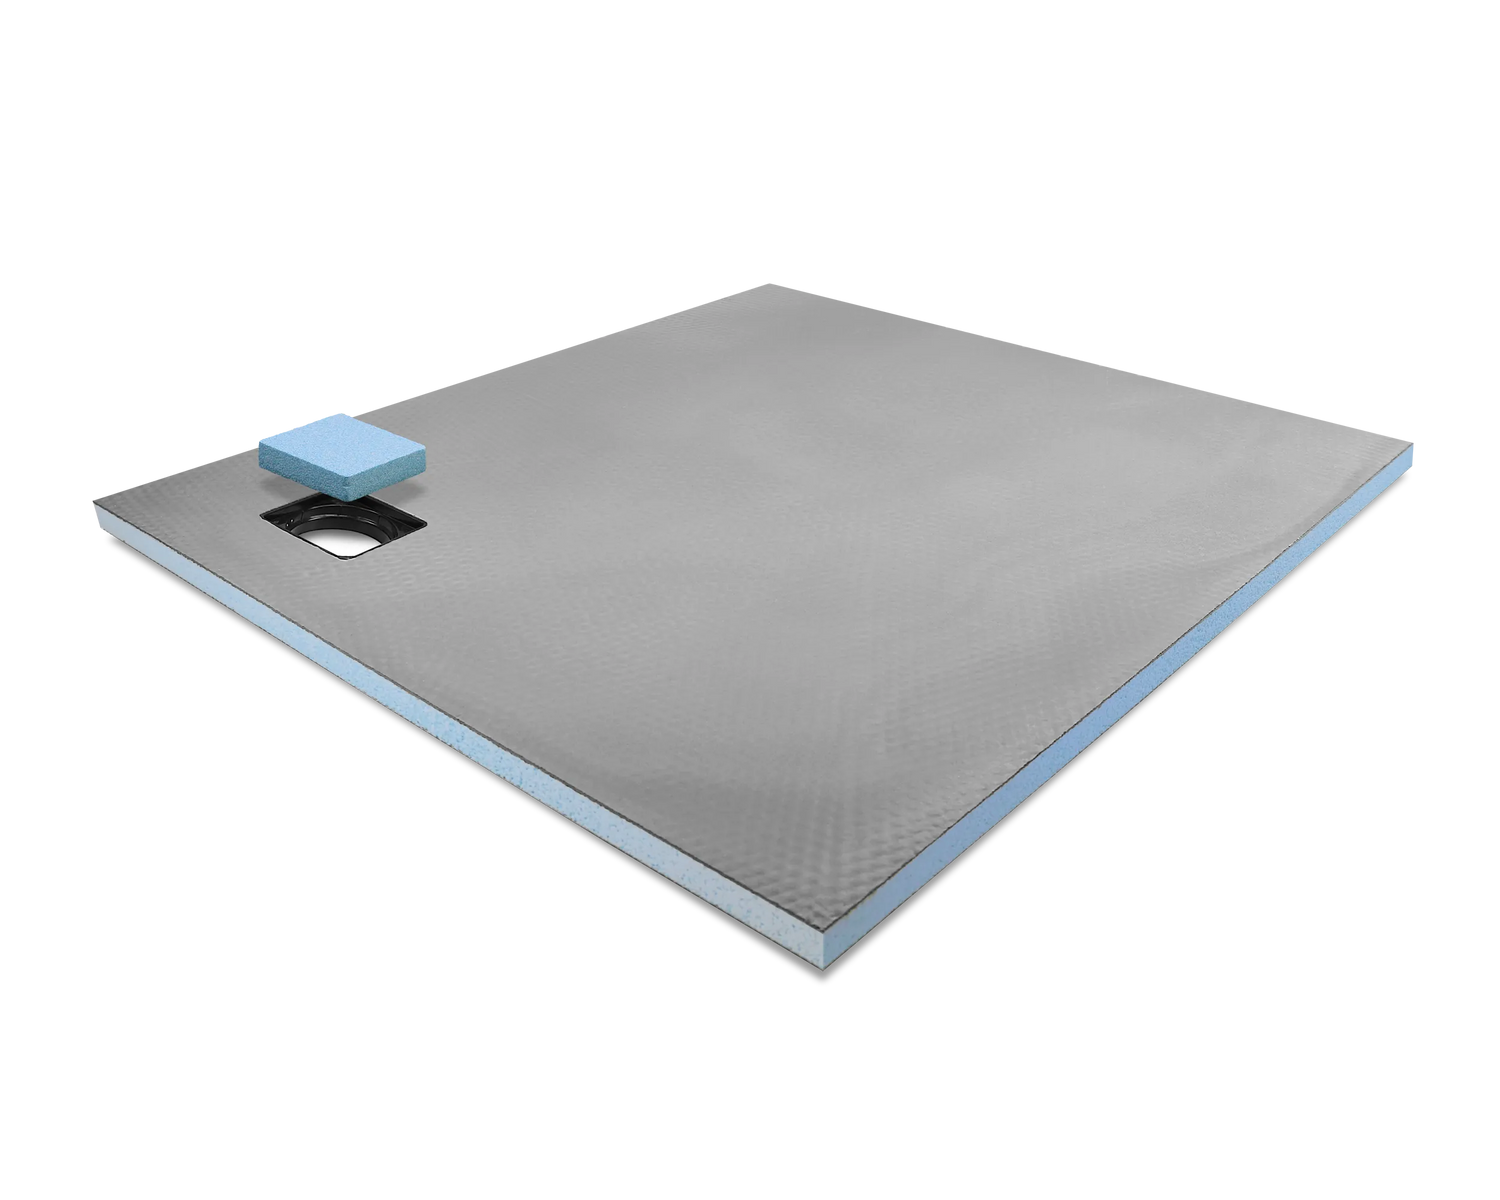
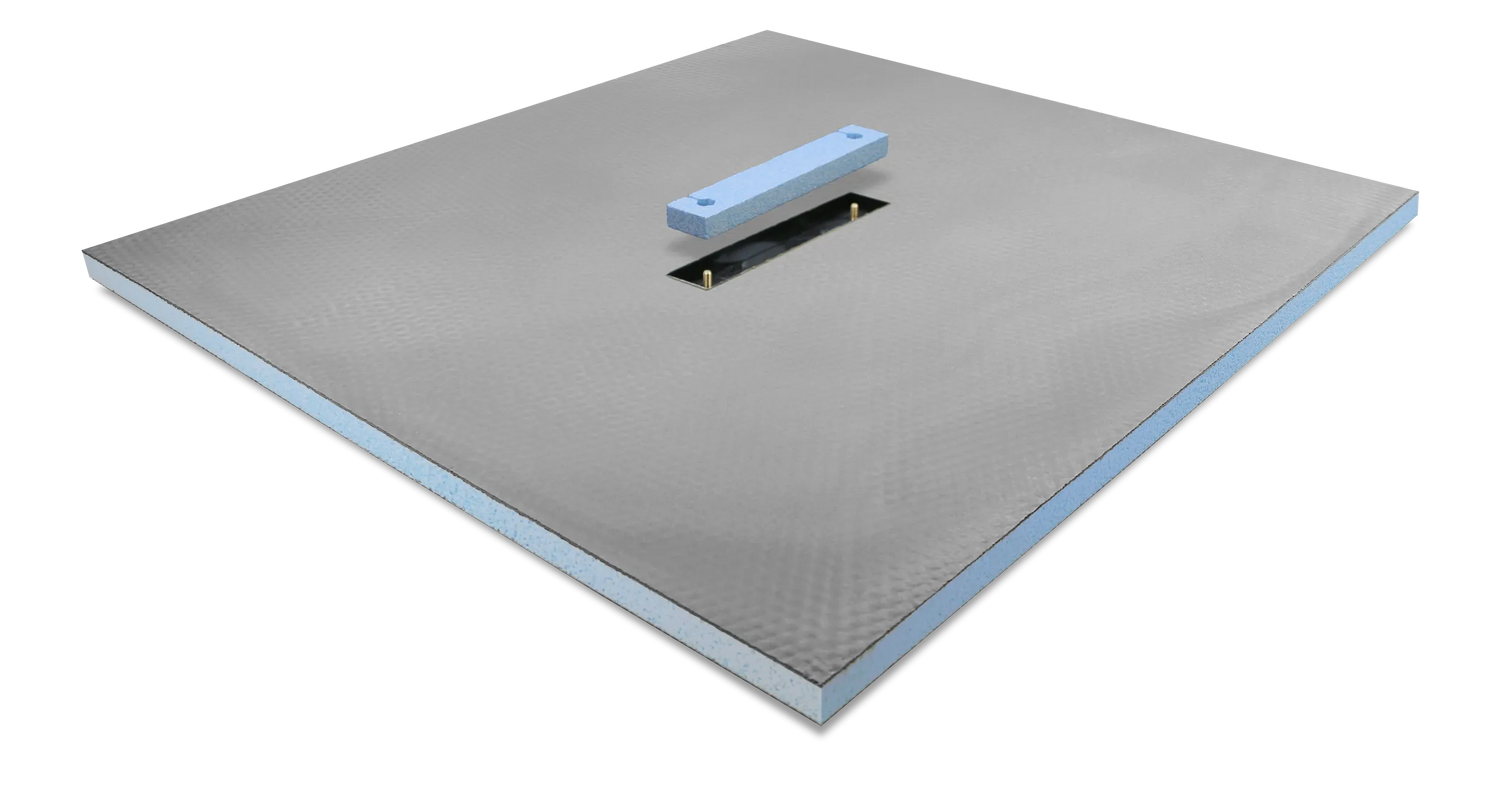
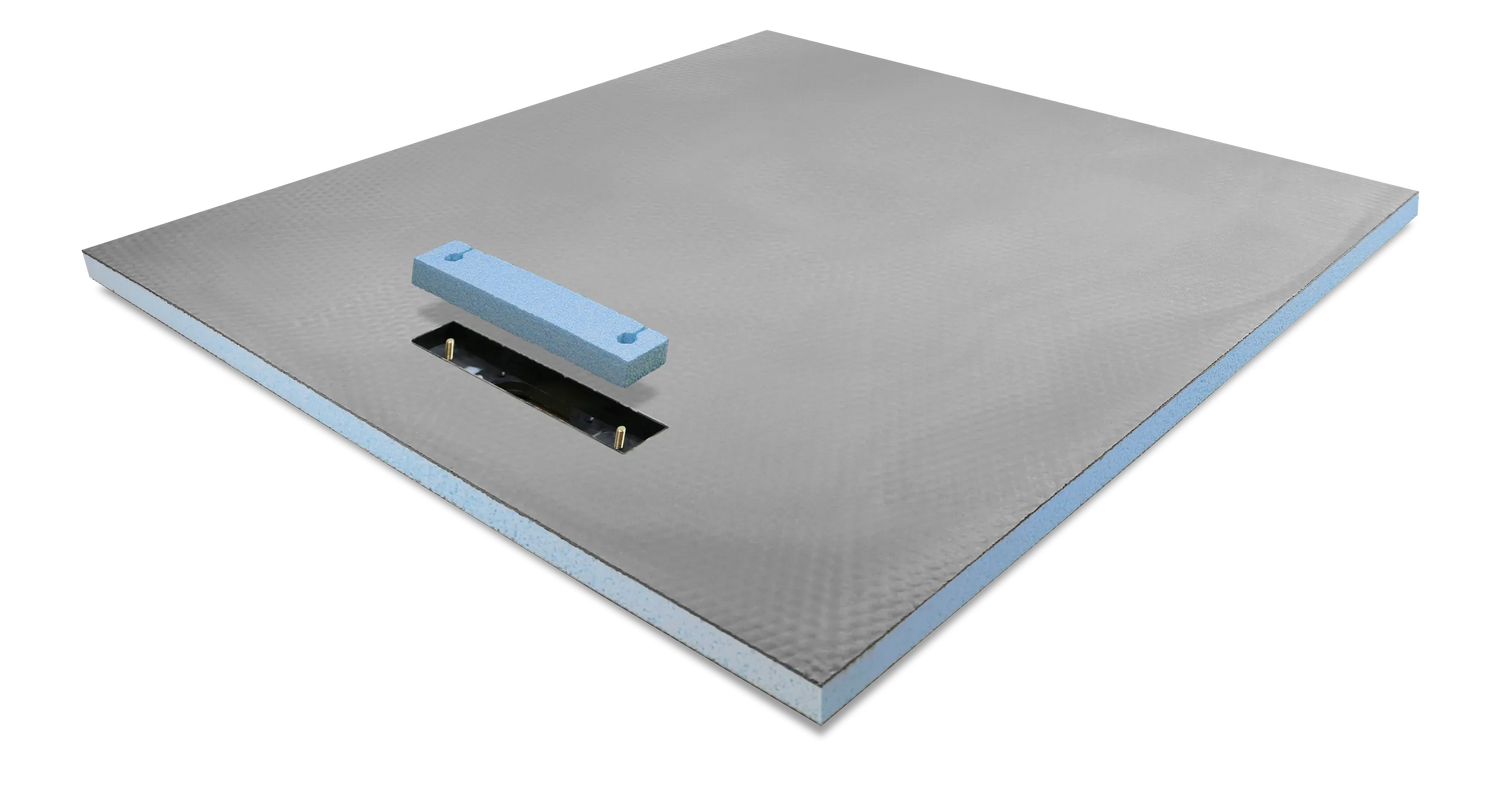
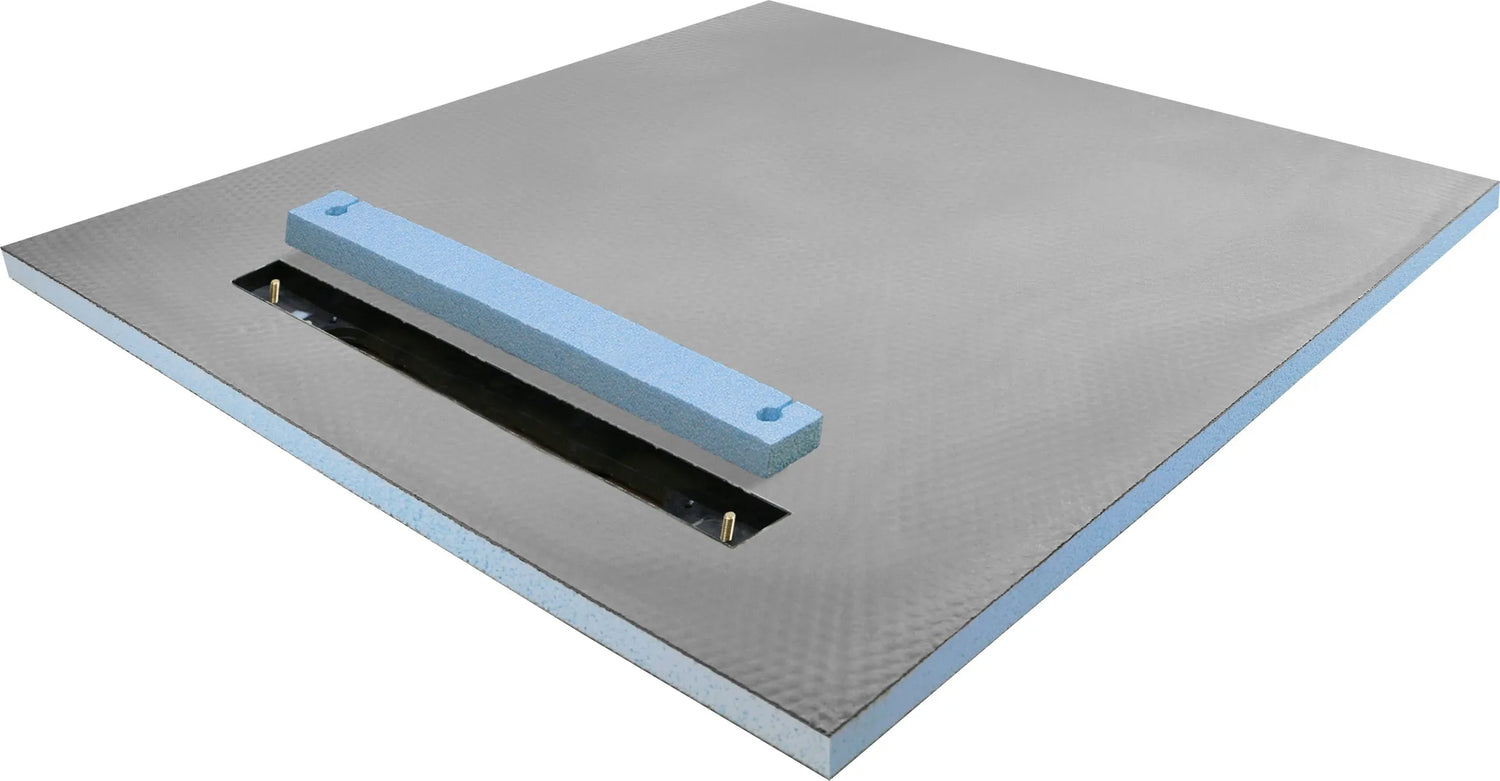
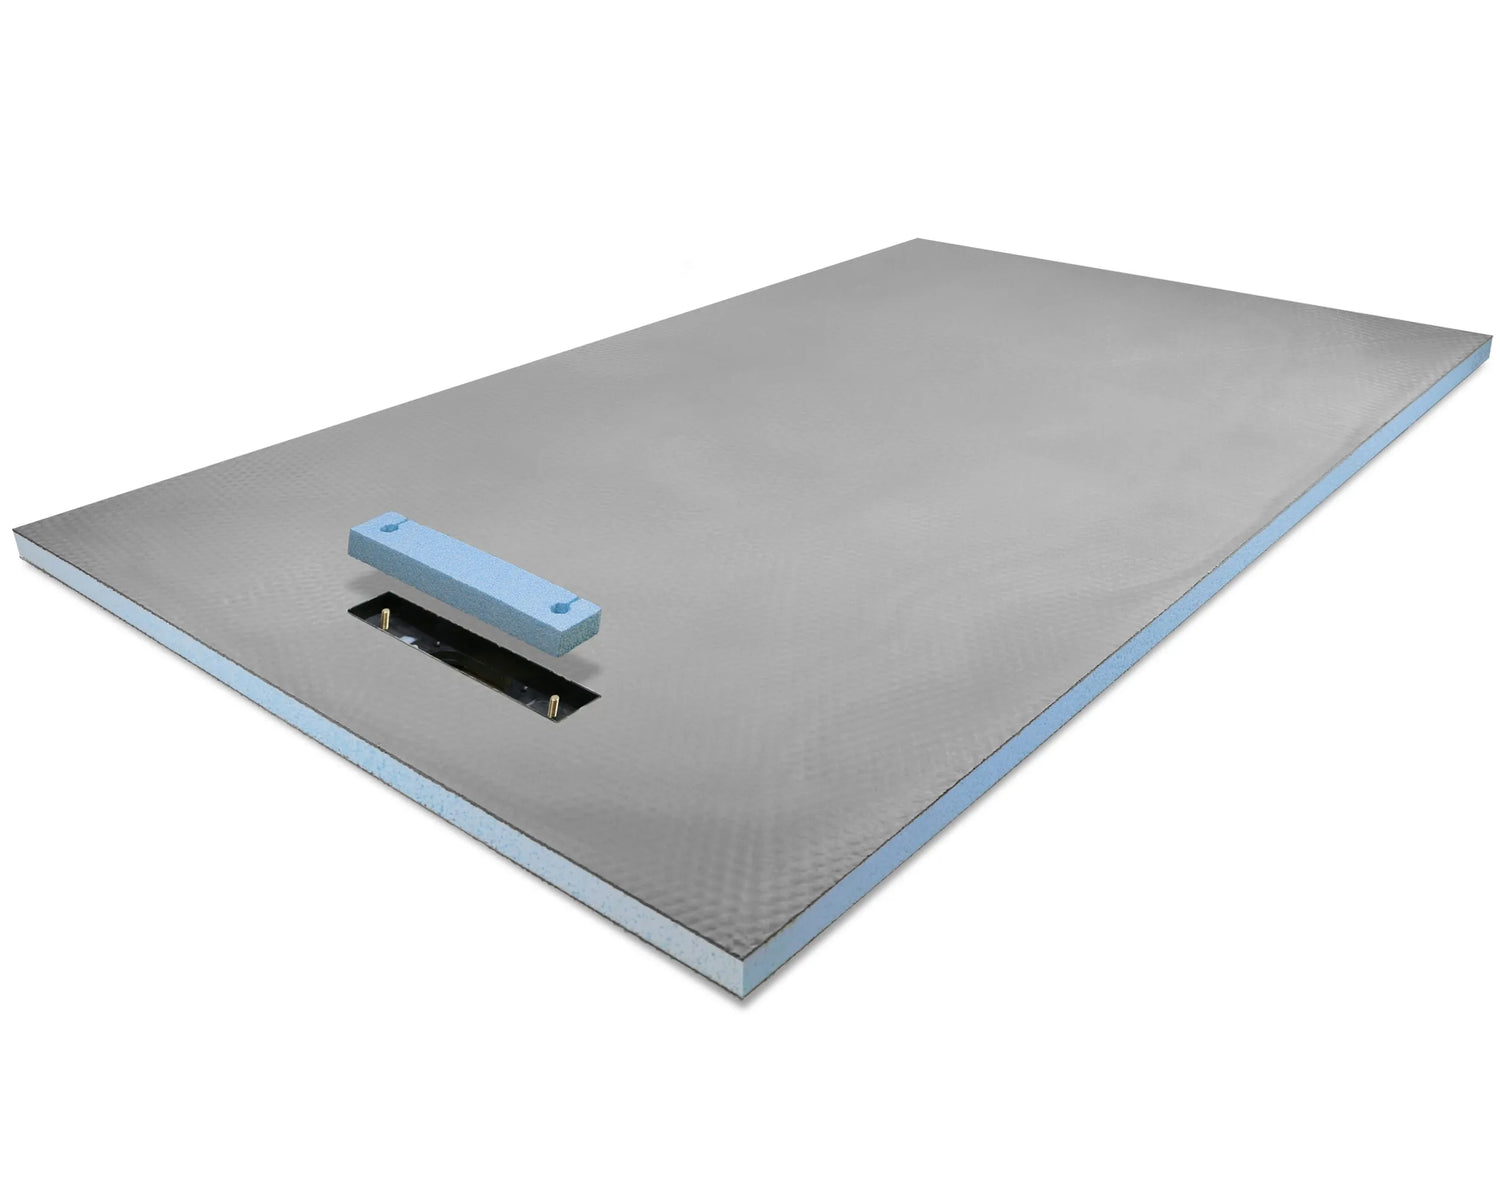
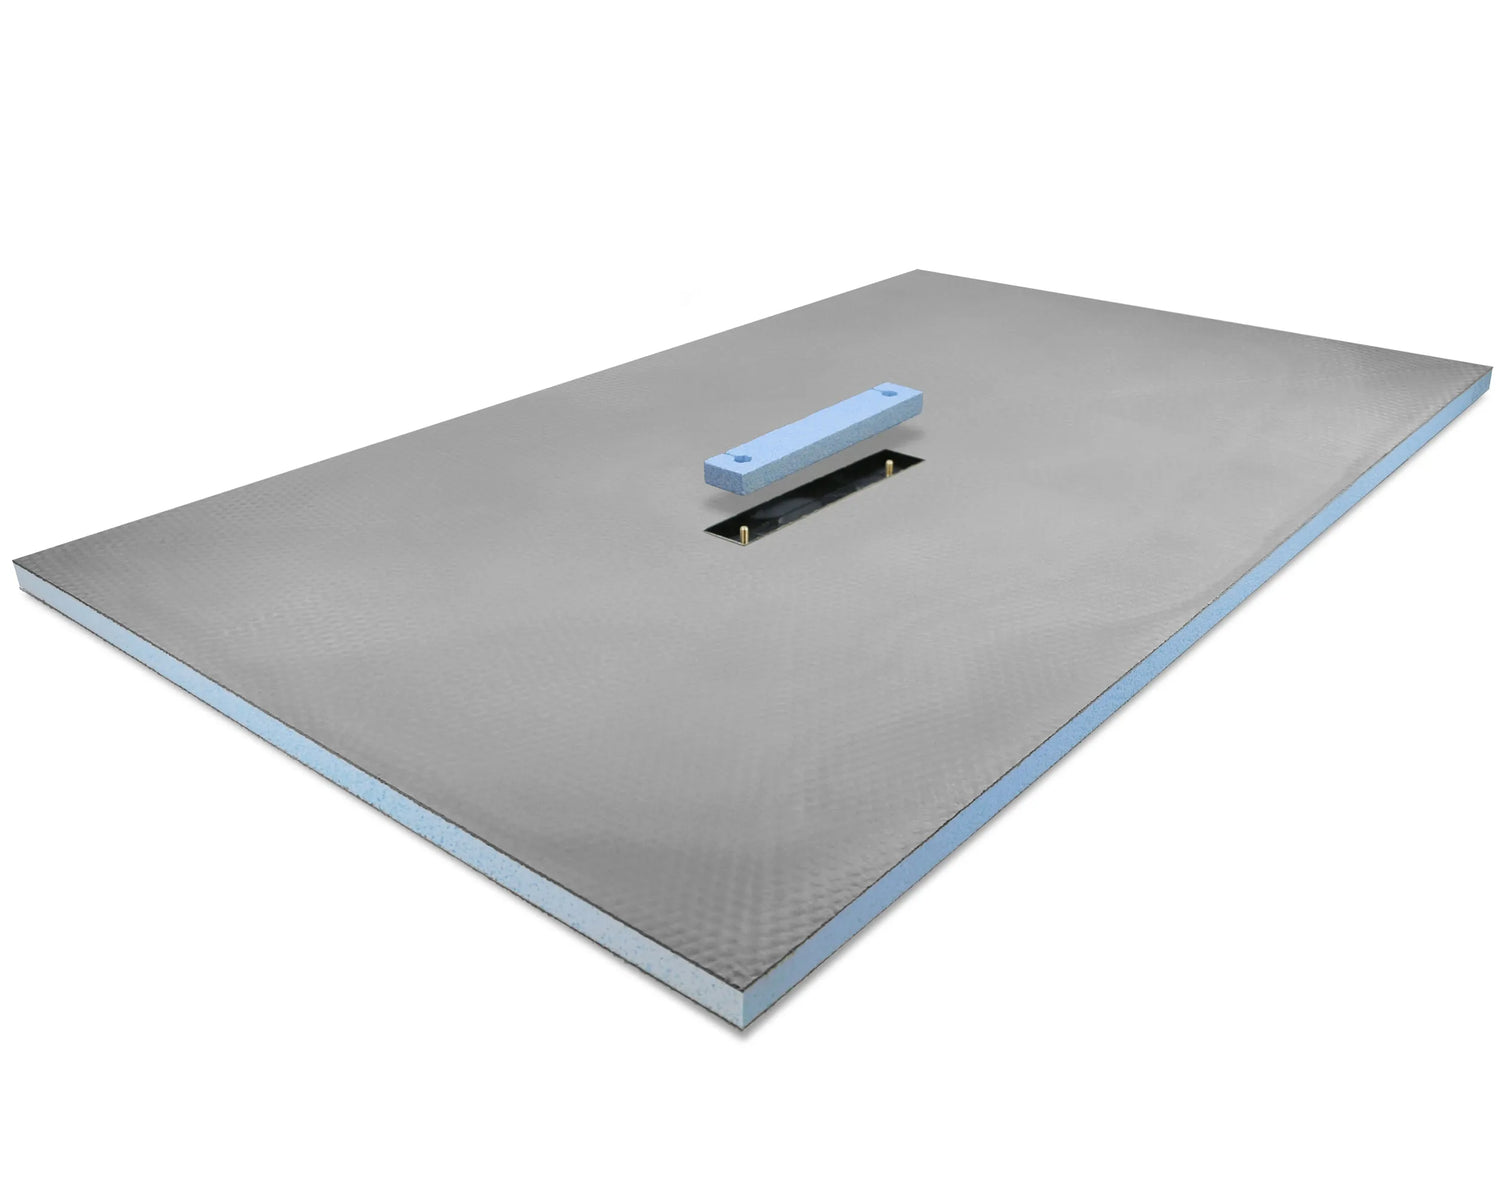
Introducing the ProWarm Wetroom Shower Tray - the pinnacle of innovation for your wetroom or bathroom shower project. Crafted with precision, its sleek 30mm profile offers seamless integration, perfect for level access installations. Engineered with a robust integrated drain base, leaks are a thing of the past, while its superior waterproof coating ensures a flawless, tile-ready surface, compatible with a wide array of tiles including porcelain, stone, and ceramic.
Experience unmatched durability with our high compressive strength design, backed by a reassuring 15-year manufacturer's guarantee. Versatility is key, as our shower tray is effortlessly customizable, allowing for easy trimming with a fine tooth hand saw to suit any space requirements.
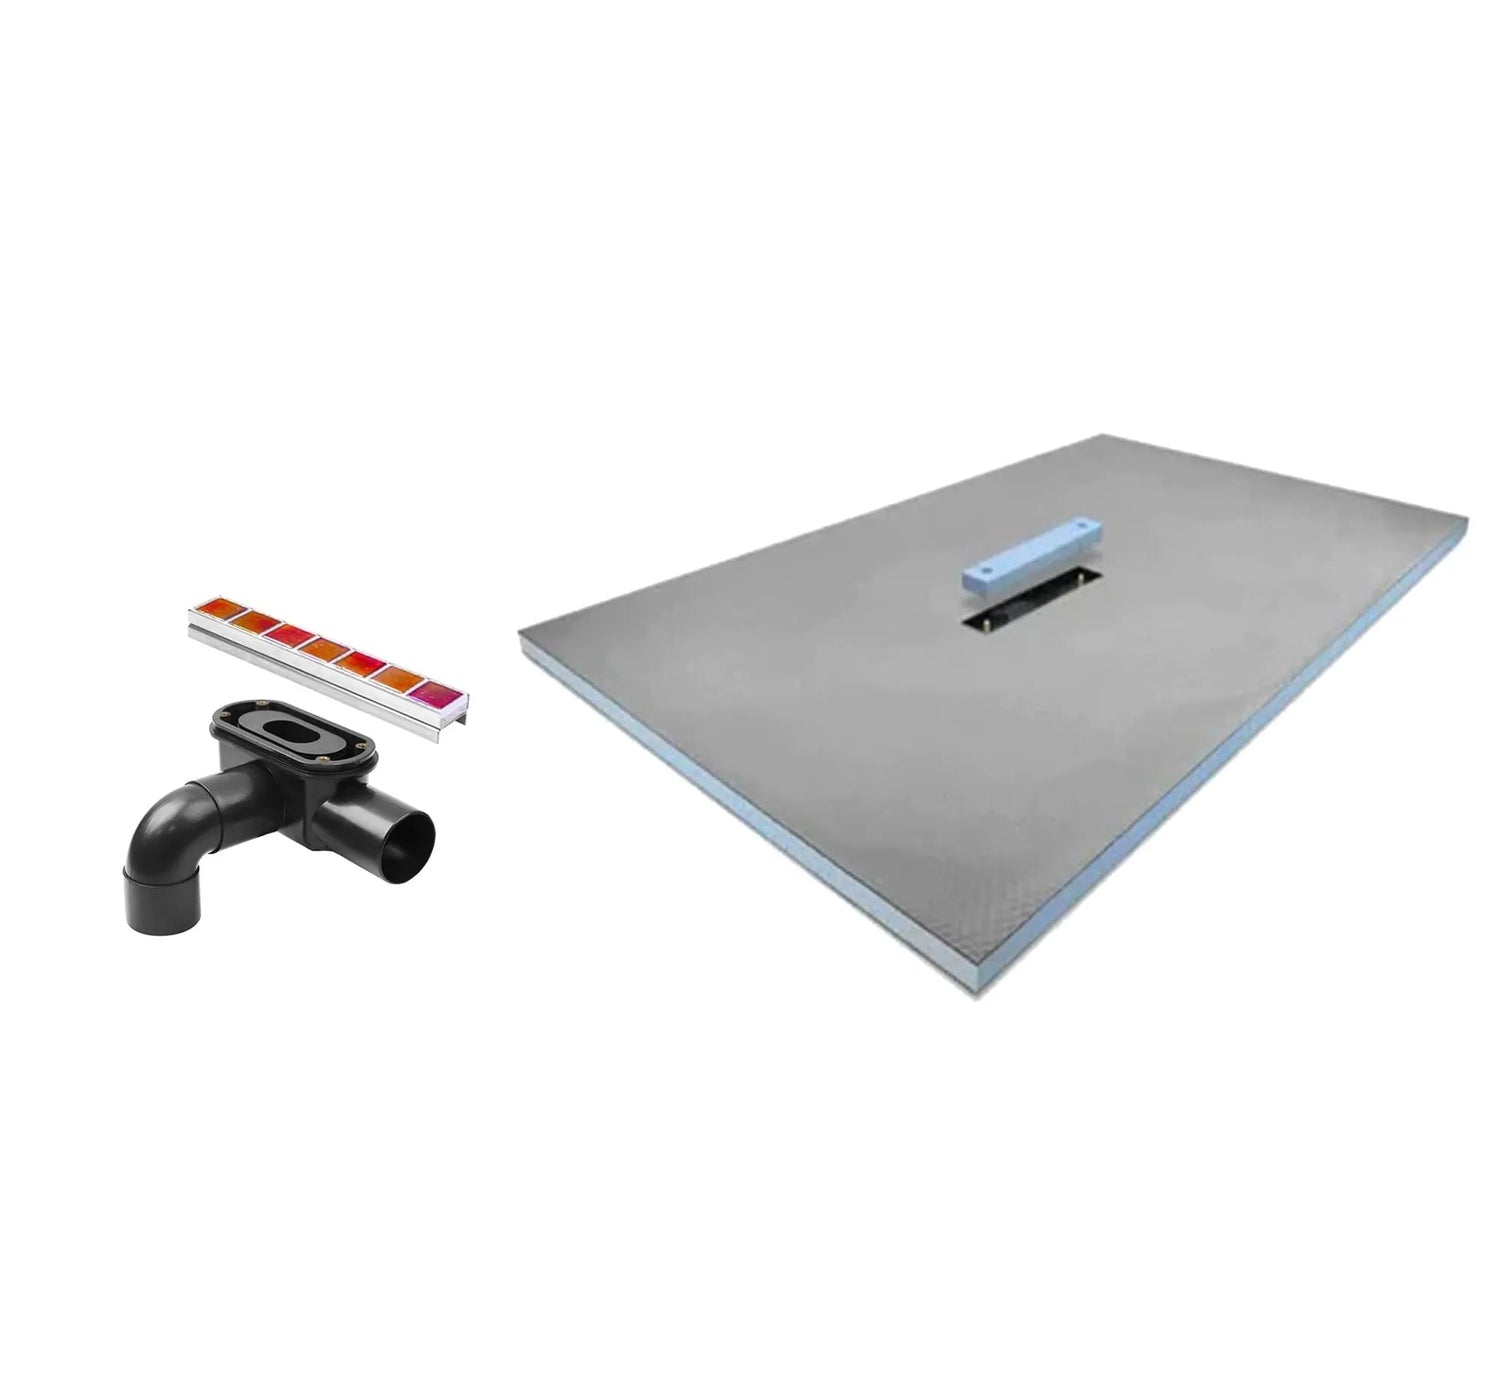
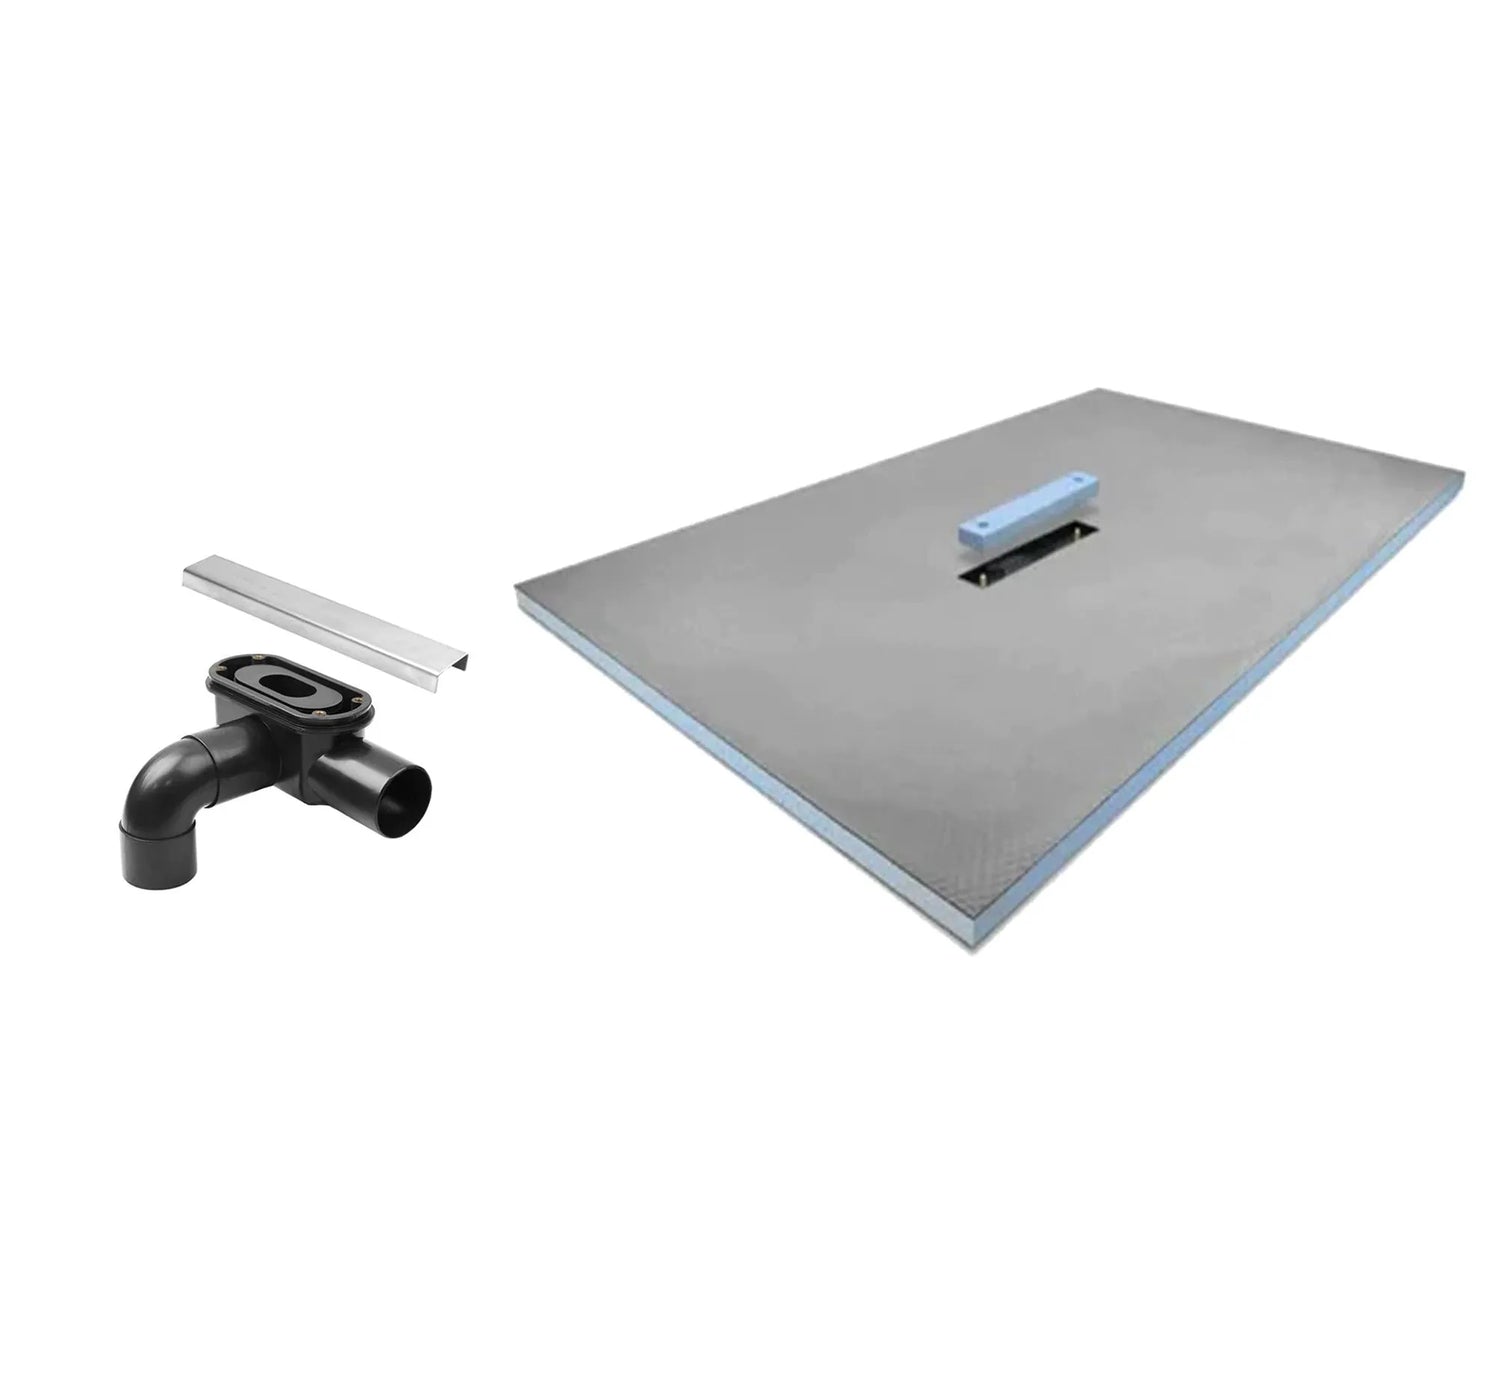
Experience versatility at its finest with our Wetroom Shower Tray, offering a variety of distinct drain options to suit your preferences. Each option is thoughtfully designed with a 2" solvent pipe, ensuring compatibility with both standard British pipes and non-standard 1 1/2" pipes. Say goodbye to pesky clogs with the removable hair trap included with every drain. With a generous grate size and an impressive flow rate of 60 liters per minute, you can count on efficient drainage every time. Opt for the tileable cover kit for a seamless look, replacing the standard steel grate with a cover that seamlessly integrates with your chosen tiles.
Elevate your wetroom experience with the ProWarm Wetroom Shower Tray - where quality meets functionality
Specifications
| Compressive Strength @ 10% Def (k/pa) | 250 |
|---|---|
| Compressive Strength @ 1% Def (k/pa) | 100 |
| Bending Strength (k/pa) | 350 |
| Thermal Conductivity (w/mk) | .031 |
| Dimensional Stability @ 23°C/50% RH | DS (N) 2 |
| Dimensional Stability @ 23°C/90% RH | DS (23,90) 1 |
| Water Absorption Capillary | 0 |
| Water Absorption by Immersion | 0.1% |
| U-Value | 0.83 W/m2K |
Reviews
Reviews
Specifications
Specifications
Specifications
High-Quality Construction
ProWarm Electric Underfloor Heating Sticky Mat: Utilizes the same premium cable as the ProWarm Loose Cable kit. The mat incorporates a sticky fibreglass mesh to ensure optimal heat output by maintaining proper cable spacing. Installation is straightforward—simply roll out the mat to cover the desired heating area.
Heating Cable: Series-type with twin conductors and a 4m cold lead at one end.
Cable Composition: The resistance heating wire is encased in a fluoropolymer insulation layer, wrapped in protective metal shielding, and enclosed in a final plastic outer sheath. The twin conductor cable has a final diameter of 2mm.
Junction Design: Unique design for hot and cold lead junctions ensures they are 100% foolproof.
Standards and Approvals
Standards: Meets all test requirements of IEC 60335.
Certifications: CE certified by SGS.
Performance and Benefits
Cost-Effective: Provides heat precisely where needed, optimizing heat utilization and minimizing losses.
Flexibility: Can be installed in any area or floor layout.
Comfort: Close and uniform spacing of heating cables, combined with thermostat controls, allows for precise temperature settings, enhancing comfort.
DIY-Friendly: Designed for easy installation with clear instruction manuals and professional technical support.
Versatility: Available in various heat loads and sizes to suit various flooring types.
Mat Dimensions
Width: 0.5m
Length: Dependent on the selected square meter coverage
Cable thickness: 2mm
Kit Contents
Kit Contents
Kit Includes:
- Underfloor Heating Sticky Mat (Two individual mats if kit size over 12m2)
- Floor Primer - a high-performance universal priming/sealing agent suitable for plaster, timber, brick, and block work.
- Roller - a high-quality roller for applying floor primer to the subfloor
- Adhesive tape - works to assist in holding a mat or cable in position during installation
- 2m Floor Sensor Probe Conduit - provides a protective pathway for the sensor probe, connecting to your thermostat
- Digital thermostat (if selected) - adjust the heat settings and enjoy warm floors through a simple touch of a button
Installation
Installation
Installation
Please Note: This is a brief guide. Always refer to the full installation manual for comprehensive instructions.
1. Plan Your Layout:
- Divide the floor into a series of rectangles. Use these measurements to calculate the number and sizes of mats needed, excluding permanent or static fixtures from your calculations.
2. Prepare the Subfloor:
- For screed over concrete floors, lay insulation boards to minimize heat loss and ensure quicker warm-up times.
3. Lay the Heating Mat:
- Start with the first run of the mat. Cut the mat (leaving the cable intact) at the end of each run, turn it 90° or 180°, and continue laying.
- Once the area is covered, adjust the mat so that the loops are evenly spaced.
- Secure the mat to the subfloor using the special tape provided.
4. Electrical Connections:
- Install an RCD fused spur to power the thermostatic controller/programmer and the mat system.
- Lay the temperature probe from the timer-thermostat onto the floor, position it equidistant between two cable loops, and secure it to the surface.
- Position the unheated power supply cable from the end of the mat system near the thermostat.
- Make all necessary connections to the power supply. Run the heaters for no more than 10 minutes to ensure they are heating up properly.
5. Finish the Flooring:
- Option 1: Apply a thin, self-levelling screed over the mat and allow it to dry completely before laying tiles.
- Option 2: Directly trowel flexible tile adhesive over the mat and lay the floor tiles.
- After grouting, let the tile adhesive cure fully before switching on the system.
Payment & Security
Payment methods
Your payment information is processed securely. We do not store credit card details nor have access to your credit card information.
Not sure where to start? Let us help!
Answer a few questions and we’ll get you on your way


