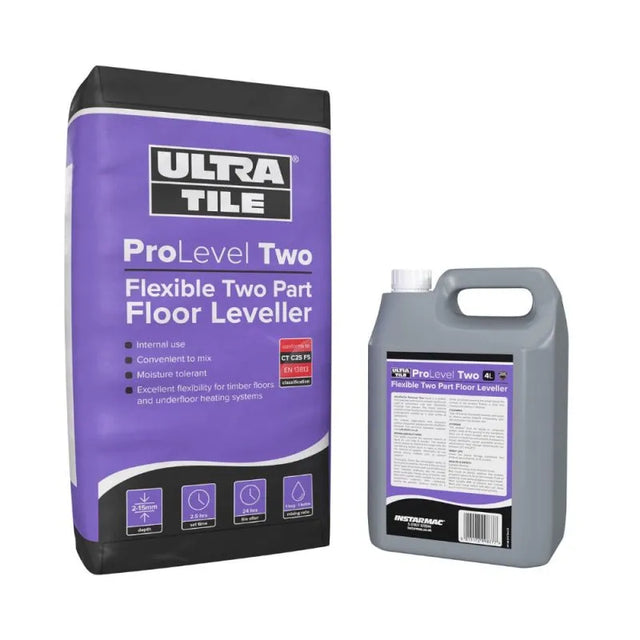
UltraTile ProLevel Two 2-Part Floor Self Levelling Compound
Add your area dimensions and we'll calculate how many bags you need

Buy now, Pay with Klarna

Buy now, Pay with PayPal

UltraTile ProLevel Two 2-Part Floor Self Levelling Compound
Description
Description
Transform your flooring projects with the exceptional quality and performance of UltraTile ProLevel Two 2-Part Floor Self Levelling Compound. This high-performance, mid-strength smoothing underlayment is specifically engineered to deliver outstanding results in both commercial and domestic settings. With its advanced two-component system, combining a carefully formulated powdered blend of cements, graded fillers, and additives with a pre-gauged polymer liquid, this leveller guarantees smooth, consistent finishes that are easy to achieve.
Key Features:
- Exceptional Flow: Engineered for effortless application, the superior flow properties ensure a smooth and even surface on a wide variety of internal subfloors.
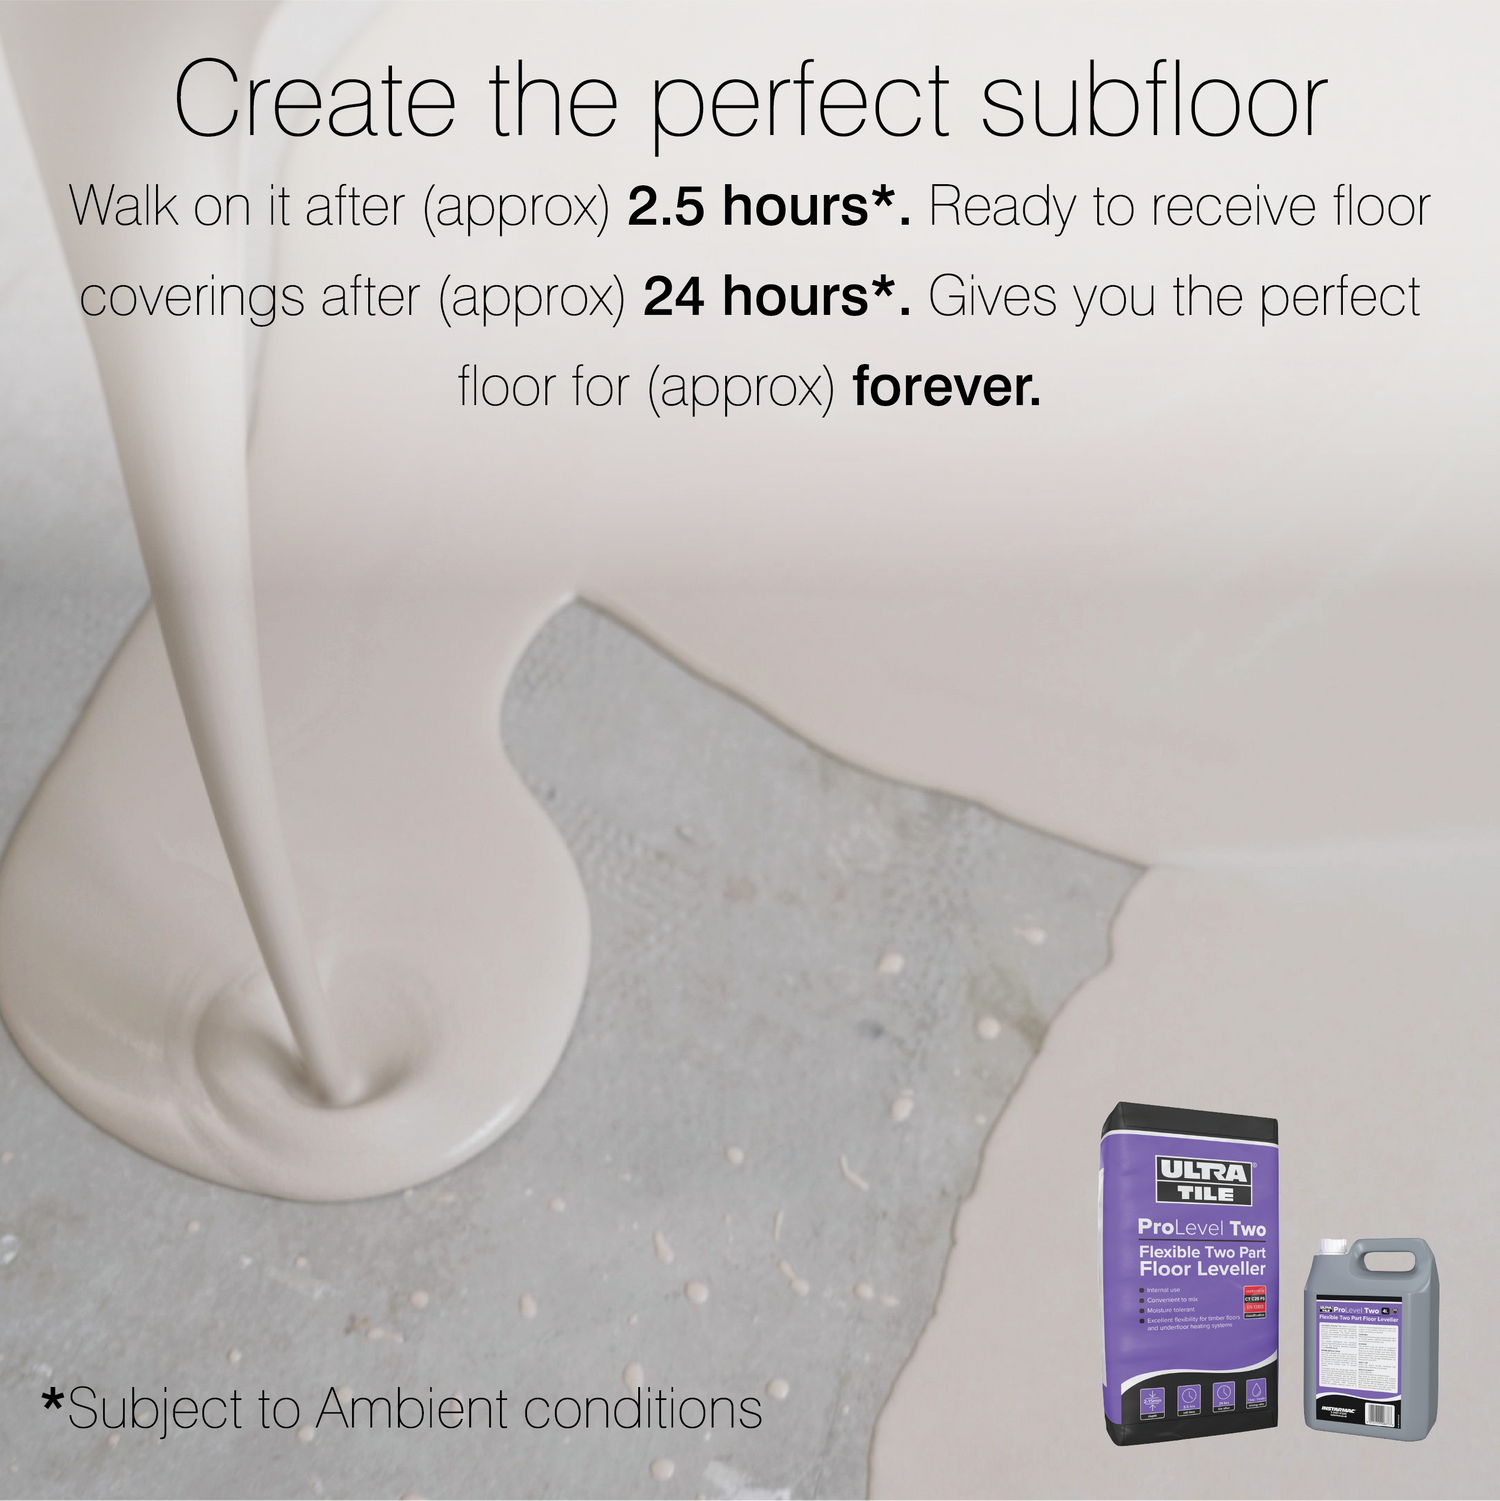
- Quick Setting: Designed for efficiency, this leveller allows light foot traffic within just 2.5 hours and can be ready to receive most floor coverings in as little as 12 to 24 hours, depending on ambient conditions.
- Flexible Depth Range: Versatile and adaptable, it can be applied in depths ranging from 2mm to 15mm to suit diverse project needs.
- Moisture Tolerant: The moisture-tolerant formulation makes it ideal for pre-smoothing subfloors ahead of applying surface damp-proof membranes (DPMs).
- Enhanced Flexibility: Specially designed for compatibility with timber flooring and underfloor heating systems, ensuring a robust and long-lasting finish.
- Protein-Free Formula: Safe and suitable for sensitive environments, offering a reliable solution for various flooring requirements.
Technical Details:
- Unit Size: 20kg bag and 4L bottle, providing ample material for both small and large-scale projects.
- Classification: Meets CT-CT25-F5 (EN 13813) standards for quality and performance assurance.
- Working Time: Enjoy a practical working time of 20–30 minutes at 20°C, allowing ample time for precise application.
- Walk-On Time: Achieve walk-on hardness in approximately 2.5 hours, ensuring minimal disruption to your schedule.
- Mixing Ratio: A convenient 1 bag : 1 bottle ratio makes preparation simple and efficient.
Whether you're a professional installer or a dedicated DIY enthusiast, UltraTile ProLevel Two is your go-to solution for creating flawless, durable flooring. Its advanced formulation ensures maximum performance, making it the perfect choice for a wide range of internal subfloor applications. Trust in UltraTile to provide the quality and reliability you need for your next project.
Specifications
|
Compressive Strength (to BS EN 13892-2) |
|
|---|---|
| 28 Days | 31.25 N/mm2 |
| 7 Days | 22.30 N/mm2 |
| 1 Day | 8.17 N/mm2 |
| Flexural Strength(to BS EN 13892-2) | |
| 28 Days | 10.17 N/mm2 |
| 7 Days | 4.61 N/mm2 |
| 1 Day | 2.03 N/mm2 |
| Packaging | 4ltr Bottle / 20kg Bag |
|---|---|
| Working Time | 20-30 Minutes @ 20°C |
| Time to Foot Traffic | 2.5 Hours @ 20°C |
| Time to Cover | 1 Day up to 6mm 3 Days up to 10mm |
| Application Thickness | 2-12mm |
| Protein Free | Yes |
| Coverage @ 3mm | Approximately 4m2 |
| Consumption/mm Thickness | 1.60kg/mm/m2 |
| Suitable for Pump Application | No |
| Weight | 20kg |
Reviews
Reviews
Payment & Security
Payment methods
Your payment information is processed securely. We do not store credit card details nor have access to your credit card information.
Not sure where to start? Let us help!
Answer a few questions and we’ll get you on your way