


Warmup DCM-PRO Underfloor Heating Cable
Description
Description
The Warmup DCM-PRO Cable utilizes unique decoupling technology to provide excellent protection for tiled floors. This customizable underfloor heating (UFH) solution offers two membrane options to choose from: Peel-and-Stick or Fleece-Backed, as well as a range of heating cables for standard and low-wattage projects. Experience the benefits of easy installation, flexible heat output, and floor protection with the DCM-PRO Cable.
Key Benefits
- Easy Installation: Fits into the Peel-and-Stick DCM membrane features a self-adhesive underside, eliminating the need for an adhesive layer and significantly reducing installation time. The Fleece-Backed membrane is ideal for use with traditional adhesives.
- Flexible Heat Output: Choose from two heating cables to specify the system for standard wattage projects ranging from 112.5 W/m² to 225 W/m² and low wattage projects ranging from 41.3 W/m² to 82.5 W/m². This flexibility allows you to tailor the heat output to suit your project's requirements.
- Protects Floors: The innovative decoupling membrane absorbs lateral subfloor movements, preventing these stresses from reaching the tiled floor finish and causing cracks.
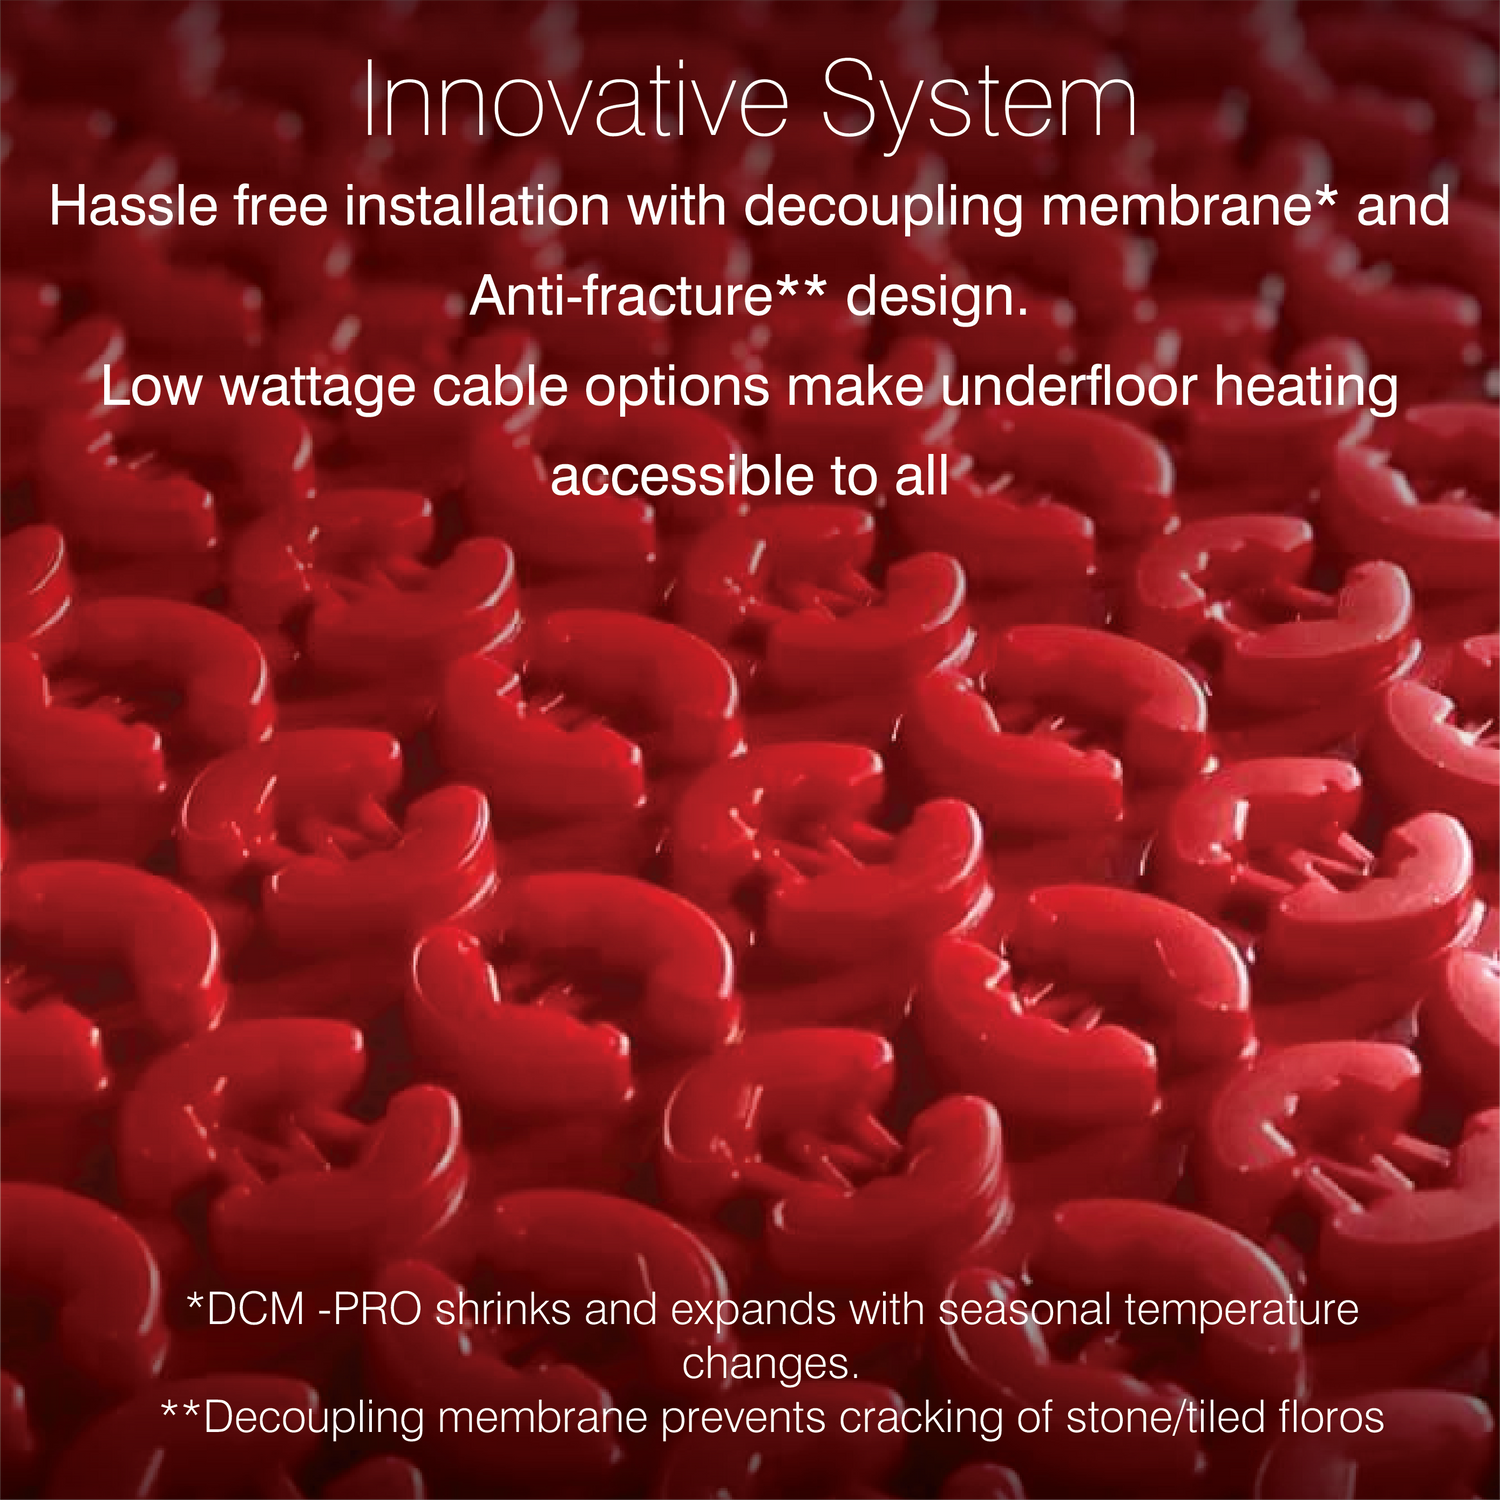
Innovative System that Protects Your Floor
The DCM-PRO Heated Decoupling System is a technologically advanced electric underfloor heating system from Warmup. It has been proven to protect tiled floors from cracking, as tested by ANSI 118.12:5.4 (American National Standards Institute).
Decoupling Membrane
The DCM-PRO's decoupling membrane is available with either a self-adhesive or fleece backing, providing adaptability and hassle-free installation.
Anti-Fracture Protection
The DCM-PRO system suits all floor types but is specifically developed to protect stone and tiled floor finishes from damage caused by seasonal temperature changes that affect the sub-floor. The anti-fracture membrane of DCM-PRO is particularly beneficial for tiles prone to cracking, making it an ideal choice for floor tiles.
How Does the Decoupling System Work?
- The decoupling layer of the DCM-PRO membrane contracts and expands to handle lateral movements in subfloors.
- The self-adhesive layer or fleece backing stretches with expansion.
- The decoupling layer contracts if the gap shrinks due to seasonal changes.
- The system protects the floor surface from damage caused by lateral subfloor movement.
Two Heating Cable Options – Standard and Low Wattage
The DCM-PRO System offers a flexible heat output through the choice of two heating cables, allowing for a personalized heated area layout.
- 112.5 W/m² to 225 W/m² Output for Standard Wattage Projects: The DCM-PRO with the Blue Cable provides an output of between 112.5 W/m² and 225 W/m², suitable for standard wattage projects based on your project's requirements.
- 41.3 W/m² to 82.5 W/m² Output for Homes with Low Load Supplies: The DCM-PRO Low Wattage System features a flexible output of 41.3 W/m² to 82.5 W/m², making it ideal for homes with low load supplies and minimal heat loss. This system enables solar arrays with battery storage to supply a higher percentage of the load, contributing to a more sustainable, zero-carbon heating solution.
Rapid Installation
The updated castellation design of the DCM-PRO offers quick and hassle-free installation for Warmup Underfloor Heating. The dimensions of the membrane are designed for convenient sizing, ensuring that 2m² of heating cable fits precisely on 2m² of the membrane. The cable spacing can be adjusted to increase or decrease coverage and power. No tools are required for installation; simply position the heating cable by hand within the castellations of the membrane.
The DCM-PRO can be tiled directly onto or covered with a layer of self-leveling compound when used with other floor finishes certified for underfloor heating. This system comes with Warmup's market-leading warranty, guaranteeing exceptional performance and reliability.
PLEASE NOTE: Must be used with Warmup DCM-PRO Mat. Not included with the DCM cable.
Specifications
| Operating Voltage | 220-240v - 50Hz |
|---|---|
| IP Rating | IPX7 |
| Colour | Blue |
| Thickness | 4.5mm (± 0.2mm) |
| Output Rating | 150w/m2 (3 Castellations - 90mm) |
| Inner Insulation | Advanced Fluoropolymer (ETFE) |
| Min. Insulation Temp | 5°C |
| Connection | 3m Long Coldtail Connection |
| Approvals | BEAB |
DCM-Pro cable power and load reference
| Product Code | Heated area (m2) | Power (W) | Load (A) | Resistance (Ω) | DCM-Pro Cable | Reference Resistance Bands (Ω) |
|---|---|---|---|---|---|---|
| DCM-C-1 | 1 | 150 | 0.6 | 352.7 | 335.0 - 370.3 | |
| DCM-C-1.5 | 1.5 | 225 | 0.9 | 235.1 | 223.3 - 246.9 | |
| DCM-C-2 | 2 | 300 | 1.3 | 176.3 | 167.5 - 185.1 | |
| DCM-C-2.5 | 2.5 | 375 | 1.6 | 141.1 | 134.1 - 148.2 | |
| DCM-C-3 | 3 | 450 | 1.9 | 117.6 | 111.7 - 123.5 | |
| DCM-C-3.5 | 3.5 | 525 | 2.2 | 100.8 | 95.8 - 105.8 | |
| DCM-C-4 | 4 | 600 | 2.5 | 88.2 | 83.8 - 92.6 | |
| DCM-C-4.5 | 4.5 | 675 | 2.8 | 78.4 | 74.5 - 82.3 | |
| DCM-C-5 | 5 | 750 | 3.2 | 70.5 | 67.0 - 74.0 | |
| DCM-C-6 | 6 | 900 | 3.8 | 58.8 | 55.9 - 61.7 | |
| DCM-C-7 | 7 | 1050 | 4.4 | 50.4 | 48.0 - 52.9 | |
| DCM-C-8 | 8 | 1200 | 5.0 | 44.1 | 42.0 - 46.3 | |
| DCM-C-9 | 9 | 1350 | 5.7 | 39.2 | 37.2 - 41.2 | |
| DCM-C-10 | 10 | 1500 | 6.3 | 35.3 | 33.5 - 37.1 | |
| DCM-C-12 | 12 | 1800 | 7.6 | 29.4 | 27.9 - 30.9 | |
| DCM-C-14 | 14 | 2100 | 8.8 | 25.2 | 23.9 - 26.5 | |
| DCM-C-16 | 16 | 2400 | 10.1 | 22.0 | 20.9 - 23.1 |
Reviews
Reviews
Payment & Security
Payment methods
Your payment information is processed securely. We do not store credit card details nor have access to your credit card information.
Not sure where to start? Let us help!
Answer a few questions and we’ll get you on your way


