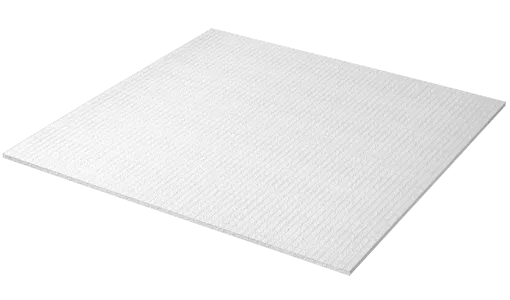


Warmup Insulated Underlay
Description
Description
Warmup Insulated Underlay is a thin insulation barrier designed to enhance the performance of underfloor heating systems. It effectively reflects heat upwards, increasing the efficiency and effectiveness of the system. Additionally, it provides sound insulation, reducing contact noise, and features a foil backing that acts as an effective moisture barrier.
Warmup Insulated Underlay is specifically developed for installation under Warmup Dual Overlay as part of a complete stable overlay system. It is the perfect combination for installing soft and resilient floor coverings like carpet, vinyl, and linoleum, in conjunction with the Warmup foil heater.
Key Features
- Enhanced Efficiency: The insulated underlay resists heat loss and improves the overall efficiency of the underfloor heating system. By reflecting heat upwards, it ensures that maximum warmth is directed into the room.
- Noise Reduction: This underlay is extremely effective in reducing contact noise, providing a quieter and more comfortable living environment.
- Slim Design: With a depth of only 6mm, the underlay is thin and unobtrusive, allowing for seamless installation without adding significant height to the floor.
- Lightweight and Easy to Install: The underlay is lightweight and easy to handle, making the installation process quick and hassle-free.
- Moisture Barrier: The foil backing of the underlay acts as a moisture barrier, protecting the flooring and subfloor from potential water damage.
- Recommended for Best Results: For optimal performance and results, it is recommended to use Warmup Insulated Underlay in combination with Warmup Dual Overlay. This combination is particularly suitable for carpet and resilient flooring, such as vinyl and linoleum.
Experience the benefits of Warmup Insulated Underlay in conjunction with Warmup Dual Overlay, creating a stable overlay system that enhances the comfort and efficiency of your underfloor heating system. Enjoy a warm and quiet environment with the perfect flooring solution for your home.
Specifications
| Composition: Top Layer | Grooved polystyrene |
|---|---|
| Composition: Bottom Layer | Silver foil with adhesive overlap |
| Rm Value | 0.19 |
| Contact Sound Reduction* | 25dB Lw when used in conjunction with Warmup Dual Overlay. |
* In case of floating substrate systems the sound reduction of the finished floor covering will always depend on the impact sound reduction of the existing substrate.
Installation
The Warmup Insulated Underlay is a thin insulation barrier that reflects heat upwards, making the underfloor heating system more efficient and effective. The insulated underlay has been specially developed for installation under the Warmup Dual Overlay system in combination with the Warmup foil heating system.
Step 1
Ensure that the base is clean and dry. Install the insulation with the silver foil facing down. After fitting the first rows, roll out the next section of underlay. Remove the protective film from the self-adhesive overlap and stick both rows together, creating a damp proof situation.
Carpets and Underlays
Carpets and Underlay have a higher TOG value and a greater resistance to heat transfer, so it is important to choose carpets and underlays that have low Tog ratings. The thicker the carpet and underlay the longer the warm up time; this will have the affect of slowing the heat transfer of the flooring into the room. It is important to check the suitability for use with under floor heating. If you need to use an additional underlay ensure it has a low Tog rating, no greater than 0.8Tog, ideally 0.5 Tog.
Warmup Underlay and Vinyl Flooring
Vinyl Type Flooring This type of floor may be used over the Warmup Dual Overlay, but it is important to remember that high temperature adhesives suitable for underfloor heating must be used. When vinyl floor coverings are to be glued, fit the Warmup dual underlay and overlay 24 hours before.
NOTE: The maximum Tog rating for the carpet, underlay and the Warmup Dual Overlay should not exceed 2.5 Tog. When fixing carpet to the Warmup Dual Overlay it is recommended to use a tackifier adhesive or the double stick method of carpet installation. If using the stretch method of installation the gripper must be installed before the heating system. In order for the gripper to function correctly, the top surface of the gripper should be level with the top surface of the Warmup dual overlay system or insulated underlay. This can be achieved either by using an architectural gripper or a timber spacer under a conventional gripper to raise it to the correct level.
Reviews
Reviews
Payment & Security
Payment methods
Your payment information is processed securely. We do not store credit card details nor have access to your credit card information.

