Warmup Insulation Board
Add your area dimensions and we'll calculate how many boards you need

Buy now, Pay with Klarna

Buy now, Pay with PayPal
Description
Description
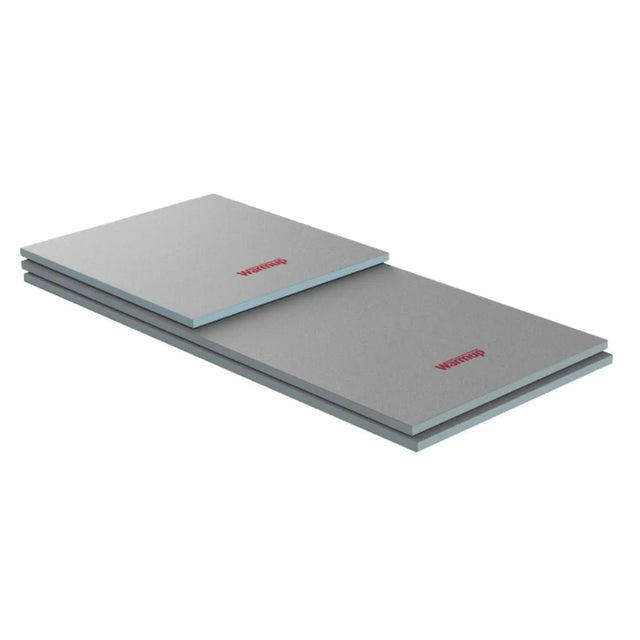
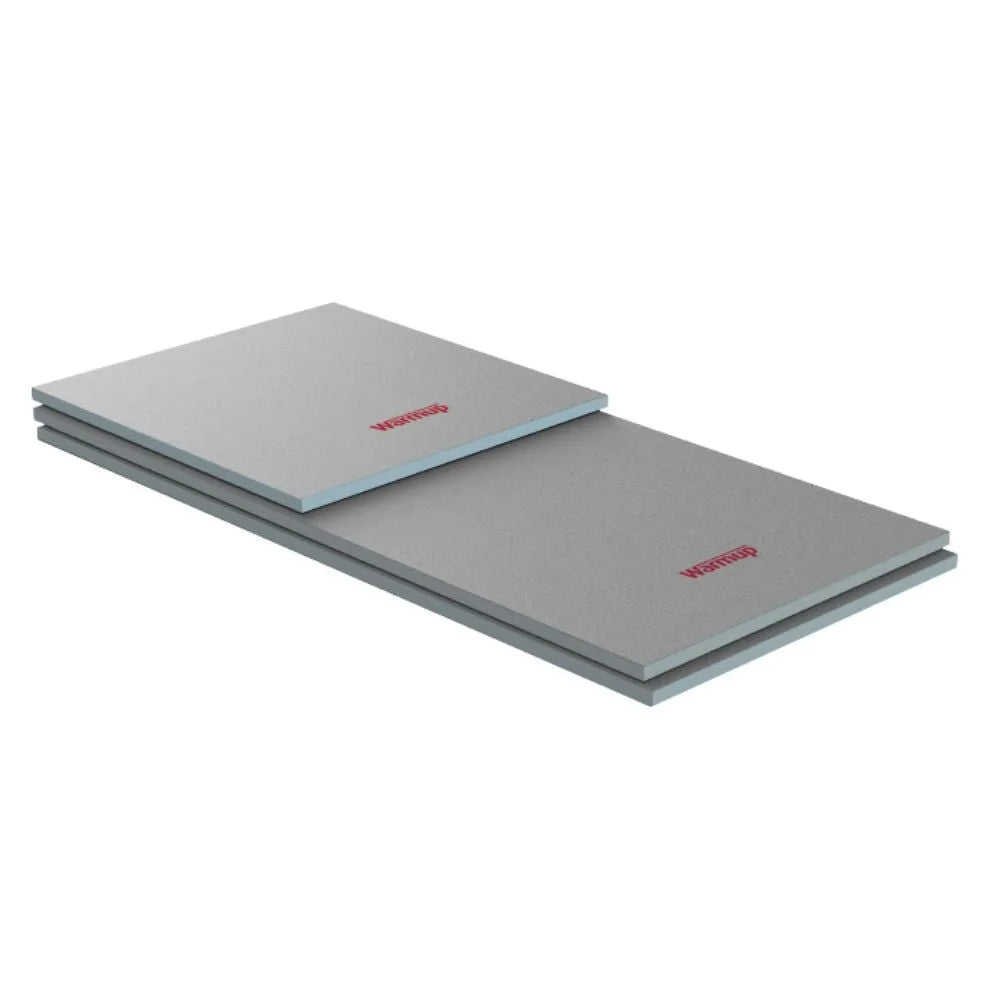
Warmup Insulation Boards are a high-quality solution for insulating your floors and walls. These water-resistant tile backer insulation boards are made of extruded polystyrene and are faced on both sides with a fibreglass mesh embedded into a thin cement polymer mortar and are available in sizes of 6mm and 10mm.
Key Features:
- Excellent Thermal Insulation: The insulation boards are designed to prevent heat from penetrating down into the substrate below, making them ideal for use with underfloor heating systems. They help improve energy efficiency and reduce heat loss.
- Robust Load-Bearing Capacity: With a load-bearing capacity of 30 tonnes per square metre, these boards provide a durable and stable surface for tiling.
- Waterproof and Suitable for Wet Areas: The boards are totally waterproof, making them suitable for use in bathrooms or showers. They create a reliable barrier against moisture and protect your walls and floors.
- Easy Installation: The boards can be fixed directly onto the substrate without requiring extensive preparation. This saves time and effort during the installation process.
- Quick Heat-Up Time: In testing, the Warmup insulation boards demonstrated a significant reduction in heat-up time. With Warmup heating products, the heat-up time was cut from over 2 and a half hours to just 20 minutes.
Upgrade your flooring and walls with Warmup insulation boards for enhanced thermal insulation and protection against moisture. These boards are designed to withstand heavy loads, provide excellent thermal performance, and ensure a quick and efficient heat-up time for your underfloor heating system.
Specifications
| Board dimensions | 1250mm x 600mm (0.75 m2) |
|---|---|
| Thickness | 6mm, 10mm (standard), 20mm, 50mm |
| Compressive strength | Able to withstand load of 3.0 kg/cm2 (300kN/m2) |
| U values (W/m2K) | 6mm - 4.50, 10mm - 2.70, 20mm - 1.35, 50mm - 0.54 |
| Water absorption (capillary) | Nil |
| Fire rating | Class "O" / "B1" (DIN 4102)/ "E" (EN13501-1) |
Installation
The Warmup insulation board is the perfect system for quality underfloor insulation. Waterproof and unaffected by the freeze/thaw cycle, the Warmup tile backing insulation boards can be installed onto concrete and timber subfloors.
-
Step 1
Make sure the floor is clean, levelled and dirt free. Using a floor trowel comb a thick bed of tile adhesive over the subfloor. (for best results use a cement based adhesive).
-
Step 2
Lay the Warmup Insulation board down in place pressing it down firmly. If possible lay the backing boards out in brick like fashion. When tiling the floor leave a 20mm gap from the edge of the wall for the connection to a Warmup thermostat.
-
Step 3
With the tiles laid ontop seal the joints with a fibreglass mesh. For wet rooms such as bathrooms and showers, you can further waterproof by sealing the joints with waterproof tape or acrylic sealant.
-
Step 4
Now lay your chosen Warmup heating system onto the Warmup insulation backing board and fix into position. Cover the heating element using your chosen floor type. For guides on how to install heating elements please see their relevant product pages.
Reviews
Reviews
Specifications
Specifications
Specifications
High-Quality Construction
ProWarm Electric Underfloor Heating Sticky Mat: Utilizes the same premium cable as the ProWarm Loose Cable kit. The mat incorporates a sticky fibreglass mesh to ensure optimal heat output by maintaining proper cable spacing. Installation is straightforward—simply roll out the mat to cover the desired heating area.
Heating Cable: Series-type with twin conductors and a 4m cold lead at one end.
Cable Composition: The resistance heating wire is encased in a fluoropolymer insulation layer, wrapped in protective metal shielding, and enclosed in a final plastic outer sheath. The twin conductor cable has a final diameter of 2mm.
Junction Design: Unique design for hot and cold lead junctions ensures they are 100% foolproof.
Standards and Approvals
Standards: Meets all test requirements of IEC 60335.
Certifications: CE certified by SGS.
Performance and Benefits
Cost-Effective: Provides heat precisely where needed, optimizing heat utilization and minimizing losses.
Flexibility: Can be installed in any area or floor layout.
Comfort: Close and uniform spacing of heating cables, combined with thermostat controls, allows for precise temperature settings, enhancing comfort.
DIY-Friendly: Designed for easy installation with clear instruction manuals and professional technical support.
Versatility: Available in various heat loads and sizes to suit various flooring types.
Mat Dimensions
Width: 0.5m
Length: Dependent on the selected square meter coverage
Cable thickness: 2mm
Kit Contents
Kit Contents
Kit Includes:
- Underfloor Heating Sticky Mat (Two individual mats if kit size over 12m2)
- Floor Primer - a high-performance universal priming/sealing agent suitable for plaster, timber, brick, and block work.
- Roller - a high-quality roller for applying floor primer to the subfloor
- Adhesive tape - works to assist in holding a mat or cable in position during installation
- 2m Floor Sensor Probe Conduit - provides a protective pathway for the sensor probe, connecting to your thermostat
- Digital thermostat (if selected) - adjust the heat settings and enjoy warm floors through a simple touch of a button
Installation
Installation
Installation
Please Note: This is a brief guide. Always refer to the full installation manual for comprehensive instructions.
1. Plan Your Layout:
- Divide the floor into a series of rectangles. Use these measurements to calculate the number and sizes of mats needed, excluding permanent or static fixtures from your calculations.
2. Prepare the Subfloor:
- For screed over concrete floors, lay insulation boards to minimize heat loss and ensure quicker warm-up times.
3. Lay the Heating Mat:
- Start with the first run of the mat. Cut the mat (leaving the cable intact) at the end of each run, turn it 90° or 180°, and continue laying.
- Once the area is covered, adjust the mat so that the loops are evenly spaced.
- Secure the mat to the subfloor using the special tape provided.
4. Electrical Connections:
- Install an RCD fused spur to power the thermostatic controller/programmer and the mat system.
- Lay the temperature probe from the timer-thermostat onto the floor, position it equidistant between two cable loops, and secure it to the surface.
- Position the unheated power supply cable from the end of the mat system near the thermostat.
- Make all necessary connections to the power supply. Run the heaters for no more than 10 minutes to ensure they are heating up properly.
5. Finish the Flooring:
- Option 1: Apply a thin, self-levelling screed over the mat and allow it to dry completely before laying tiles.
- Option 2: Directly trowel flexible tile adhesive over the mat and lay the floor tiles.
- After grouting, let the tile adhesive cure fully before switching on the system.
Payment & Security
Payment methods
Your payment information is processed securely. We do not store credit card details nor have access to your credit card information.
Not sure where to start? Let us help!
Answer a few questions and we’ll get you on your way

