Contact us
We're here to help - speak to an expert today on 01268 567016. Open today until 6pm.
SKU: TEMPO-ELTWHITE

Warmup Tempo Digital Thermostat

Sale price £80.99 Regular price £89.99 Inc VAT
Order in
00 00 00
for Next Day Delivery

Buy now, Pay with Klarna

Buy now, Pay with PayPal

Description

The Warmup Tempo Digital Thermostat combines a modern design with an intuitive interface, offering convenient programmable control for all Warmup electric underfloor heating systems. With its user-friendly features, you can easily program heating start and end times to achieve your desired comfort temperature in just a few simple steps. Whether you prefer a weekly, 5-2 day, or daily basis, tempo adapts to your needs and requirements.

Key features:

  • Better Easy-to-Use Interface and Intuitive Design: The Tempo thermostat features an improved interface and intuitive design, making it effortless to navigate and operate.
  • Stylish and Contemporary Design: With its sleek and contemporary design, the Tempo thermostat adds a touch of elegance to any room.
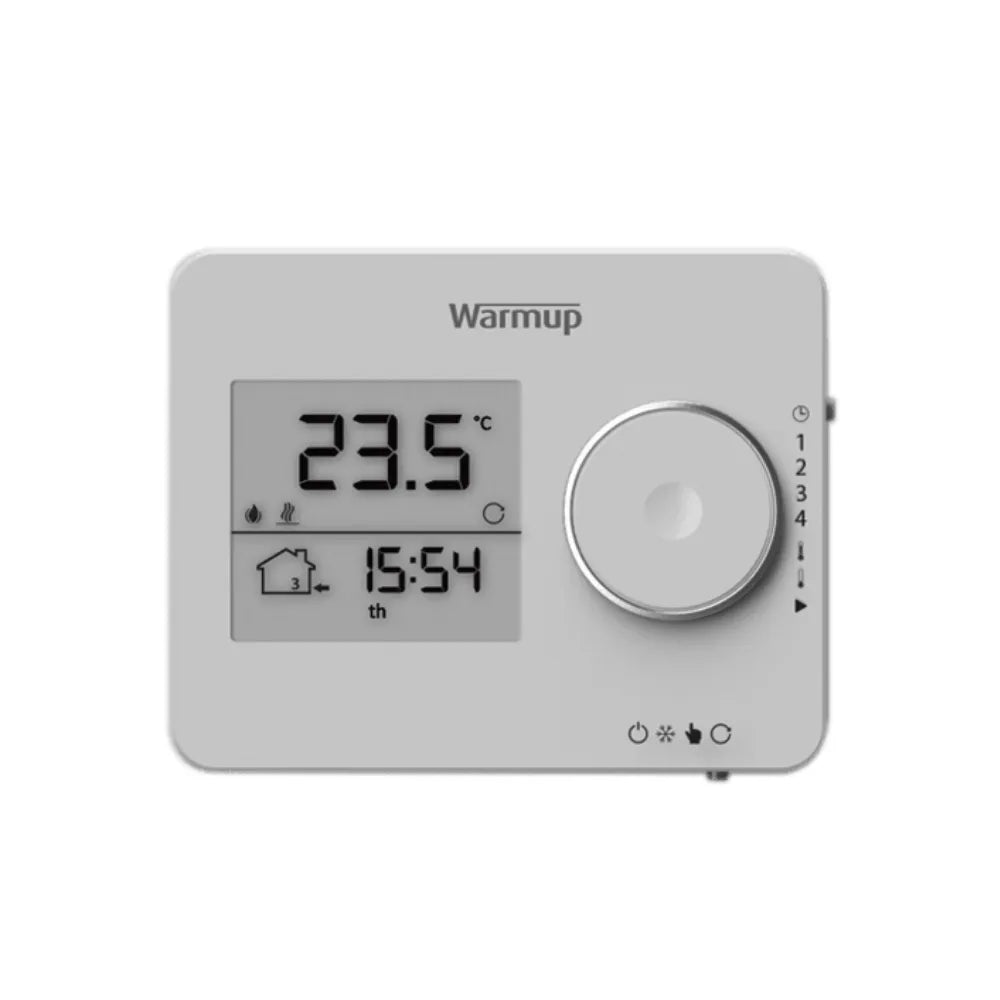
  • Clear Screen Display: The clear screen displays program details, room temperature, and current time, providing you with all the necessary information at a glance.
  • Easy Control with Dial and Sliders: Adjusting settings is a breeze with the convenient dial and sliders, allowing for precise control of your heating system.
  • Faster Setup: The Tempo thermostat can be set up in just minutes, ensuring a hassle-free initial installation experience.
  • Individualized Program Settings: Customize the program settings to perfectly suit your individual needs and preferences with just a few simple steps.
  • Versatile Modes: The thermostat offers manual, automatic, and frost protection modes, allowing you to choose the mode that best fits your requirements.
  • Easy Temperature Adjustment: The comfort temperature can be easily changed at any time, ensuring optimal comfort control.
  • Smarter Control of Energy Costs: The Tempo thermostat helps you manage your energy costs more efficiently.
  • Early Start Function: The Early Start function learns the time it takes to heat your room, ensuring it reaches the desired temperature precisely when you want it.
  • Energy Efficiency: The thermostat ensures no wasted energy by heating only when required, helping you save on energy bills.
  • Perfect Control for Energy Savings: Enjoy precise control over your heating system, enabling you to optimize energy usage and reduce costs.

Specifications

Input voltage 230V +/- 15% at 50
Max output 16A
Dimensions 90 x 113 x 23mm (flush fit)
Screen size 45 x 50mm
Sensors Floor/air
Programming 7-day, 1 day, 5/2 day
Backup Battery (3 months)
IP rating IP 20
Er-P Class IV
Approvals BEAB
Warranty 3-Year

Installation

Separate the front housing of thermostat from the wall module:

  1. Unscrew both closing screws (bottom of thermostat) until they will not turn any further.
  2. Release front housing by gripping the lower half of outer frame and pulling outwards then upwards.
  3. Place front housing somewhere safe.
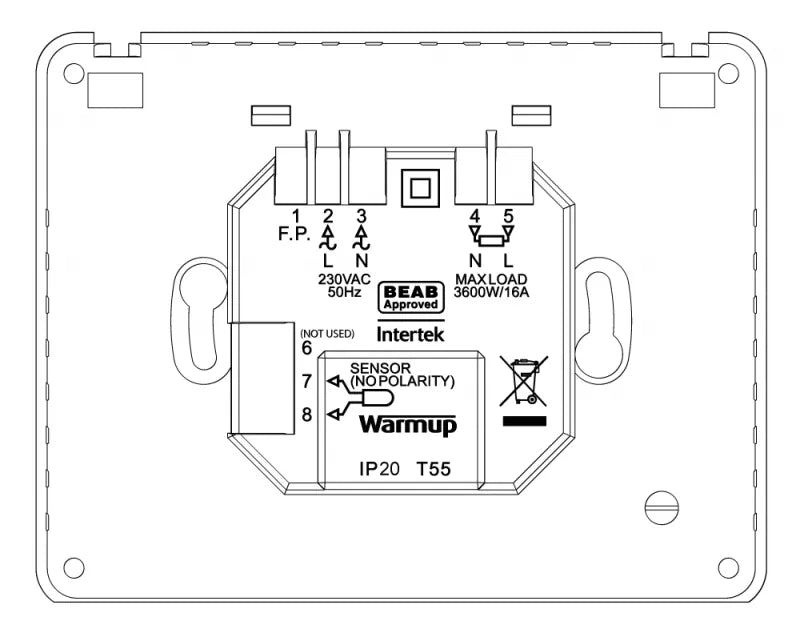
  4. Run all wires to the wall box.Check to ensure that you have included the following:

    • Power (Live and Neutral)
    • Heater (Live and Neutral)
    • Floor sensor
    • Fil pilote (France only)
  5. Pull wires through the wall box and complete terminal wiring.

IMPORTANT: Ensure that multi strand wires are fully inserted into the terminal and secured tightly. Any loose strands should be trimmed as they could cause a short-circuit.

If connecting more than two heaters, an electrical junction box will be required.

Reviews

Specifications

Specifications

High-Quality Construction


  • ProWarm Electric Underfloor Heating Sticky Mat: Utilizes the same premium cable as the ProWarm Loose Cable kit. The mat incorporates a sticky fibreglass mesh to ensure optimal heat output by maintaining proper cable spacing. Installation is straightforward—simply roll out the mat to cover the desired heating area.

  • Heating Cable: Series-type with twin conductors and a 4m cold lead at one end.

  • Cable Composition: The resistance heating wire is encased in a fluoropolymer insulation layer, wrapped in protective metal shielding, and enclosed in a final plastic outer sheath. The twin conductor cable has a final diameter of 2mm.

  • Junction Design: Unique design for hot and cold lead junctions ensures they are 100% foolproof.

Standards and Approvals


  • Standards: Meets all test requirements of IEC 60335.

  • Certifications: CE certified by SGS.

Performance and Benefits


  • Cost-Effective: Provides heat precisely where needed, optimizing heat utilization and minimizing losses.

  • Flexibility: Can be installed in any area or floor layout.

  • Comfort: Close and uniform spacing of heating cables, combined with thermostat controls, allows for precise temperature settings, enhancing comfort.

  • DIY-Friendly: Designed for easy installation with clear instruction manuals and professional technical support.

  • Versatility: Available in various heat loads and sizes to suit various flooring types.

Mat Dimensions


  • Width: 0.5m

  • Length: Dependent on the selected square meter coverage

  • Cable thickness: 2mm

Kit Contents

Kit Includes:

  • Underfloor Heating Sticky Mat (Two individual mats if kit size over 12m2)
  • Floor Primer - a high-performance universal priming/sealing agent suitable for plaster, timber, brick, and block work.
  • Roller - a high-quality roller for applying floor primer to the subfloor
  • Adhesive tape - works to assist in holding a mat or cable in position during installation
  • 2m Floor Sensor Probe Conduit - provides a protective pathway for the sensor probe, connecting to your thermostat
  • Digital thermostat (if selected) - adjust the heat settings and enjoy warm floors through a simple touch of a button

Installation

Installation

Please Note: This is a brief guide. Always refer to the full installation manual for comprehensive instructions.

1. Plan Your Layout:

  • Divide the floor into a series of rectangles. Use these measurements to calculate the number and sizes of mats needed, excluding permanent or static fixtures from your calculations.

2. Prepare the Subfloor:

  • For screed over concrete floors, lay insulation boards to minimize heat loss and ensure quicker warm-up times.

3. Lay the Heating Mat:

  • Start with the first run of the mat. Cut the mat (leaving the cable intact) at the end of each run, turn it 90° or 180°, and continue laying.
  • Once the area is covered, adjust the mat so that the loops are evenly spaced.
  • Secure the mat to the subfloor using the special tape provided.

4. Electrical Connections:

  • Install an RCD fused spur to power the thermostatic controller/programmer and the mat system.
  • Lay the temperature probe from the timer-thermostat onto the floor, position it equidistant between two cable loops, and secure it to the surface.
  • Position the unheated power supply cable from the end of the mat system near the thermostat.
  • Make all necessary connections to the power supply. Run the heaters for no more than 10 minutes to ensure they are heating up properly.

5. Finish the Flooring:

  • Option 1: Apply a thin, self-levelling screed over the mat and allow it to dry completely before laying tiles.
  • Option 2: Directly trowel flexible tile adhesive over the mat and lay the floor tiles.
  • After grouting, let the tile adhesive cure fully before switching on the system.

Manuals

Payment & Security

Payment methods

  • American Express
  • Apple Pay
  • Diners Club
  • Discover
  • Google Pay
  • Klarna
  • Maestro
  • Mastercard
  • PayPal
  • Shop Pay
  • Union Pay
  • Visa

Your payment information is processed securely. We do not store credit card details nor have access to your credit card information.