


Warmup UltraLight Underfloor Heating Insulation Board - QTY 1
Description
Description
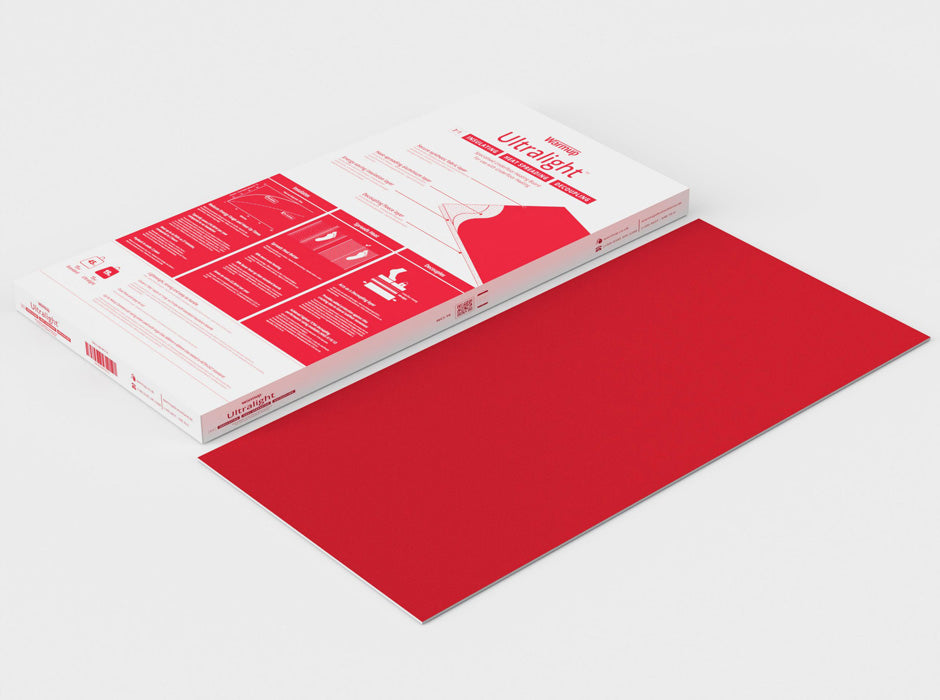
1 x Single Sheet provided
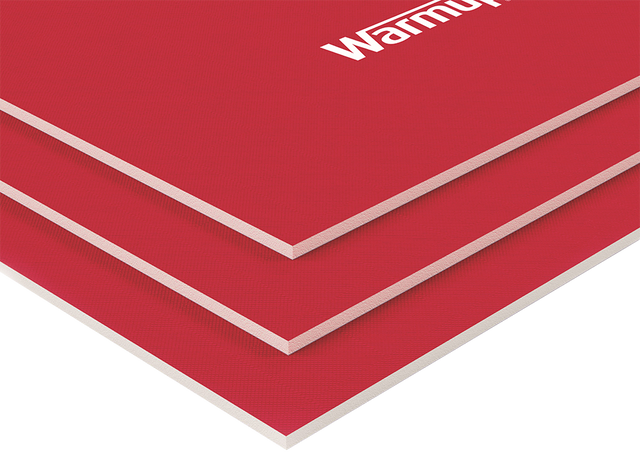
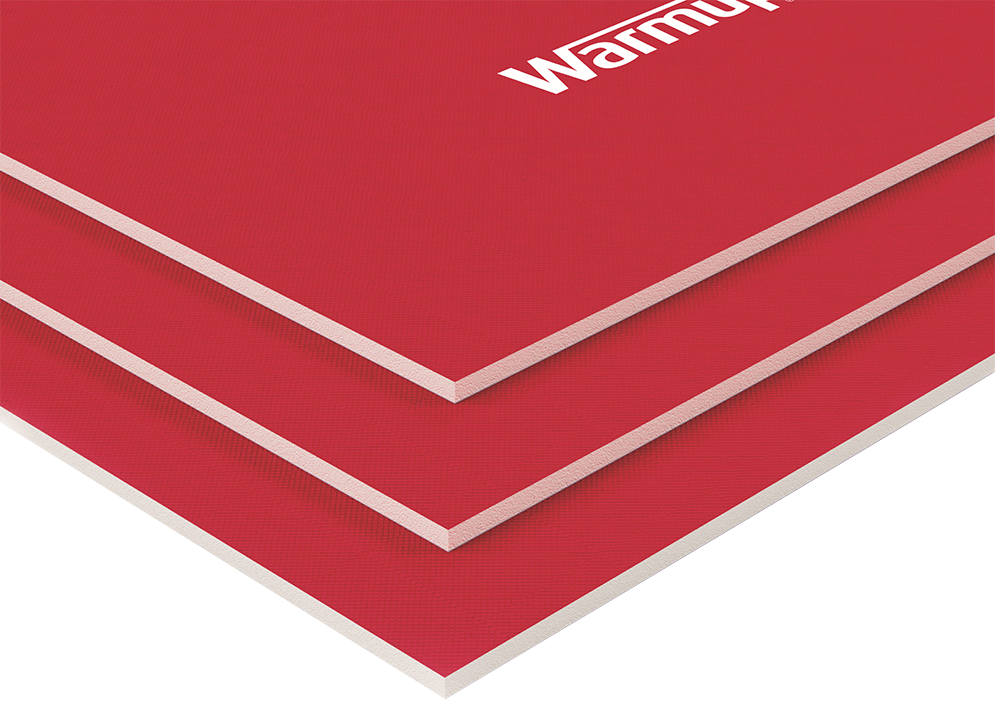
Warmup UltraLight Underfloor Heating Insulation Board in dimensions of 800mm (W) x 1200mm (L) was developed for faster heat-up times and to offer an easier, more flexible installation. Insulation dramatically improves the energy-efficiency of underfloor heating as it assists in preventing the heat produced by the system escaping into the subfloor below – thereby keeping the radiant warmth within the room whilst reducing energy costs.
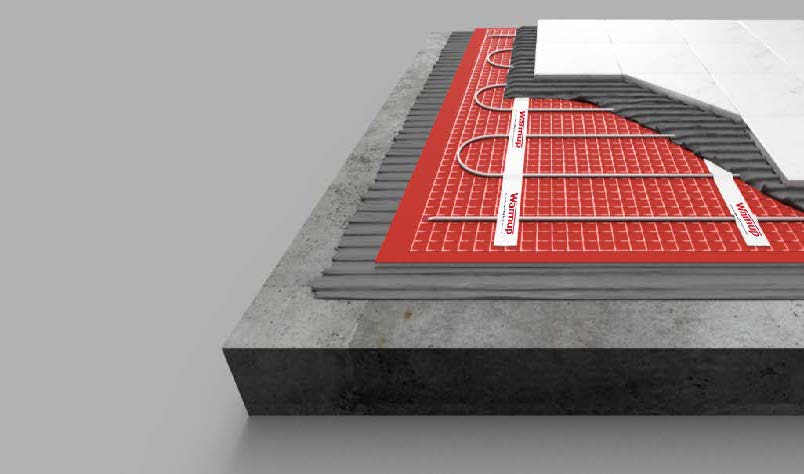
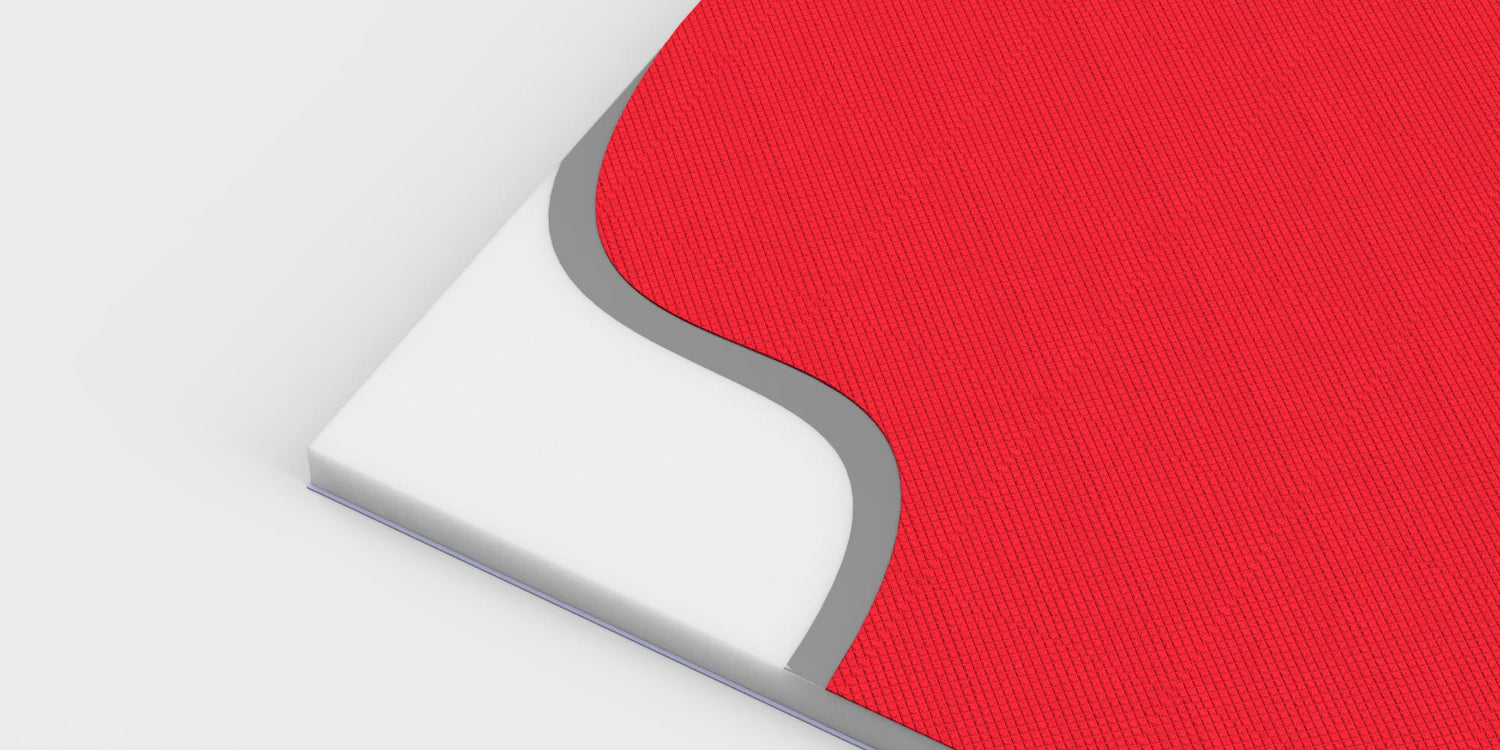
Ultralight has been engineered with a multi-layer construction method for maximal insulation properties and heat conductivity. Its energy-saving insulation layer is enveloped between a top layer of synthetic fabric, onto which a heating system can be directly installed, an aluminium core which assists in an even and efficient distribution of heat, and a base layer of decoupling fleece.
The decoupling fleece base layer offers an ideal surface to adhere to the subfloor whilst also providing increased protection for tiled floor finishes due to any potential damage caused by lateral subfloor movement.
Ultralight also features soundproofing qualities; its acoustic performance is comparable to dedicated acoustic products such as those manufactured from reground rubber, cork and soft foams. It does this without compromising on its insulating, heat-spreading or decoupling performance. Ultralight has been tested and rated for its acoustic performance by Intertek Building & Construction.
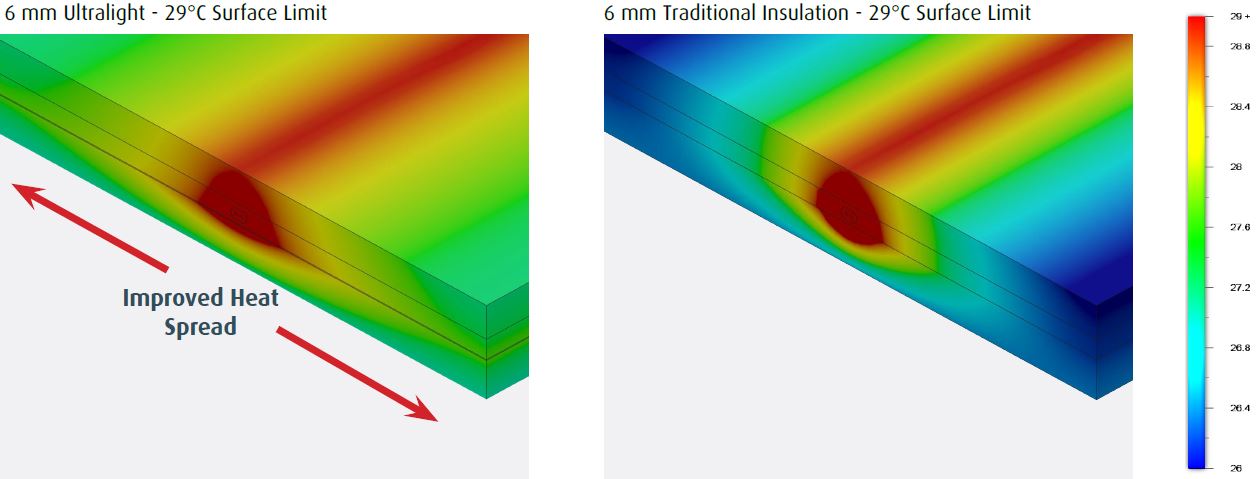
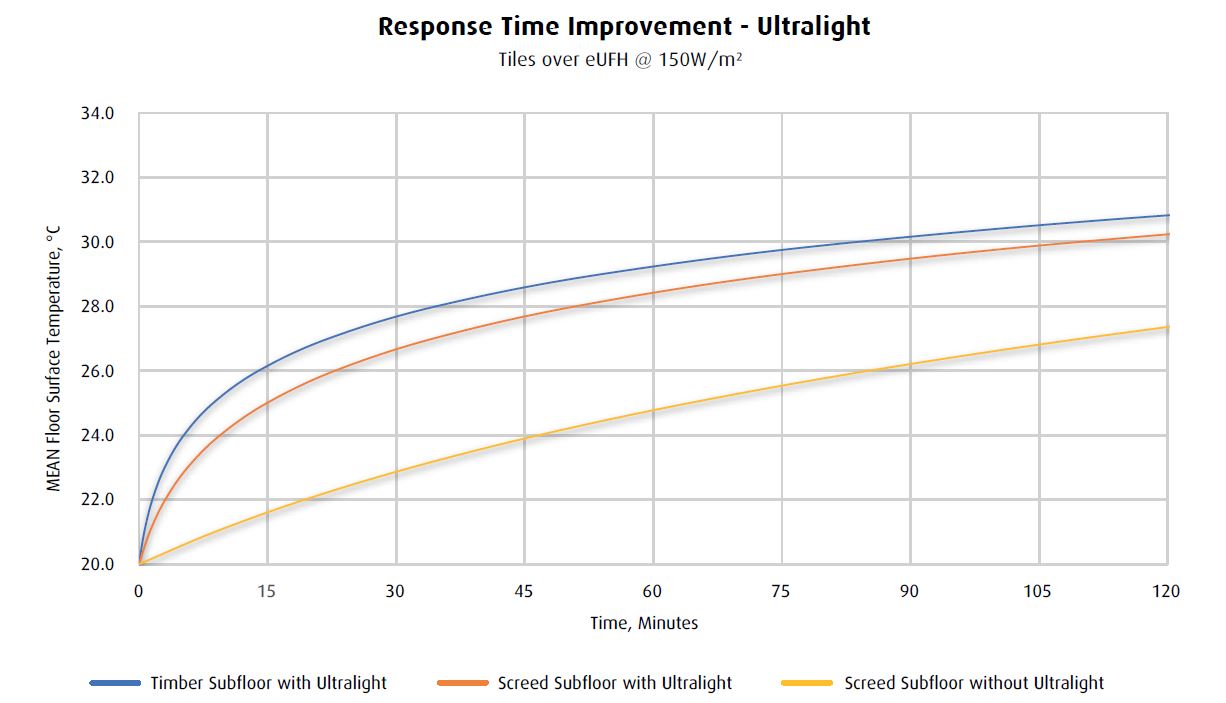
The innovative aluminium layer within the Ultralight board is proven to help spread an underfloor heating system’s warmth faster and more evenly to the floor finish above – creating a more comfortable environment to enjoy. With Ultralight, you can expect rapid heat-up times of as little as 27 minutes to bring a room to your optimal temperature.
Using a Warmup Smart Thermostat alongside your new UFH system and Ultralight will enhance the energy performance of your home. The 6iE Smart WiFi Thermostat can help you save 25% on your energy bills and offers automatic heat functionality so your home is always at the right temperature, at the right time, for you.
Reviews
Reviews
Payment & Security
Payment methods
Your payment information is processed securely. We do not store credit card details nor have access to your credit card information.
Not sure where to start? Let us help!
Answer a few questions and we’ll get you on your way