Loading...


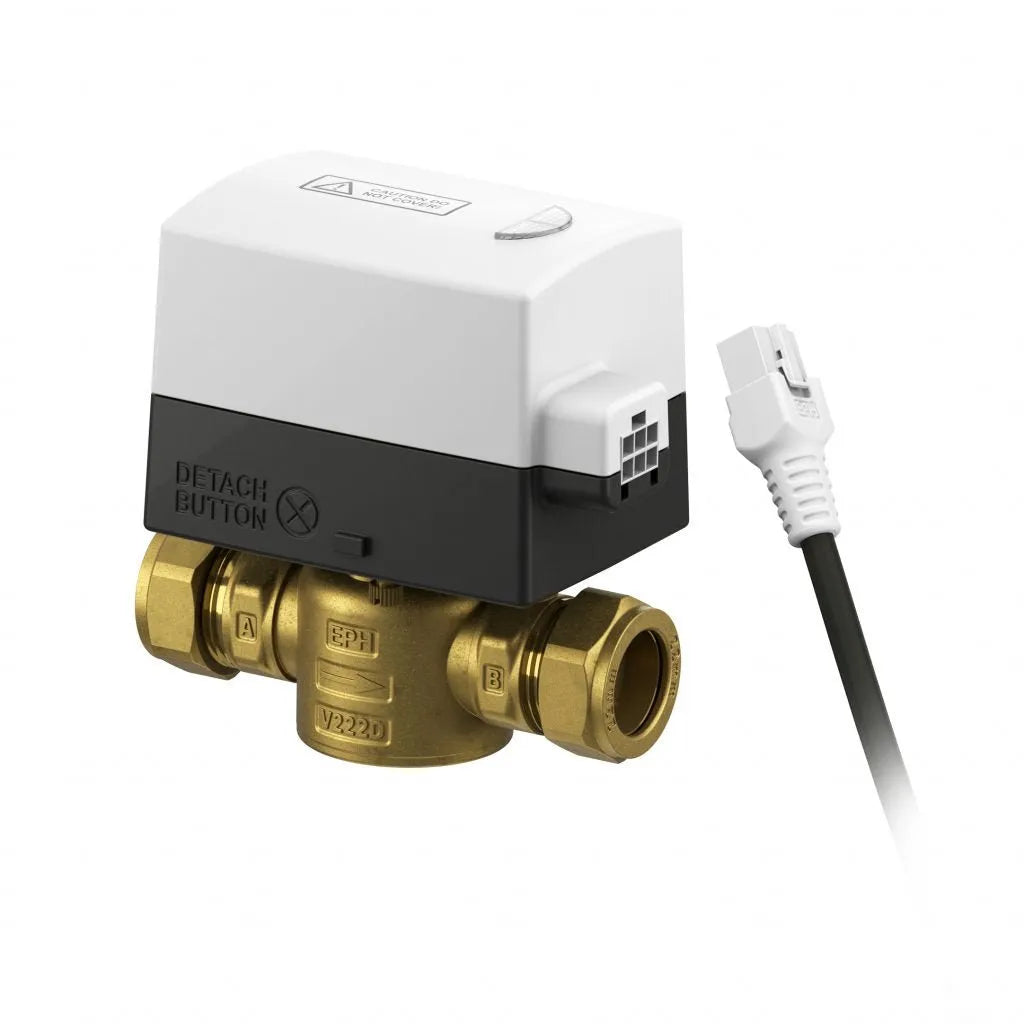
ProWarm 2-Port Motorised Valve 22mm
Regular price
£55.34
Inc VAT
Unit price
/
Unavailable
Description
Description
Enhance the control and efficiency of your heating system with the ProWarm 2-Port Motorised Valve 22mm. This high-quality two-port zone valve is engineered to deliver reliable and precise control over water flow in your heating system, ensuring optimal performance and energy efficiency.
Key Features:
- Clip-On Detachable Head: Features an easy-to-use, clip-on detachable head for convenient maintenance and servicing.
- Detachable Cable: Equipped with a detachable cable for straightforward installation and replacement.
- 5-Year Warranty: Backed by a comprehensive 5-year warranty for peace of mind and long-term reliability.
- Metal Manual Operating Lever: Designed with a robust metal manual operating lever for enhanced strength and stability.
- Power Supply: Operates on 220-240V, 50/60Hz with a power consumption of 5W for efficient energy use.
- Systems Fuse Rating: Maximum fuse rating of 3A for safe operation.
- Auxiliary Switch Rating: Rated for 3A at 250VAC to handle additional switching needs.
- Water Temperature Range: Suitable for a wide water temperature range of 5°C to 88°C.
- Maximum Differential Pressure: Capable of withstanding a maximum differential pressure of 0.69 bar for reliable performance.
Upgrade your heating system with the Prowarm Motorised Valve 22mm Compression for enhanced control, durability, and efficiency.
Reviews
Reviews
Manuals
Manuals
Payment & Security
Payment methods
Your payment information is processed securely. We do not store credit card details nor have access to your credit card information.
Not sure where to start? Let us help!
Answer a few questions and we’ll get you on your way


